Category Archives: Gluten Free

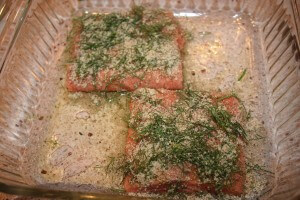
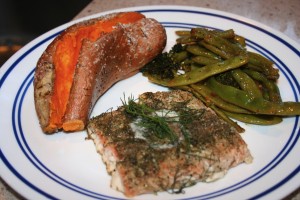
Buttery Dill Salmon

Buttery Dill Salmon

Summer has come to a close, but that doesn’t mean you can’t still enjoy fresh food. I had some leftover fresh dill and thought I shouldn’t let it go to waste. It has such a fresh flavor and it compliments fish so well. So, I found this recipe for Buttery Dill Salmon. Its very easy to make and tastes delicious. I hope you’ll enjoy it as much as I did.

Ingredients:
2 salmon steaks
1/4 teaspoon salt
1/2 teaspoon black pepper
1 teaspoon onion powder
2 tablespoons Fresh dill (you could also use 1 tablespoon dried dill instead)
2 tablespoons butter
1 tablespoon olive oil

Directions:
1. Preheat oven to 400 degrees. Combine spices in a bowl.
2. Dry Salmon fillets with paper towel.
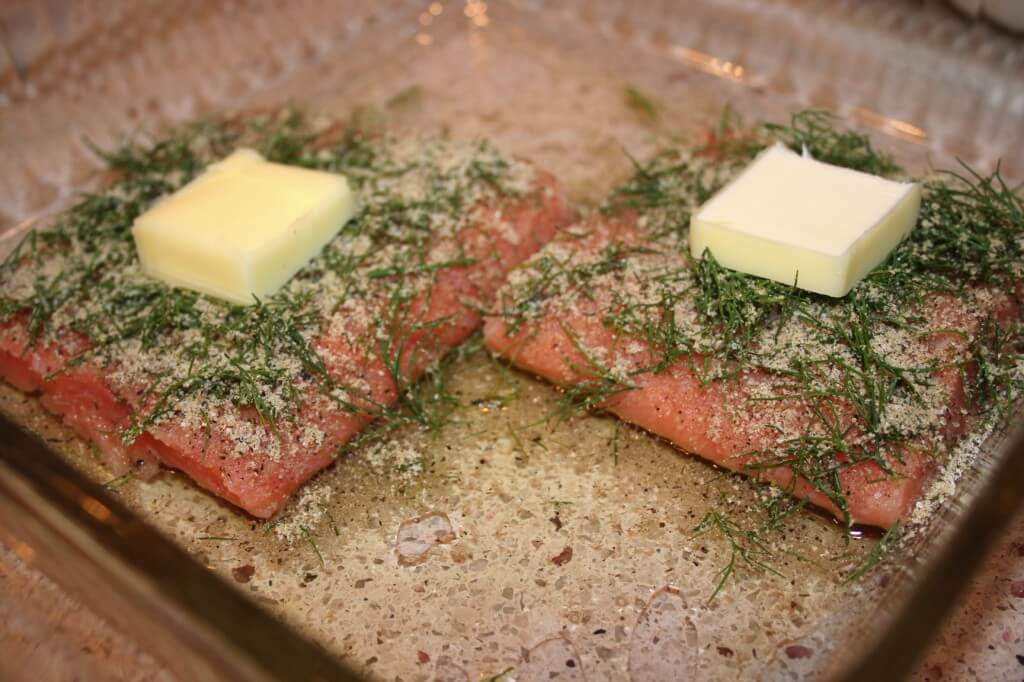
3. Drizzle olive oil in the bottom of a square baking dish. Lay fish fillets in dish.
4. Sprinkle spice mixture over fish. Place 1 pat of butter on top of each fillet.
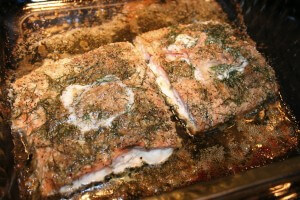
5. Bake for 20 to 25 minutes. Fish is finished cooking when flaky. Serve and enjoy!

* Serve the salmon with a baked sweet potato and freshly cooked green beans.
* Recipe serves 2 people
* Recipe Source: Based on http://allrecipes.com/recipe/salmon-with-dill/detail.aspx

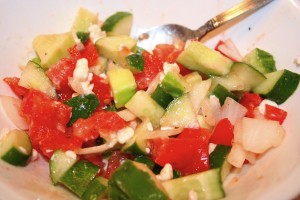
Simple Greek Salad

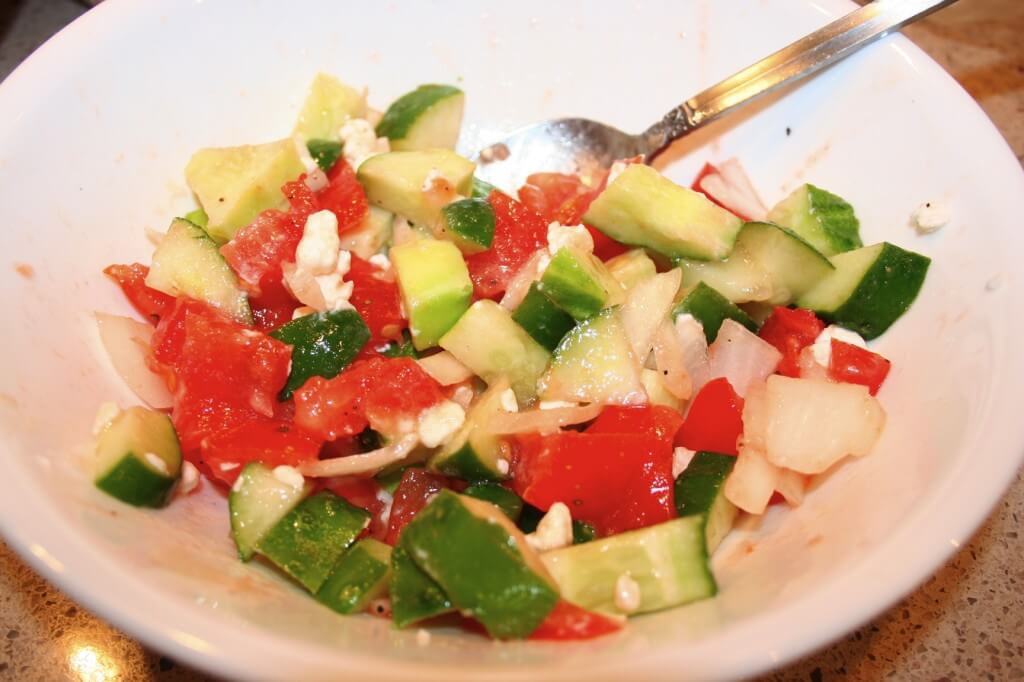
Simple Greek Salad


The cooler weather blowing in over the last has been a reminder that summer is soon coming to an end. So, I say to soak it up while you can. I’m savoring the flavors of summer from the garden with this recipe. I hope you’ll make it for yourself and enjoy it!

This Greek Salad makes a great salad to go with any meal or is a great mini lunch on its own. I’ll give you general ratios on the quantities here, so make as much or little as you like and adjust the ingredients to taste.

Ingredients:
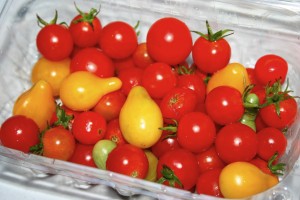
1 part chopped fresh tomatoes
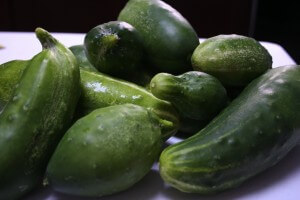
1 part chopped cucumbers
1/2 part sliced onions
Crumbled goat cheese or feta cheese to taste
Olive oil and vinegar salad dressing to taste (Make your own by mixing half olive oil and half red wine vinegar or use Newman’s Olive Oil and Vinegar Dressing)
Salt and Pepper to taste

*Extra Taste: Add sliced kalamata olives for an extra punch of flavor

Directions:
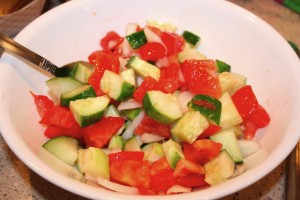
1) Combine tomatoes, cucumbers, and onions in a bowl.
2) Pour dressing over the top and combine. Season with salt and pepper to taste.
3) Top with the crumbled cheese and stir to combine. Serve and enjoy!

*Recipe Source: Madison Sommerfield

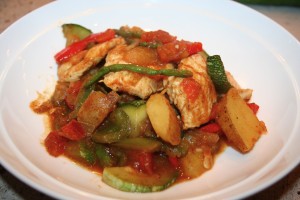
One Dish Fridge Roundup

One Dish Fridge Roundup

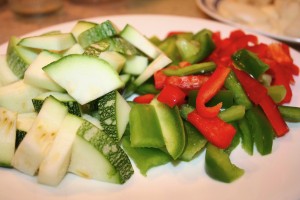
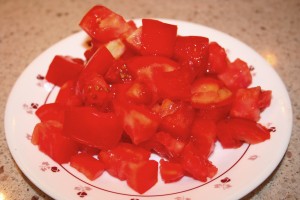
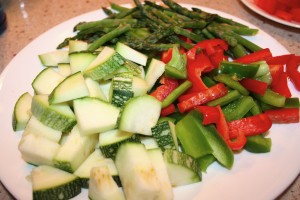
There is such a huge variety of vegetables that are abundant this time of year in gardens, farmer’s markets, and supermarkets. And if you’re like me, maybe you get a little excited and buy more vegetables than you can use for your meal. I recently ended up with more squash, asparagus, and green and red peppers than I needed for my meal. With these leftovers I wondered what I could make.

Growing up, Thursdays were always left-overs-for-dinner days at my house, which mostly meant find anything in the fridge to eat for dinner so nothing goes to waste. Well, here’s a new version of left overs that’s more appropriate for summer. This one uses all your left over vegetable odds and ends. So here’s how I came up with this dish:

1) My first requirement when creating a meal out of these left over veggies was that I wanted the dish to display the great taste of summer that is all these fresh veggies, but I wanted them to blend to create a new unified flavor all their own.

2) My second requirement was to keep the amount of dishes I used to a minimum (no more time doing the dishes than absolutely necessary.)

3) The third requirement for this dish was that it had to fit my restricted diet (gluten free, egg free, dairy free.)

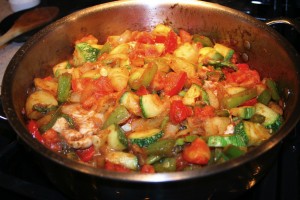
That’s why this One Dish Fridge Roundup is the perfect summer dish. Hope you enjoy the fresh tastes of summer in one dish! I’m going to show you how I made mine but the whole point is to use what you have. So, if you have green beans rather than peppers use those and if you have salmon rather than chicken use that. Enjoy!

Ingredients:
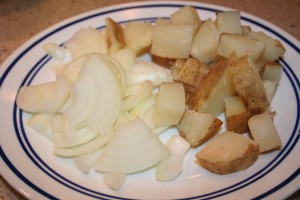
1 potato (cooked just about 2 minutes in the microwave then cubed)
1/2 an onion, sliced
1/2 cup zucchini, chopped
1/2 cup peppers, roughly chopped
1/2 cup asparagus, chopped
1 cup tomatoes, chopped
1 chicken breast, pounded thin and cubed
1 teaspoon garlic, minced
Olive oil
Aunt Cora’s Seasoning or season salt to taste
Lemon pepper to taste

Directions:
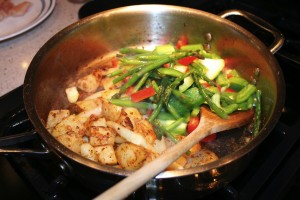
1. Saute onion and potato in about 1 tablespoon olive oil in a large fry pan until onion is transparent and potato begins to soften, adding more oil if needed. Season to taste.


2. Add asparagus and peppers and stir adding just a little water to deglaze the pan. Cook for 1 to 2 minutes. Add garlic and season.

4. Add chicken and season. Cover and cook until chicken is cooked through, stirring occasionally. Serve and enjoy!

*Recipe serves: 4 people
*Recipe source: Madison Sommerfield

Zucchini Bread

Zucchini Bread

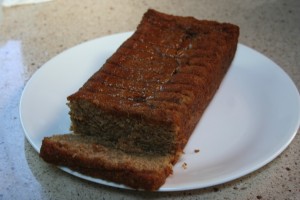
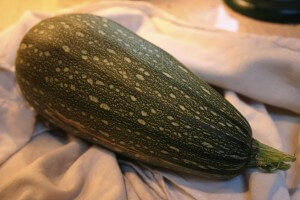
We’ve been harvesting lots more zucchinis from our garden, so I’ve been experimenting with more ways to use this lovely squash that’s in such abundance right now.

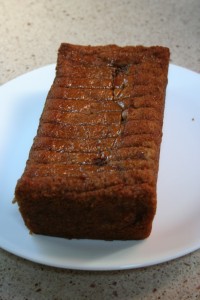
These are actually cousa squash that we’re harvesting and cooking. They’re a type of middle eastern zucchini that are nuttier in flavor, which adds a really nice flavorful kick to this delicious Zucchini Bread recipe. It makes a really tasty breakfast, snack, or dessert so I hope you enjoy this one!

Ingredients:
2 cups shredded zucchini or cousa squash (leaving the skin on leaves lots of nutrients in your bread)
1/2 cup water
3 eggs worth of gluten free egg replacer
2 cups sugar
1 cup oil
3 cups all purpose gluten free flour blend
1/2 tablespoon baking powder
1 teaspoon salt
1 teaspoon baking soda
3 teaspoons cinnamon
3 teaspoons vanilla
2 1/4 teaspoon xanthum gum

Directions:
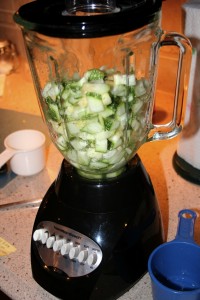
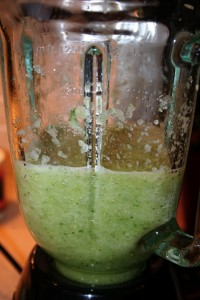
1. Preheat oven to 350 degrees. In a blender combine shredded zucchini and water until pureed into a fine pulp.

2. In a separate container combine egg replacer (as prepared on package instructions), sugar, and oil.

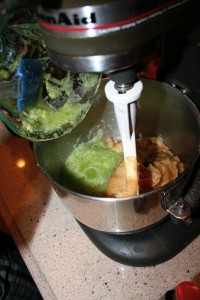
3. Pour mixture into mixing bowl and gradually blend in flour, baking powder, salt, baking soda, cinnamon, vanilla, and xanthum gum. Blend with mixer until combined.
4. Add zucchini mixture into the bowl and blend to combine.

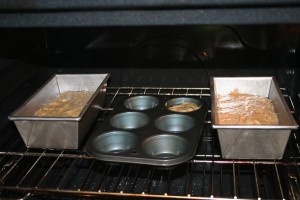
5. Grease 2 loaf size baking pans with cooking spray and pour mixture equally divided into pans. Make sure the pans are not filled more than 3/4 of the way full.
*If you have remaining batter you can pour it into pre-prepared muffin pans, but you’ll have to cook them in much less time than the bread.

6. Bake bread for 1 hour. Remove and allow them to cool before cutting. Refrigerate once bread has cooled. Enjoy!

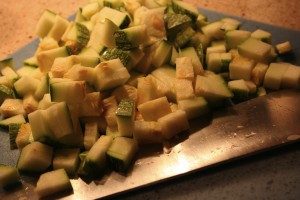
*You can also chop the zucchini rather than shredding, but just make sure it comes out to 2 cups total. I’ve found with this gluten free and egg free bread, blending the zucchini into a puree helps it hold together better.

*The addition of the xanthum gum to the recipe helps the bread to hold together as well too.

*Recipe Source: Tammy Peterkort

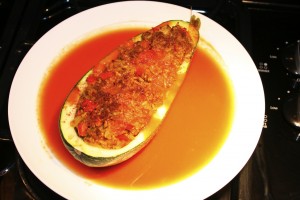
Stuffed Cousa Squash

Stuffed Cousa Squash

Been a crazy week…took a little impromtu road trip to St. Louis, spent time with college friends, and had a lot of fun! I just love summer and what’s summer without random road trips here and there?

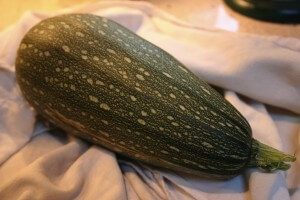
Anyway, as promised last week here’s your first way to use zucchinis and in particularly here Cousa Squash. Just in case you forgot, Cousa Squash are middle eastern zucchinis that are a little larger and taste a little nuttier than your regular zucchinis. In this stuffed squash recipe I used Cousa Squash, but you could easily replace it with large regular zucchinis.

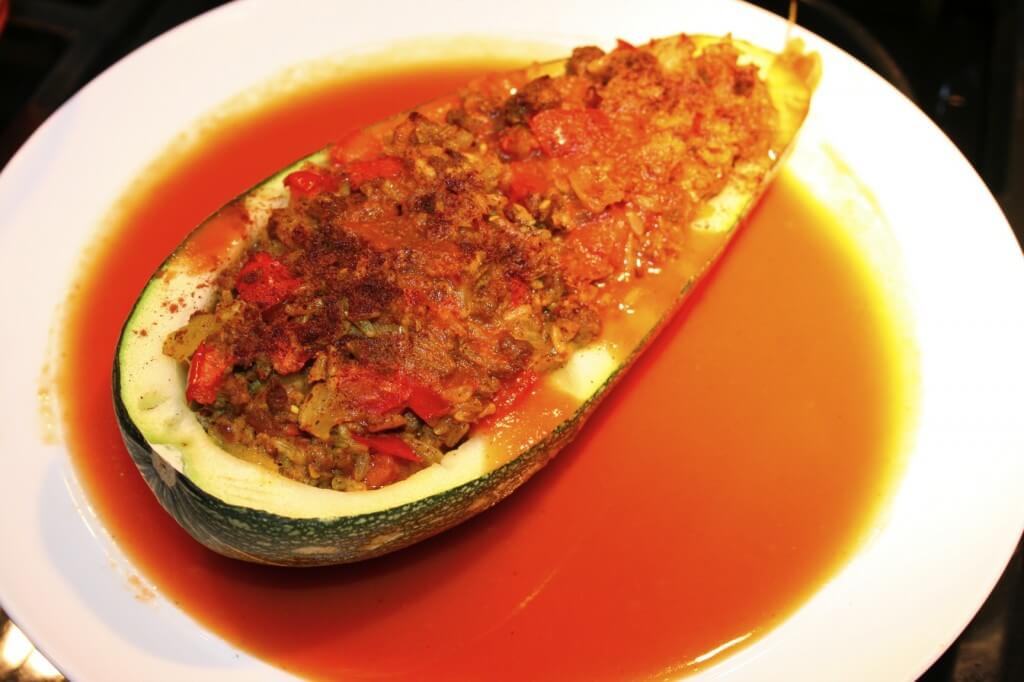
This recipe really incorporates middle eastern flavors into a full meal within these squash. Its saucy, hearty, and yet uses great fresh summer ingredients. I hope you enjoy this one!

Ingredients:
1 large Zucchini (I used Cousa Squash)
1 small onion, chopped
1 roma tomato, chopped
1 tablespoon minced garlic
1/4 pound ground beef, or lamb, or turkey (I used ground beef)
4 tablespoons tomato paste
32 oz. vegetable broth
1/3 cup brown rice, precooked
3/4 teaspoon cinnamon
3/4 teaspoon tumeric
1 tablespoon olive oil
salt and pepper to taste

Directions:
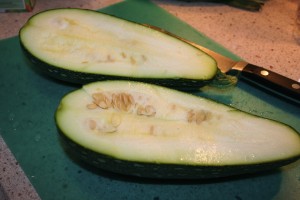
1. Preheat oven to 375 degrees. First cut the squash in half lengthwise.


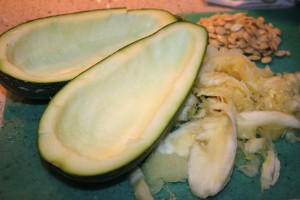
2. Then with a spoon, scoop out to pulp and seeds. Separate the seeds from the pulp. Reserve the pulp.


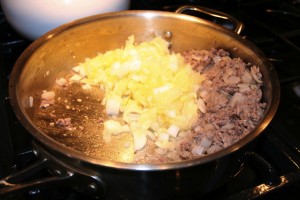
3. In a large frying pan heat the olive oil and saute the ground beef, onion, and garlic until the meat is cooked through. Drain the fat from the meat. Add the squash pulp and saute until soft, breaking up large pieces as you cook.
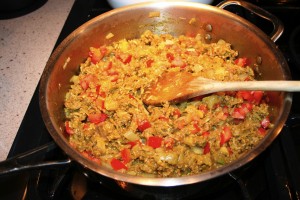
4. Season the meat and squash mixture with salt and pepper to taste. Then add the tumeric and cinnamon.

5. Add rice and tomato to the rest of the dish and stir to combine.


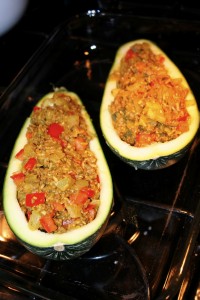
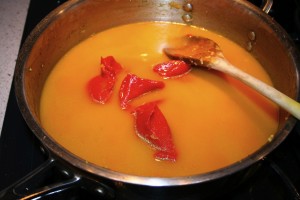
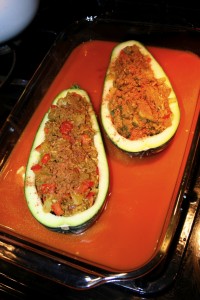
6. Stuff each squash half with the rice/beef/vegetable mixture. Reserve the fry pan. Place the halves in a 9X13 (oven safe) casserole dish. Top each squash off with cinnamon sprinkled on top.


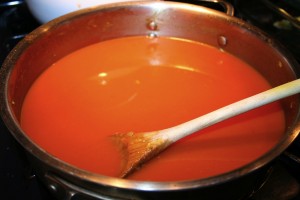
7. In the reserved fry pan add the broth and tomato paste over low heat and stir carefully to combine.


8. Carefully remove the soup mixture from the heat and pour into the squash dish.

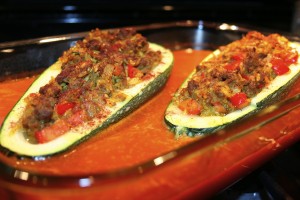
9. Bake for 20 minutes. Then cover with foil and bake for another 10 minutes. If you like the squash to be a little softer bake for another 5 minutes. Serve the stuffed squash with the broth mixture drizzled over each half and the plenty more to surrounding each half. Enjoy!

*Recipe Serves: 2 hungry people
*Recipe Source: Madison Sommerfield
*Recipe Inspirations: http://cucinapanzano.blogspot.com/2009/07/summer-squashcousa.html
http://www.myfreshlevant.com/2009/06/quinoa-stuffed-cousa-squash.html

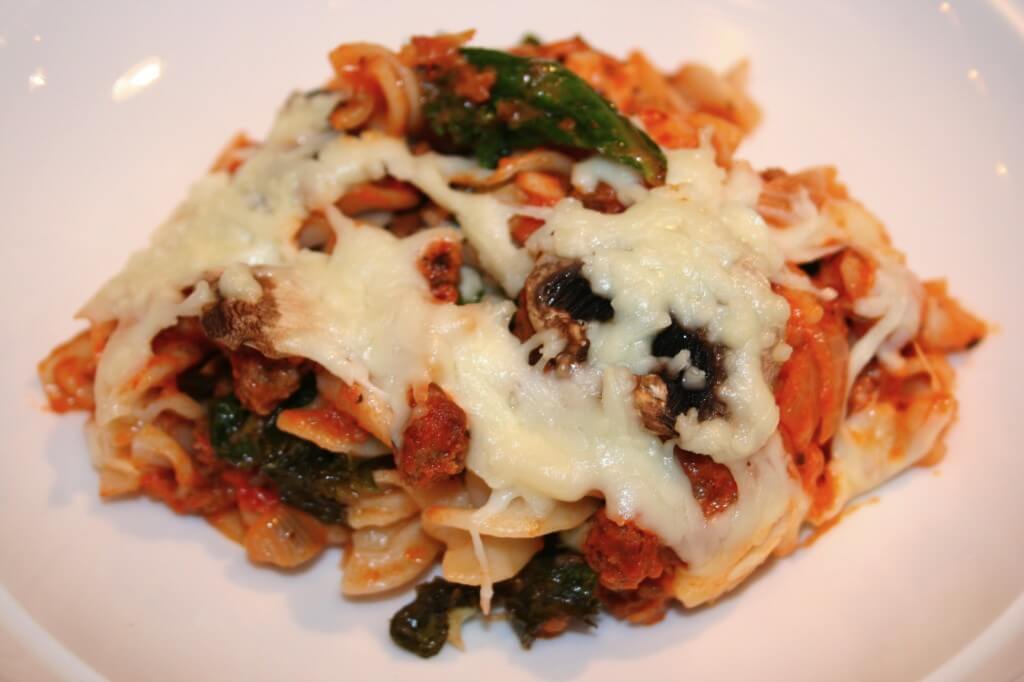
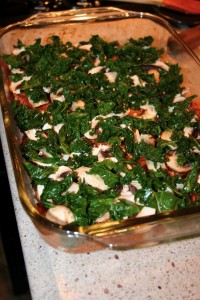
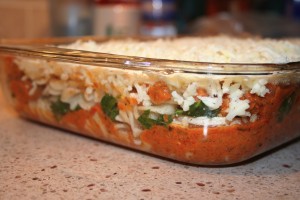
Baked Pasta Marinara with Goat Cheese & Kale

Baked Pasta Marinara with Goat Cheese & Kale

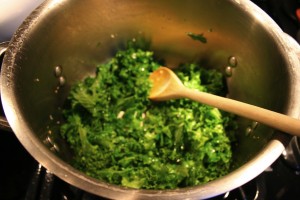
I’ve been gathering large bunches of kale from our garden and trying to cook them up in a variety of ways, so look forward to some tasty kale recipes including this one.

I came home the other day craving something hearty and cheesy, yet knew I had all these fresh veggies I needed to cook up as well. This recipe for Baked Pasta Marinara with Goat Cheese & Kale is the result. Its an original recipe of mine and I’m happy to be sharing it with you.

Ingredients:
1/2 cup crumbled goat cheese
1 1/2 cups grated cheese or cheese substitute (I used Daiya brand from Whole Foods)
1/2 pound ground beef
1 jar (26 oz.) pasta sauce
2 tablespoons olive oil
1 small onion, diced
2 cups sliced button mushrooms
1 1/2 teaspoons minced garlic
2 teaspoons Italian seasoning
16 oz. gluten free brown rice pasta (fusilli style)
1/4 cup water
Salt and pepper to taste

Directions:
1. Preheat oven to 375 degrees. Cook pasta slightly aldente, in salted water, according to package directions. Set aside.
2. While pasta is cooking, brown beef in large sauce pan. Add salt and pepper to taste and the Italian seasoning and 1/2 teaspoon minced garlic.
3. Drain meat. Add jar of sauce and goat cheese to the saucepan. Set aside.
4. Saute kale in 1 tablespoon olive oil (adding more if needed) with 1 teaspoon minced garlic, salt and pepper to taste. Once kale is wilted and begins to get dry add 1/4 cup water and continue cooking until kale is soft and water is absorbed.

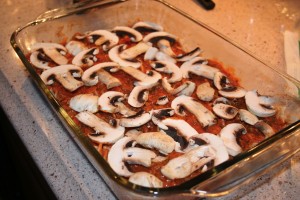
5. Grease a 9 X 13 baking dish with remaining olive oil. Layer pasta, then sauce mixture, then mushrooms, then kale mixture. Pasta again, then sauce mixture, then mushrooms. And top it with grated cheese.


6. Bake at 375 degrees for 15 minutes, covering with foil if cheese browns. Serve and enjoy!

*Recipe Source: Madison Sommerfield
*Recipe Serves: 4 to 6 people

Grilled Eggplant with Balsamic & Goat Cheese Goodness

Grilled Eggplant with Balsamic & Goat Cheese Goodness

Again last week I was checking out my local produce market and found Eggplant for sale for $0.59/ pound. “Wow huge deal,” I thought. But then I remembered, “I’ve never liked Eggplant anyway I’ve had it prepared. Its always been soggy and tasteless.” But, I’m like my mother in the way that I can hardly resist passing up a bargain, so the challenge was on!

My Challenge: To prepare eggplant in such a way that Matt and I would love it so much we’d just be waiting for it to go on sale again.
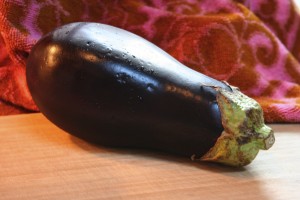
All I could think when I decided to purchase this cute little, purple squash-like veggie was that I’ve seen it in a variety of dishes people generally like, such as eggplant parmesan. There has to be a way to prepare it that enhances it’s natural God given goodness. I bought it with no idea how I was going to cook it, but picked up a few other veggies like cherry tomatoes, button mushrooms, and onions that were on sale as well…again, I’m a bargain shopper even when it comes to healthy food.
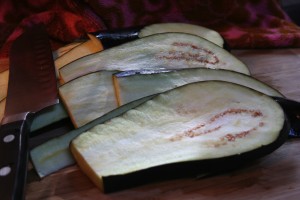
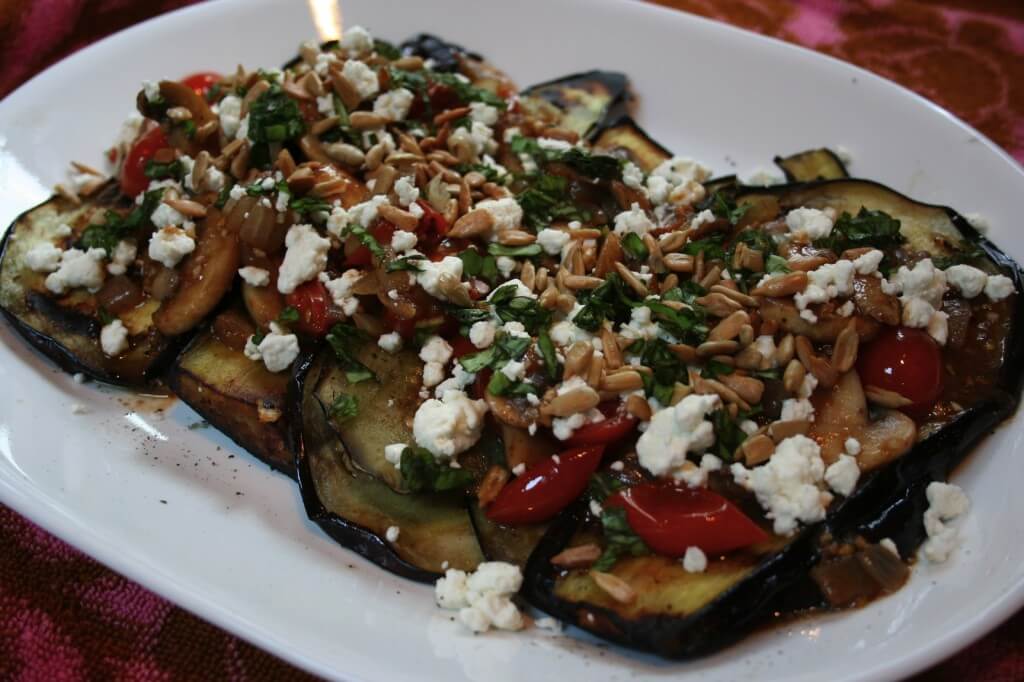
I pulled together a few ingredients and I’m happy to share that this Grilled Eggplant with Balsamic & Goat Cheese turned out so tasty! It’s my own recipe and I’m excited to share it with you. I hope this will encourage you to give Eggplant another try if you’ve never liked it in the past. And if you love it already, then here’s a new way to prepare it. Here’s to healthy cooking on a budget…Cheers!

*Goat Cheese is dairy, but many people such as myself that cannot tolerate dairy from a cow can tolerate a limited amount of dairy from goats or sheep. Its just a little different protein, possibly easier to digest. You should always check with your doctor if you have food allergies and are not sure about adding a new food into your diet.
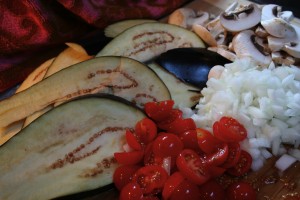
Ingredients:
1 small eggplant, sliced lengthwise (about 1/4″ thick)
2 1/2 cups mushrooms, sliced
1 cup onion, diced
1 cup cherry tomatoes, sliced
1 teaspoon garlic, minced
1 tablespoon butter
4 tablespoons extra virgin olive oil
1 teaspoon fresh basil, chopped
1/2 cup sunflower seeds, unsalted
1/8 cup balsamic vinegar
1/4 cup to 1/2 cup crumbled goat cheese
salt and pepper to taste
Directions:
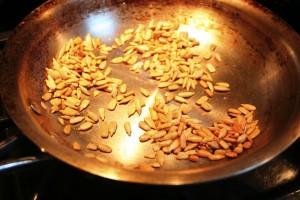
1. Saute sunflower seeds in a dry pan over low heat, stirring constantly, until slightly toasted. Set aside.
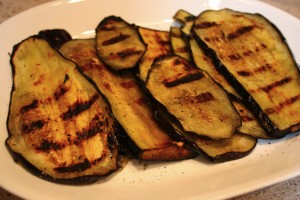
2. Preheat grill. Brush eggplant slices with olive oil on both sides, reserving 1 tablespoon. Cook eggplant on grill 2 to 4 minutes per side. Plate on serving platter.

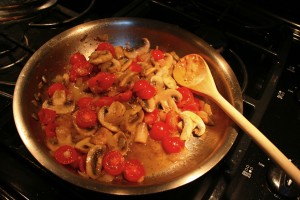
3. In a fry pan heat 1 tablespoon olive oil on medium high heat. Saute mushrooms, onions, garlic and tomatoes until onions are translucent. Stir in butter and salt and pepper to taste.
4. Remove pan from heat and swirl in balsamic vinegar.
5. Pour veggie mixture over platted Eggplant. Crumble goat cheese, basil and sunflower seeds over top. Serve and enjoy!
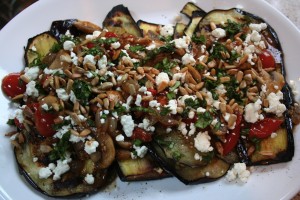
*Why use sunflower seeds? I call them the poor woman’s pine nuts. Normally for a dish like this I’d use pine nuts toasted over top, but they are pretty pricey. I’ve found sunflower seeds add the same crunch and flavor for a whole lot less.

*Recipe Source: Madison Sommerfield
*Recipe Serves: 4 people
Nutritional Type: Eat Right for Your Body Type

Nutritional Type: Eat Right for Your Body Type

If you’re ready to shed a few extra pounds or just want to feel more energized you’ve got to check out Nutritional Typing. I’m really not a big believer in diets to solve weight issues. And if you struggle with lack of energy and fatigue coffee and energy drinks throughout your day are not the answer.

First things first…Why not diets for weight loss?
“Diets” (in the sense of a weight loss plan) tend to be generalized plans. These plans generally cut something out, like calories, fat, carbs, sugar, meat, grains, etc. From my personal experience, my own research, and stories from others I really believe that everyone does not benefit from the same dietary plan.

One person may lose 60 pounds on the ‘Atkins Diet‘ which cuts carbs but still allows higher fat foods, while another person may lose 60 pounds from a diet that is lower in fat but allows carbs. Reverse the 2 people’s dietary plans and they may lose no weight at all. If you happen to find the right diet for you, you may be able to shed the initial pounds you want to lose, but keeping off the pounds may be a huge challenge.

My solution: to the challenge of finding the right dietary plan and sticking to it is to find your Nutritional Type.
Nutritional Typing focuses on how your body reacts to the foods you eat. Some people may be very energized after eating a large plate of pasta, while another person may be ready for a nap after that same meal. Nutritional Typing can help match you up with the foods that will contribute to a healthy weight and the maximum energy for your body. Nutritional Typing is meant to be a way of eating. It doesn’t deprive you of any one food, but helps you to focus your eating on the foods that give you the most energy and help your metabolism kick in.

What about the Energy Issue?
Nutritional Typing can help you get the maximum amount of energy from your food. The general American diet is saturated with sugar, carbs, and sodium. And unfortunately for the majority of the population these don’t contribute to lasting energy.

How to find out your Nutritional Type
There are 2 sources that I think are pretty accurate Nutritional Typing tests:

Dr. Mercola’s Nuritional Typing Test is the first. This test is a series of questions you answer and as a result you are matched up with a Nutritional Type. There are 3 Nutritional Types that you could be according to this test: Carbohydrate Type, Protein Type, or Carb and Protein Combo Type. This test also hooks you up with meal plans to help you eat according to your type. Its a free test, you just create a log in. Check out this link: http://nutritionaltyping.mercola.com/login.aspx?ReturnUrl=%2fPreTestx.aspx

The other Nutritional Typing Test is a general informational video from The Today Show that has you look at where you gain weight and helps match you to the foods that will keep you lean and full of energy. Check out the video:

Grilled Portabella Mushrooms

Grilled Portabella Mushrooms

Third day without electricity and I’m ready for it to turn on anytime now. Over 800,000 people without power after the storm on Monday. Apparently there are only 150,000 people left without power today and I’m one of them. Oh well, can’t complain too much…life without electricity has been surprisingly peaceful. Needless to say, I’m seeking refuge again in the coffee shop.

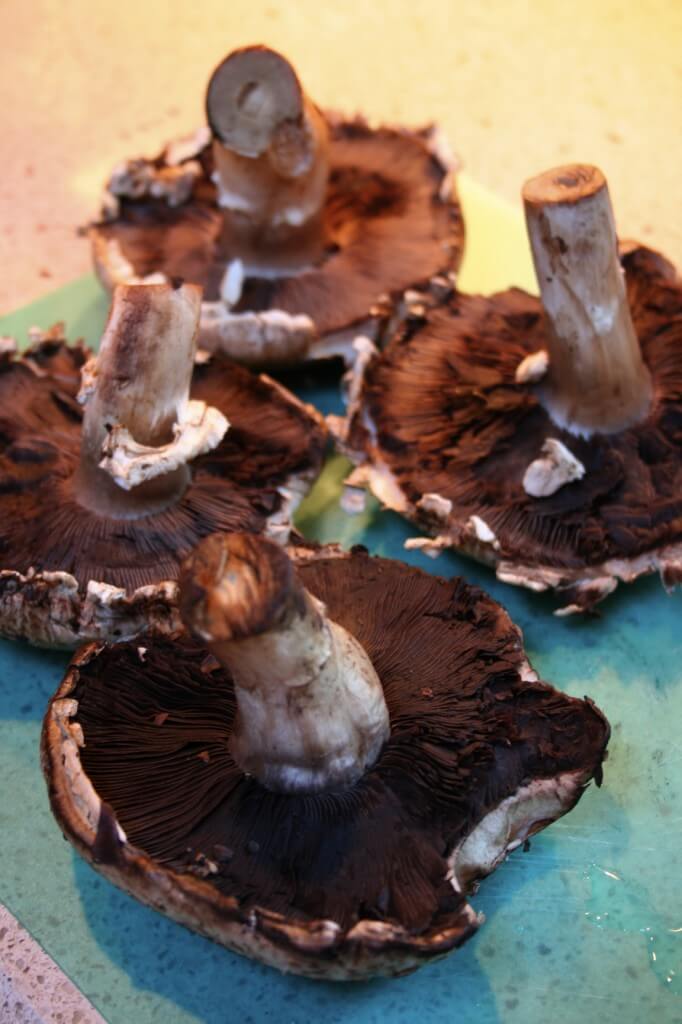
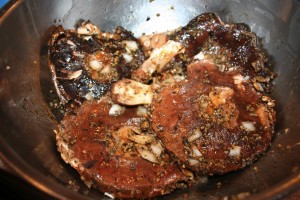
Last week I was perusing through the supermarket and saw Portabella Mushrooms on a major sale. Admittedly, I have to say I’ve never tried them, but I’ve always heard good things from other people. So I decided to give them a shot and I really enjoyed them. Check out how I prepared them and enjoy them for yourself.

I suggest marinating Portabella Mushrooms, as they take on the flavor of whatever you cook them in. They make a really great vegetarian and vegan meal, so give them a try!

Ingredients:
4 medium sized portabella mushrooms
1/4 cup olive oil
4 tablespoons balsamic vinegar
4 cloves minced garlic
1 tablespoon dried basil
4 tablespoons onion, chopped

Directions:
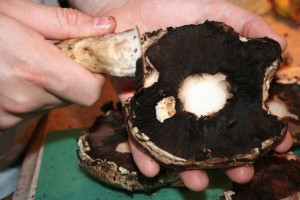
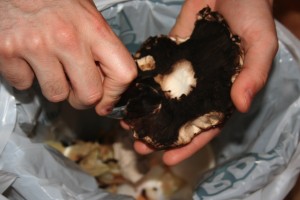
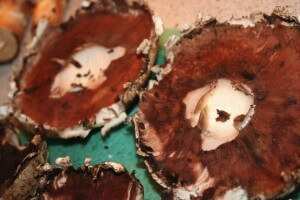
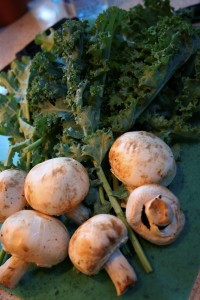
1. Clean mushrooms by removing dirt from outer part of mushroom cap, breaking off the stems (reserve), and scrapping off the underside (black part) of the mushroom. Set aside.


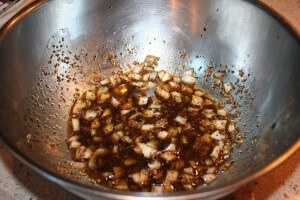
2. With a whisk combine remaining ingredients in a medium sized mixing bowl.


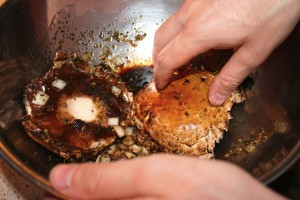
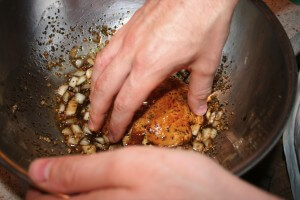
3. Coat mushroom caps and stems in marinade and soak in marinade for up to 1 hour (not in refrigerator).


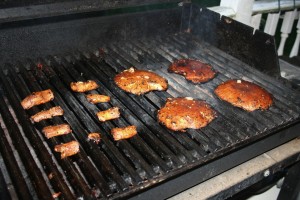
4. Heat grill to medium heat and grill mushrooms and stems over hot coals for 10 minutes. If using gas grill be careful not to burn.


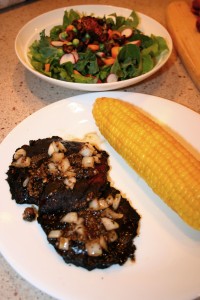
5. Serve Portabella’s with remaining marinade poured over top. Serve the stems cut into small pieces in a tossed salad as they tend to be tougher. Enjoy!

*Recipe Serves: 2 people
*Recipe Source: Madison Sommerfield
Start Gardening: Part 4

Start Gardening: Part 4

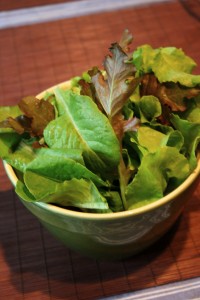
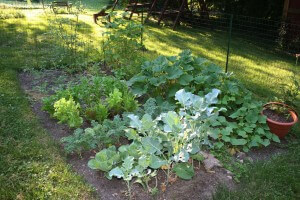
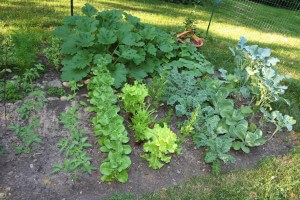
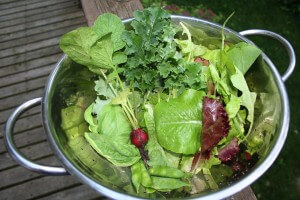
Its been a while since you’ve seen my garden plot and wow has it grown! We’ve harvested tons of lettuce (loose leaf, bibb, and spinach) and have made tons of garden fresh salads.

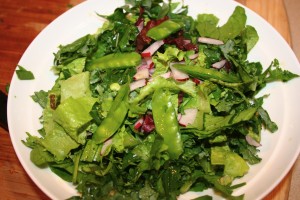
The great part about lettuce is that it continues to produce more delicious leaves after you pick them. We haven’t replanted the lettuce at all and yet we’re still getting more and more! I have to admit that I’m not much of a salad girl, but when it comes to garden fresh, I love it. Check out these tasty salads.

I’ve also started to pick kale and cabbage leaves and chop them in with my other varieties of lettuce for my salads. They’re both kind of bitter, but mixed in with the other varieties they add a great melody of flavors and tons of extra vitamins and minerals.

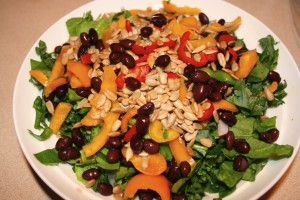
To turn this garden salad into a heartier dinner salad I added black beans, sunflower seeds, and sliced yellow and red peppers. With a simple olive oil and balsamic vinegar dressing (1:1 ratio of each) it brings the flavors all together.

This is our second planting of radishes and they are a great addition to salads and a really spicy snack with hummus.

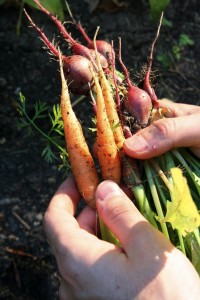
We’ve also recently harvested some small carrots. I must admit I was really a skeptic when it came to the carrots. I really didn’t think they would grow but much to my surprise, they proved me wrong.

My proud gardening hubby, very pleased with his harvest.

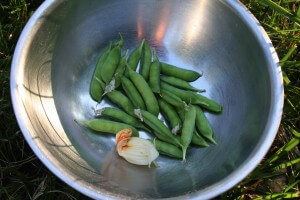
We’ve also picked a small bunch of really sweet peas and a few squash blossoms (post to come on how to eat these).

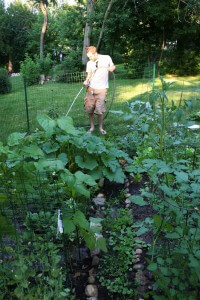
We haven’t really done anything special to get our garden growing along…just plenty of sunny days (provided by the Lord), water, and lots of love. Squash and tomatoes to come soon!