Category Archives: Closer Look

Baked Spaghetti Squash Casserole

Baked Spaghetti Squash Casserole


Fall is really setting in and squash of all sorts are filling the produce isles of supermarkets everywhere. I always love to see the crazy varieties that abound, but often wonder how to prepare them. Maybe you’ve thought the same thing. That’s why, in addition to my typical cool weather recipes, I’m cooking with squash in a variety of ways throughout the season. Hope you’ll continue to tag along for the journey.

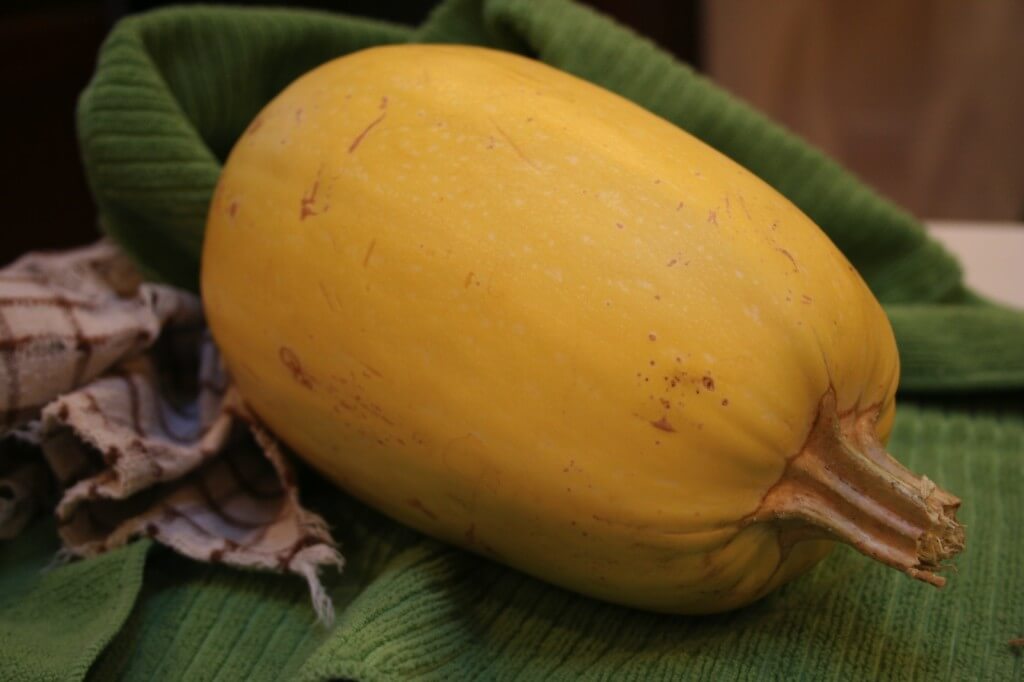
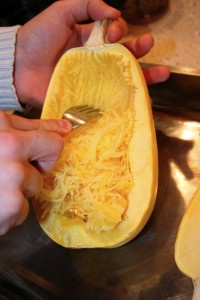
I’m starting out the squash adventure with Spaghetti Squash. When pulled apart with a fork the interior of this buttery beauty looks much like spaghetti noodles, hence the name. And the squash “noodles” can be used in place of regular spaghetti noodles in a variety of dishes. The benefits of using squash instead of pasta noodles include: lower in calories, gluten free, and the additional nutrients from the vegetable.

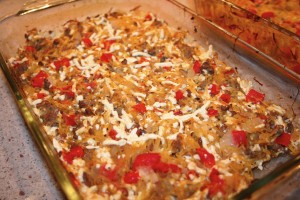
I’m starting out with Baked Spaghetti Squash Casserole with beef and vegetables. I was seriously impressed with this recipe. Its really tasty and even if you don’t like the taste of squash I think you’ll enjoy this one because it the dish really melds into its own flavor.

Ingredients:
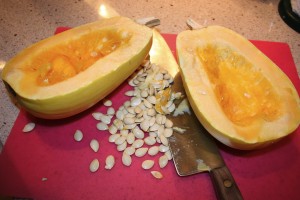
1 spaghetti squash, cut in half and seeds removed
1 pound ground beef
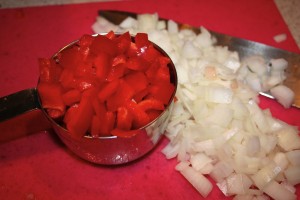
1/2 cup red pepper, diced (I used 1 cup red pepper total and no green pepper)
1/2 cup green pepper, diced
1/4 cup onion, diced (I used more like 1/2 cup)
1 clove garlic, diced
1 (14.5 oz.) can Italian-style diced tomatoes
1/2 teaspoon dried oregano
1/2 teaspoon dried basil
1/4 teaspoon salt
1/4 teaspoon pepper
2 1/4 cup shredded cheese (I used Daiya Rice Cheese substitute)

Directions:
1. Preheat oven to 375 degrees.
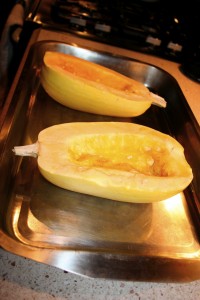
2. Place squash on baking sheet and bake for 40 minutes or until tender. Then cool and pulp with a fork.

3. Reduce oven temperature to 350 degrees.
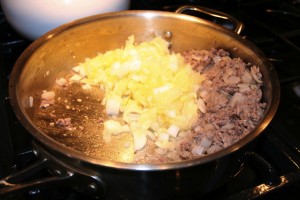
4. In pan over medium heat cook beef is browned. Then drain and mix in peppers, onion and garlic. Continue to cook and stir until vegetables are tender.
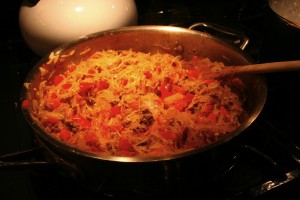

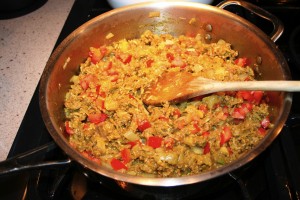
5. Mix the shredded squash and tomatoes into the skillet and season with salt, pepper, oregano, and basil. Cook and stir until heated through. Remove from the heat and mix in 2 cups cheese until melted. Pour mixture into prepared casserole dish.
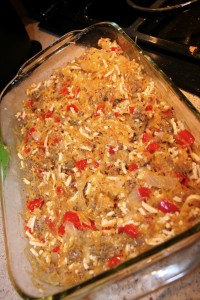

6. Bake 25 minutes in preheated oven. Sprinkle with remaining cheese and continue to bake until cheese is melted. Serve and enjoy!
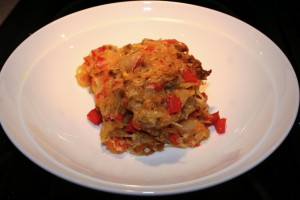

* This recipe serves 2 to 4 people.
* Recipe Source: All Recipes http://allrecipes.com/recipe/baked-spaghetti-squash-with-beef-and-veggies/detail.aspx
* Additional Ideas: Add Italian Sausage instead of ground beef for even more flavor. Use whatever veggies you like to include, like leftover veggies in the fridge. (For instance try mushrooms and spinach).
 

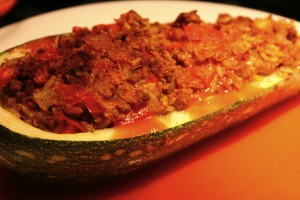
Stuffed Cousa Squash

Stuffed Cousa Squash

Been a crazy week…took a little impromtu road trip to St. Louis, spent time with college friends, and had a lot of fun! I just love summer and what’s summer without random road trips here and there?

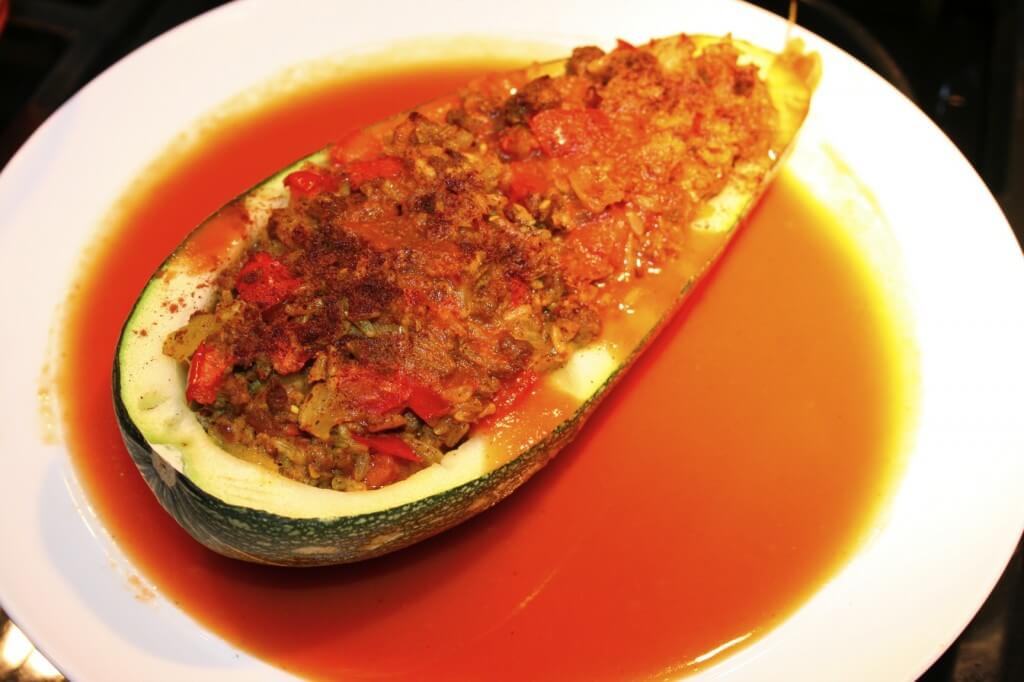
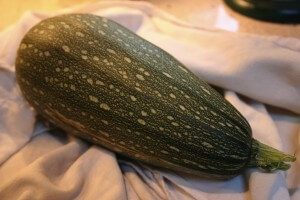
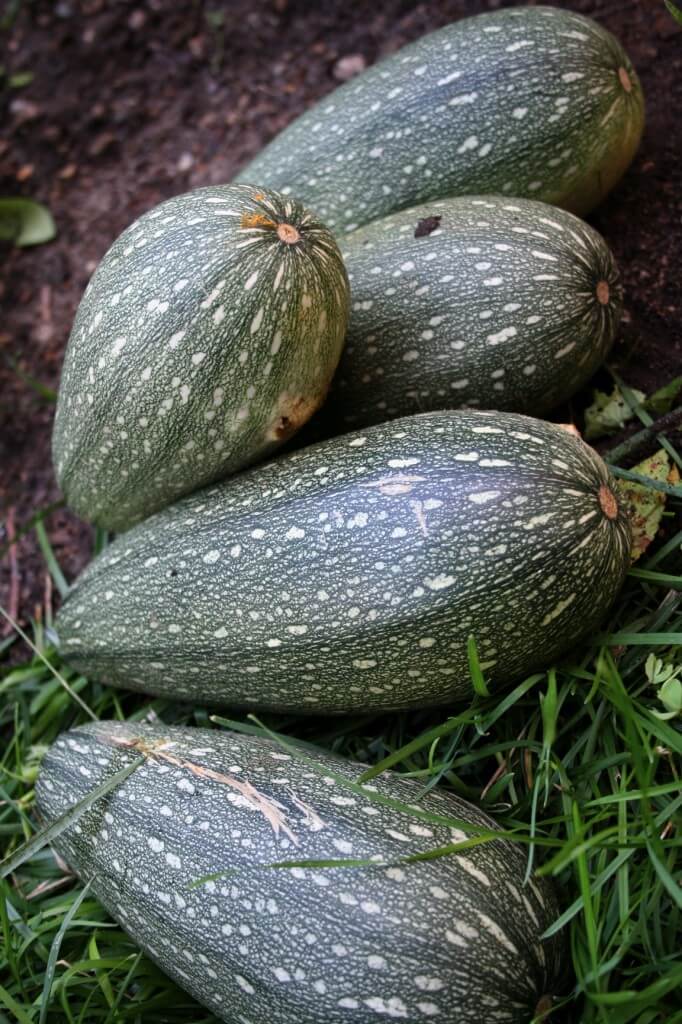
Anyway, as promised last week here’s your first way to use zucchinis and in particularly here Cousa Squash. Just in case you forgot, Cousa Squash are middle eastern zucchinis that are a little larger and taste a little nuttier than your regular zucchinis. In this stuffed squash recipe I used Cousa Squash, but you could easily replace it with large regular zucchinis.

This recipe really incorporates middle eastern flavors into a full meal within these squash. Its saucy, hearty, and yet uses great fresh summer ingredients. I hope you enjoy this one!

Ingredients:
1 large Zucchini (I used Cousa Squash)
1 small onion, chopped
1 roma tomato, chopped
1 tablespoon minced garlic
1/4 pound ground beef, or lamb, or turkey (I used ground beef)
4 tablespoons tomato paste
32 oz. vegetable broth
1/3 cup brown rice, precooked
3/4 teaspoon cinnamon
3/4 teaspoon tumeric
1 tablespoon olive oil
salt and pepper to taste

Directions:
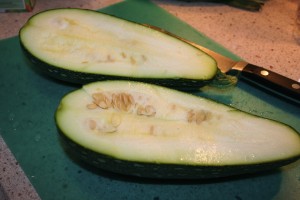
1. Preheat oven to 375 degrees. First cut the squash in half lengthwise.


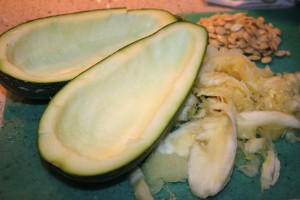
2. Then with a spoon, scoop out to pulp and seeds. Separate the seeds from the pulp. Reserve the pulp.


3. In a large frying pan heat the olive oil and saute the ground beef, onion, and garlic until the meat is cooked through. Drain the fat from the meat. Add the squash pulp and saute until soft, breaking up large pieces as you cook.
4. Season the meat and squash mixture with salt and pepper to taste. Then add the tumeric and cinnamon.

5. Add rice and tomato to the rest of the dish and stir to combine.


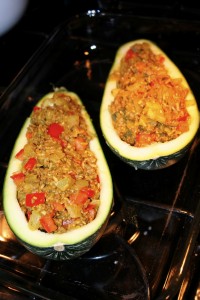
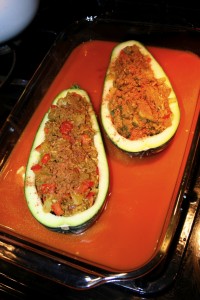
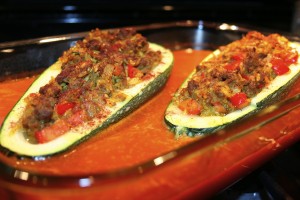
6. Stuff each squash half with the rice/beef/vegetable mixture. Reserve the fry pan. Place the halves in a 9X13 (oven safe) casserole dish. Top each squash off with cinnamon sprinkled on top.


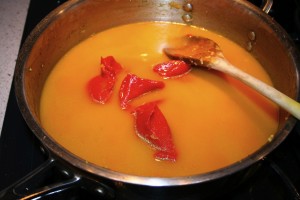
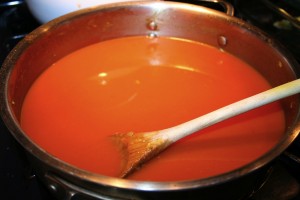
7. In the reserved fry pan add the broth and tomato paste over low heat and stir carefully to combine.


8. Carefully remove the soup mixture from the heat and pour into the squash dish.

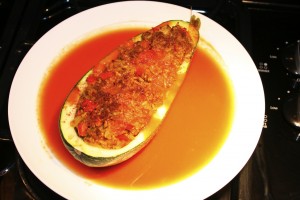
9. Bake for 20 minutes. Then cover with foil and bake for another 10 minutes. If you like the squash to be a little softer bake for another 5 minutes. Serve the stuffed squash with the broth mixture drizzled over each half and the plenty more to surrounding each half. Enjoy!

*Recipe Serves: 2 hungry people
*Recipe Source: Madison Sommerfield
*Recipe Inspirations: http://cucinapanzano.blogspot.com/2009/07/summer-squashcousa.html
http://www.myfreshlevant.com/2009/06/quinoa-stuffed-cousa-squash.html

Start Gardening: Part 5

Start Gardening: Part 5

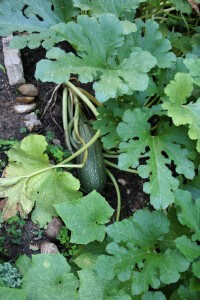
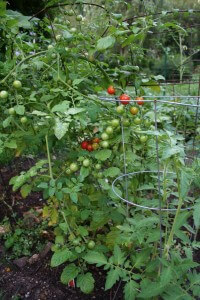
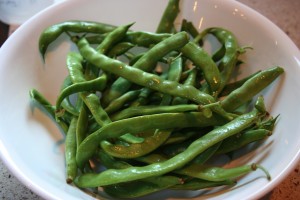
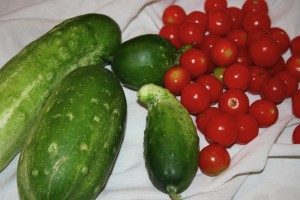
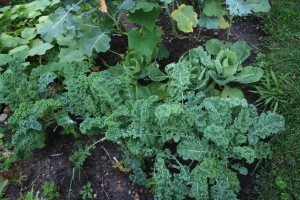
I was thrilled as I approached my garden and saw such large leaves and tall plants, thinking about how much it has grown. And then upon getting closer I jumped with joy at the site of produce ripe and ready to be picked…There it all sat ready for me…zucchinis, kale, tomatoes, cabbage, green beans, and cucumbers!

I think this is the most fun time of year to have a garden because its beginning to be harvest time! This year we’ve put quite a bit of work into our garden, so its really nice to be reaping the fruits of our labors.

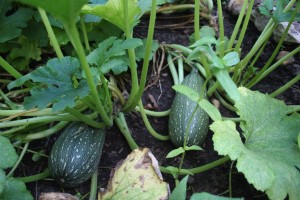
We left our garden with bags of produce; plenty to eat and some to share. I think our most exciting harvest were the zucchinis. As I approached them, all I could think, “is that this was not what I thought I planted.”

I thought I had planted the regular small, dark green zucchinis that you see in the grocery store. When in fact what I had planted are quite large and have white stripes on them. Sure enough after some research Matt and I discovered that what we had were Cousa Squash. These are middle eastern summer squash that is larger and thicker than regular zucchinis with whitish, green striping. They have a bit of a nuttier flavor than regular zucchinis as well.

We wondered what to do with these squash? I’ve never even heard of them. How do I prepare them?

I’m very excited to say, I’ve found quite a few ways to prepare them and can’t wait to share with you. So, look forward to my upcoming posts on various ways to use your zucchinis or cousa squash.

Closer Look: Apricots

Closer Look: Apricots

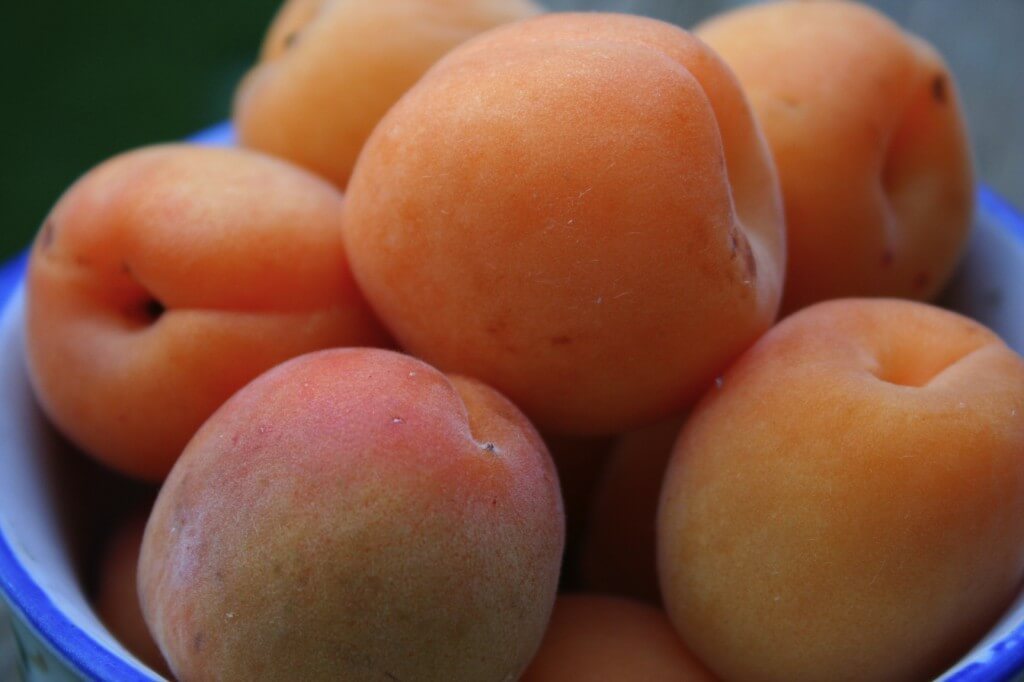
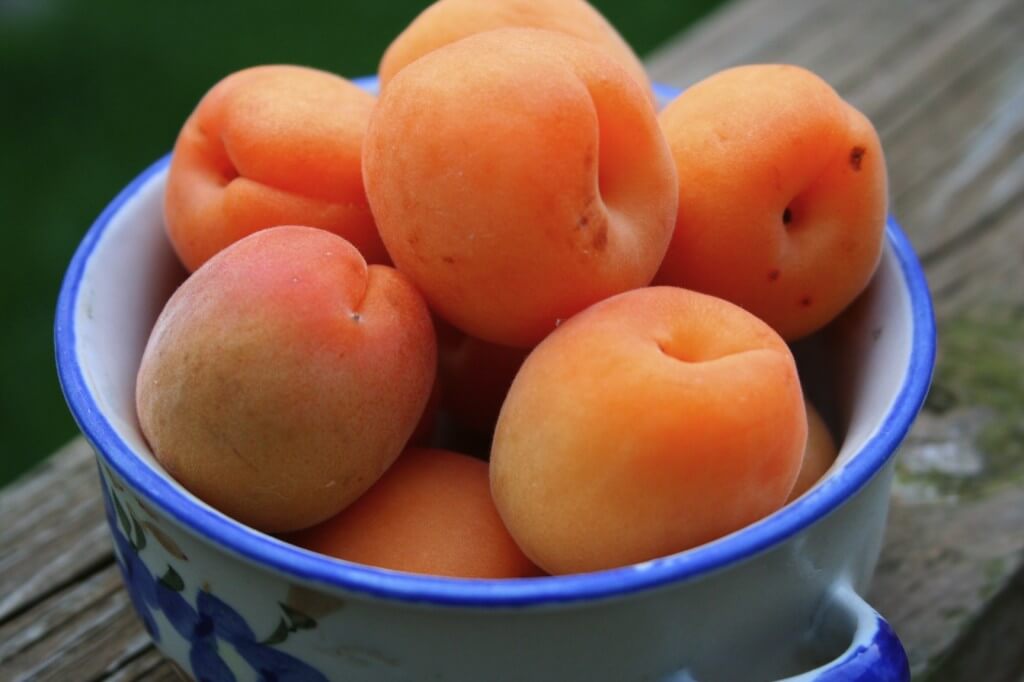
One thing I love about summer is the vast amount of fresh, ripe fruit. This time of year I get excited to go to the supermarket or farmer’s market because I know that an array of tasty jewels awaits me. And today I’m taking a Closer Look at just one of these ripe beauties: Apricots.

I remember my first encounter with Apricots. I was about 4 years old and my family and I were visiting my grandparents in McAllen, Texas. They had an Apricot tree in their yard and my grandmother, Nanny, baked Apricot pies. I remember thinking, “these are kind of like peaches, but look and taste a little different.” That’s where my intrigue with this fruit started.

Then for years I never saw Apricots other than dried ones, which I really enjoy, but wondered where the fresh ones are? Then I found them…ahhhh…sitting there in the fruit market, tiny, gold Apricots. I bought them that day and have been in love with them ever since. So, here’s a Closer Look at Apricots and why you should eat more of them.

What are Apricots?
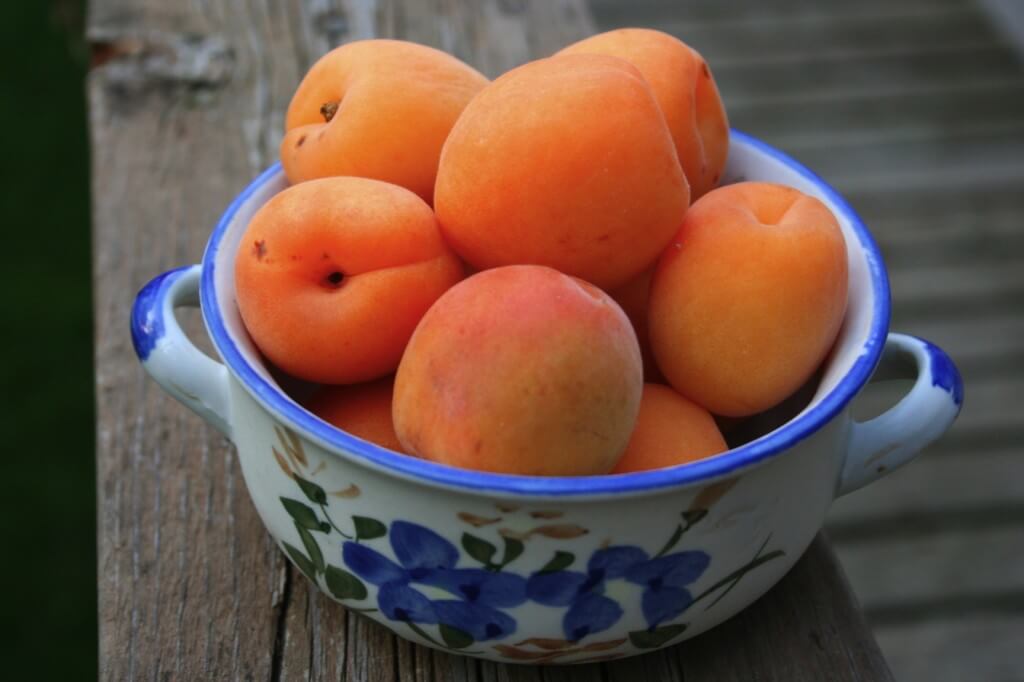
Related to peaches these golden little fruits are a bit smaller than peaches, but still have the fuzzy skin. They are in the stone fruit family along with peaches, plums, and nectarines because of the pit in the center of the fruit that is much like a stone. They’re not quite as juicy as peaches, but are still very sweet with a slight tartness. Apricots are in season until the Fall.

How to select the best Apricots?
These little guys should be free of bruises or mold spots. The color of the skin should be a bright golden color. The fruit should be firm, but you should be able to press into the skin a little.

What are the health benefits of Apricots?
In just one cup of Apricot halves you will get 60% of your daily amount of vitamin A, over 25% of your vitamin C, as well as vitamins K, E, and folate. These tiny golden fruits also offer calcium, iron, magnesium, and potassium. They will also help you to reach your daily amount of fiber.

How do you eat Apricots?
No need to even peal the skin off these little guys, since the fuzz is less than that of a peach. I recommend just biting into this tasty treat. A couple bites is all it will take. If you’re looking for a way to prepare these, you can use them in anything you’d use peaches in, like pies, cobblers, or on top of ice cream.

I hope this will encourage you to look for these sweet little golden guys the next time you’re at the fruit market. Eat up the tastes of summer while they last! Enjoy!

Resources:
http://nutritiondata.self.com/facts/fruits-and-fruit-juices/1827/2
http://www.whfoods.com/genpage.php?tname=foodspice&dbid=3
http://agsci.psu.edu/fphg/stone

Grilled Eggplant with Balsamic & Goat Cheese Goodness

Grilled Eggplant with Balsamic & Goat Cheese Goodness

Again last week I was checking out my local produce market and found Eggplant for sale for $0.59/ pound. “Wow huge deal,” I thought. But then I remembered, “I’ve never liked Eggplant anyway I’ve had it prepared. Its always been soggy and tasteless.” But, I’m like my mother in the way that I can hardly resist passing up a bargain, so the challenge was on!

My Challenge: To prepare eggplant in such a way that Matt and I would love it so much we’d just be waiting for it to go on sale again.

All I could think when I decided to purchase this cute little, purple squash-like veggie was that I’ve seen it in a variety of dishes people generally like, such as eggplant parmesan. There has to be a way to prepare it that enhances it’s natural God given goodness. I bought it with no idea how I was going to cook it, but picked up a few other veggies like cherry tomatoes, button mushrooms, and onions that were on sale as well…again, I’m a bargain shopper even when it comes to healthy food.

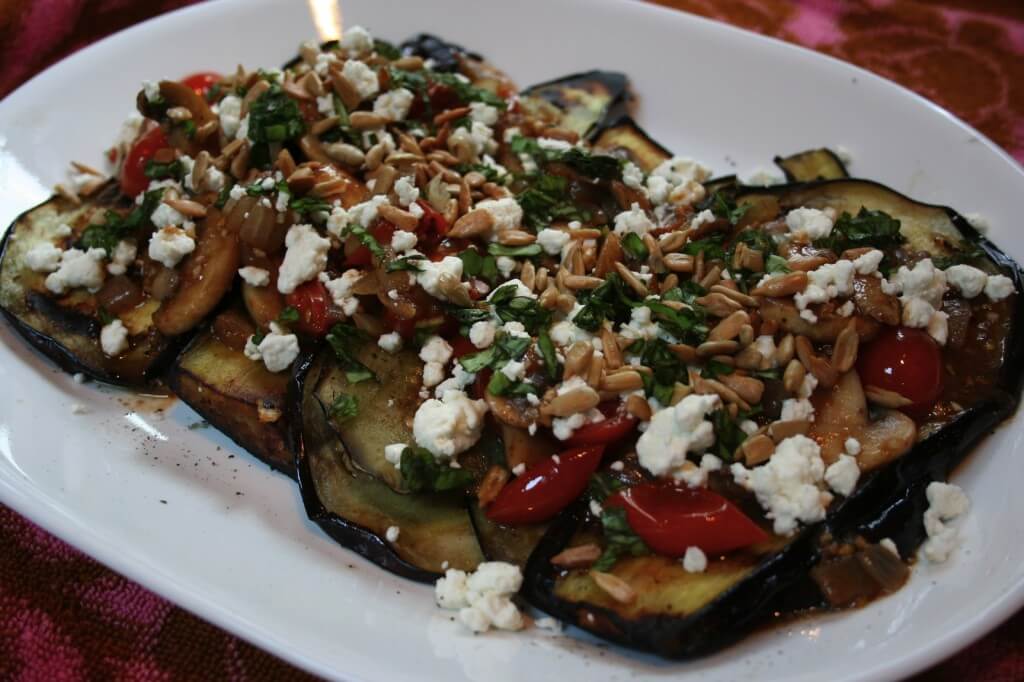
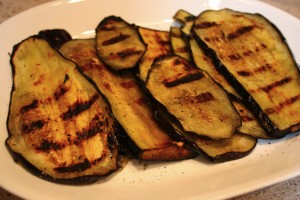
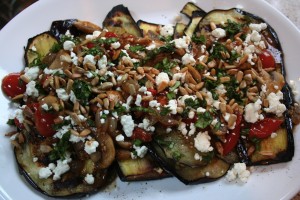
I pulled together a few ingredients and I’m happy to share that this Grilled Eggplant with Balsamic & Goat Cheese turned out so tasty! It’s my own recipe and I’m excited to share it with you. I hope this will encourage you to give Eggplant another try if you’ve never liked it in the past. And if you love it already, then here’s a new way to prepare it. Here’s to healthy cooking on a budget…Cheers!

*Goat Cheese is dairy, but many people such as myself that cannot tolerate dairy from a cow can tolerate a limited amount of dairy from goats or sheep. Its just a little different protein, possibly easier to digest. You should always check with your doctor if you have food allergies and are not sure about adding a new food into your diet.

Ingredients:
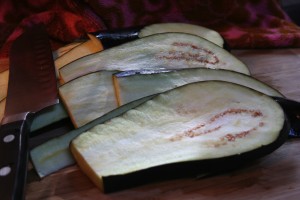
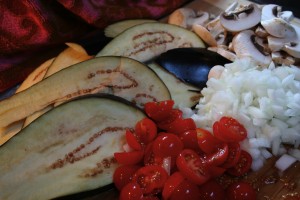
1 small eggplant, sliced lengthwise (about 1/4″ thick)
2 1/2 cups mushrooms, sliced
1 cup onion, diced
1 cup cherry tomatoes, sliced
1 teaspoon garlic, minced
1 tablespoon butter
4 tablespoons extra virgin olive oil
1 teaspoon fresh basil, chopped
1/2 cup sunflower seeds, unsalted
1/8 cup balsamic vinegar
1/4 cup to 1/2 cup crumbled goat cheese
salt and pepper to taste

Directions:
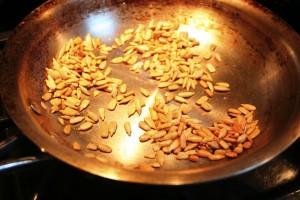
1. Saute sunflower seeds in a dry pan over low heat, stirring constantly, until slightly toasted. Set aside.

2. Preheat grill. Brush eggplant slices with olive oil on both sides, reserving 1 tablespoon. Cook eggplant on grill 2 to 4 minutes per side. Plate on serving platter.


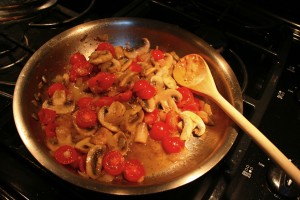
3. In a fry pan heat 1 tablespoon olive oil on medium high heat. Saute mushrooms, onions, garlic and tomatoes until onions are translucent. Stir in butter and salt and pepper to taste.
4. Remove pan from heat and swirl in balsamic vinegar.
5. Pour veggie mixture over platted Eggplant. Crumble goat cheese, basil and sunflower seeds over top. Serve and enjoy!

*Why use sunflower seeds? I call them the poor woman’s pine nuts. Normally for a dish like this I’d use pine nuts toasted over top, but they are pretty pricey. I’ve found sunflower seeds add the same crunch and flavor for a whole lot less.

*Recipe Source: Madison Sommerfield
*Recipe Serves: 4 people

Grilled Portabella Mushrooms

Grilled Portabella Mushrooms

Third day without electricity and I’m ready for it to turn on anytime now. Over 800,000 people without power after the storm on Monday. Apparently there are only 150,000 people left without power today and I’m one of them. Oh well, can’t complain too much…life without electricity has been surprisingly peaceful. Needless to say, I’m seeking refuge again in the coffee shop.

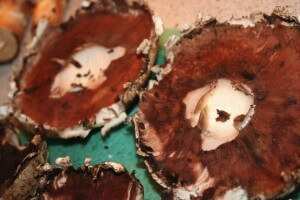
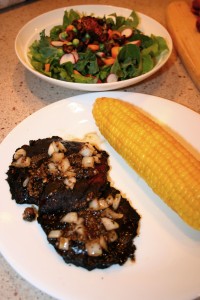
Last week I was perusing through the supermarket and saw Portabella Mushrooms on a major sale. Admittedly, I have to say I’ve never tried them, but I’ve always heard good things from other people. So I decided to give them a shot and I really enjoyed them. Check out how I prepared them and enjoy them for yourself.

I suggest marinating Portabella Mushrooms, as they take on the flavor of whatever you cook them in. They make a really great vegetarian and vegan meal, so give them a try!

Ingredients:
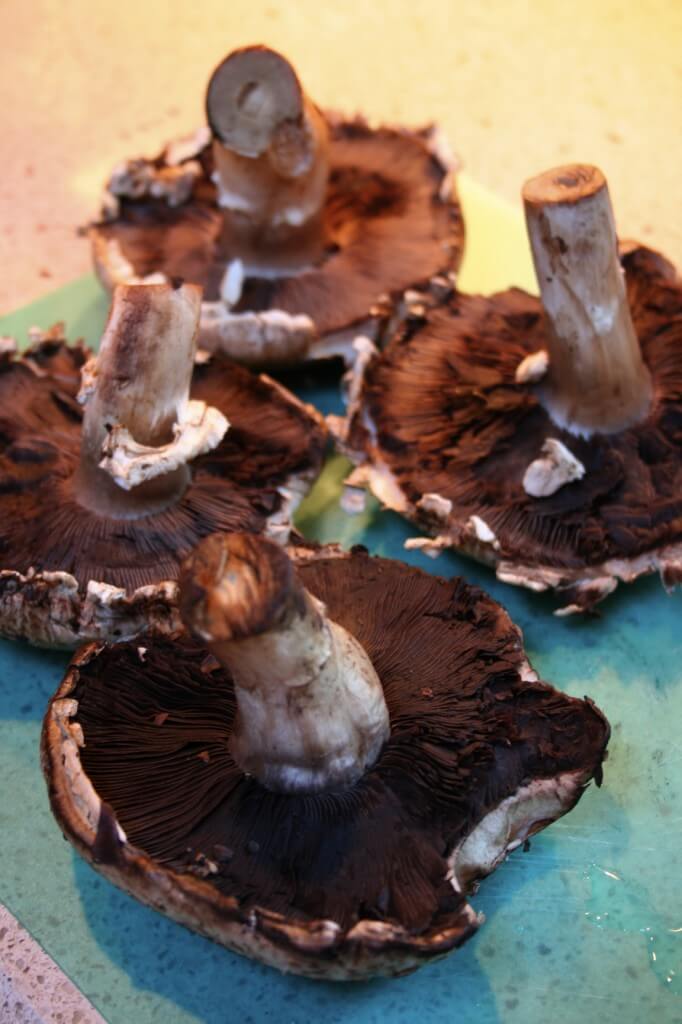
4 medium sized portabella mushrooms
1/4 cup olive oil
4 tablespoons balsamic vinegar
4 cloves minced garlic
1 tablespoon dried basil
4 tablespoons onion, chopped

Directions:
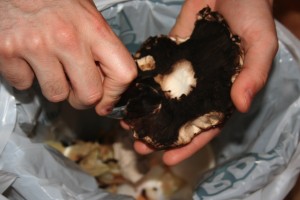
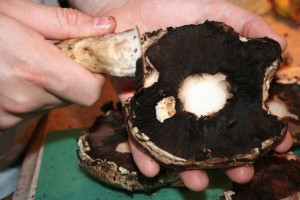
1. Clean mushrooms by removing dirt from outer part of mushroom cap, breaking off the stems (reserve), and scrapping off the underside (black part) of the mushroom. Set aside.


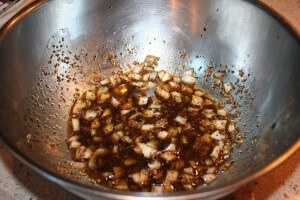
2. With a whisk combine remaining ingredients in a medium sized mixing bowl.


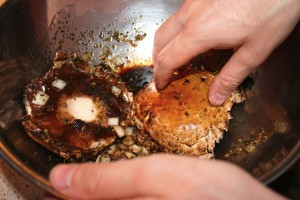
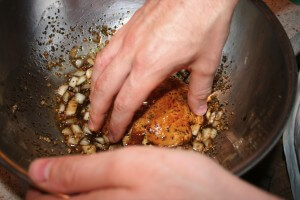
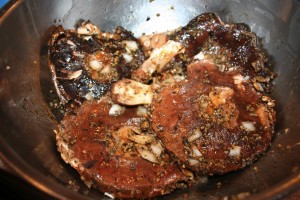
3. Coat mushroom caps and stems in marinade and soak in marinade for up to 1 hour (not in refrigerator).


4. Heat grill to medium heat and grill mushrooms and stems over hot coals for 10 minutes. If using gas grill be careful not to burn.


5. Serve Portabella’s with remaining marinade poured over top. Serve the stems cut into small pieces in a tossed salad as they tend to be tougher. Enjoy!

*Recipe Serves: 2 people
*Recipe Source: Madison Sommerfield

Andouille & Shrimp Jambalaya

Andouille & Shrimp Jambalaya

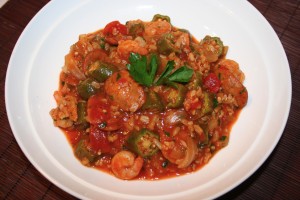
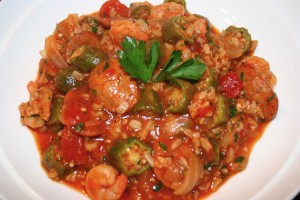
As promised here is how I used okra in my cooking. I made this very tasty Jambalaya. This version of this famous Cajun dish combines the spicy flavors of the andouille sausage and cayenne pepper, but is balanced perfectly for your palette with the flavors of the shrimp, okra, tomatoes and rice.

I especially love this one because its a one-pot meal that serves 4 to 6 people. If you’re like me and you have less people to serve, you can still make the full batch and enjoy the rest for tasty leftovers. It looks like a lot of ingredients, but most are canned goods or common items in your spice rack, so don’t be intimidated. This is truly allergen-free comfort food!

*If you’re not a fan of shrimp you can substitute them for 4-6 bone-in chicken thighs. Check out the note at the bottom of the recipe to see how to make this substitution.

Ingredients:
1 tablespoon olive oil
1 large onion, diced
2 cloves garlic, minced
6 ounces gluten free Andouille Sausage, sliced (I used Trader Joe’s Chicken Andouille Sausages)
1 cup uncooked long grain rice, rinsed
2 cups gluten free chicken broth
1 (14.5 oz) can chopped tomatoes in juice
1/4 cup tomato sauce
1 pound raw shrimp, peeled and de-veined
1/4 teaspoon cayenne pepper, to taste
1/2 teaspoon dried oregano
1/2 teaspoon dried thyme
1/4 teaspoon pepper
1/2 cup fresh parsley, chopped
1 cup chopped okra

Directions:
1. Saute okra with a little oil in a large sauce pan, stirring frequently until slightly cooked. Set aside.
2. In the same pan heat olive oil. Add onions and sausage and saute for 5 minutes, stirring often and adding more oil if needed. Add uncooked rice and cook for 2 minutes.
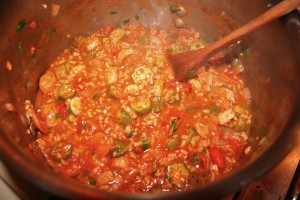
3. Add chicken broth, tomatoes with liquid and tomato sauce and cook over medium heat until mixture begins to boil. Reduce to simmer; cover and cook for 20 to 25 minutes.
4. Add shrimp, spices and cook for 5 minutes more. Stir in cooked okra. Taste and adjust seasonings. Garnish with parsley and serve!

*To make this recipe with bone-in chicken thighs instead of shrimp, simply follow the recipe directions up to step 3 then when the temperature is reduced to a simmer place chicken pieces on top of rice mixture. Then cover and simmer mixture for 25 minutes and continue the remaining steps of the recipe.

*Recipe Source: Living Without: Gluten-Free, Dairy-Free Recipes, Naturally Sweetened, February/ March 2011, Article: One-Pot Meals, by Sueson Vess

Closer Look: Okra

Closer Look: Okra

Today I’m taking a Closer Look at Okra…not Oprah…Okra. You know its that thing they deep fry down South! If you’re not from the South you may never have really tasted or even seen Okra. My Southern mother has always talked about how she loves fried Okra, but I had never really tasted it or cooked with it for myself.

I can’t say I ever really even thought about using Okra in my cooking, until I ran across a recipe a couple weeks ago that called for it. Being the adventurous foodie that I am, I thought “yes, a new food to try.” I didn’t even know if I would be able to find it at my local supermarket, but sure enough it was there and on sale…even better! So, let’s take a Closer Look at this Southern favorite.

What is Okra?
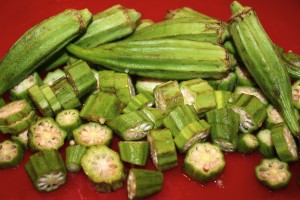
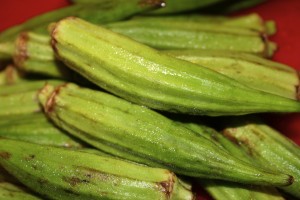
Okra is a plant (crop) grown in tropical, warm climates. In fact, its a staple vegetable in hot, tropical regions. The edible part of the plant is the “fibrous fruit” or pod that shoots off the plants’ stalks. Inside each pod lies tons of small white seeds…don’t worry the seeds are really soft and edible. When you cut into each pod you’ll notice there’s a thick liquid that surrounds the seeds. Cook it and you’ll never notice that texture of the liquid or the seeds.

The pods are harvested off the plant before they’re fully matured and are eaten as a vegetable, most often cooked somehow in the preparation.

How to select the best Okra?
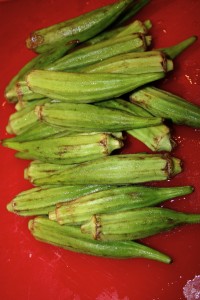
Look for small fresh, crisp, green pods that are free of mold and large spots. Once you get the pods home, store in the fridge and prepare while they’re still fresh.

What are the health benefits of Okra?
Okra is high in fiber, which is perfect for keeping your weight down and your digestion working properly. The combo of the fiber and thick liquid contained in the pods assist your body’s natural peristalsis, moving food through your intestines, preventing constipation.

These pods are loaded with anti-oxidants and vitamins A, K, C and folate. Okra is a great source of minerals as well, including iron, calcium, manganese, phosphorous, potassium and magnesium. Okra’s glycemic load is low (its low in carbs), meaning it won’t spike your blood sugar.

How do you prepare Okra?
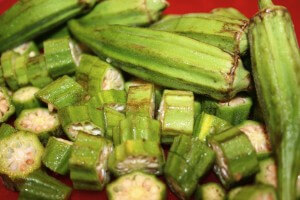
Start by thoroughly washing the pods with cold water. For most preparation methods you’ll need to cut away the crown and tips and cut the pods into small sections. You can then batter and deep fry if you so choose. But, there are much healthier ways to prepare it like pan frying it with other veggies. Or try boiling it or adding it to stews. You can also pickle whole Okra pods. Can’t say I’ve ever had it pickled, but I’ve heard its delicious.

Stay tuned this week to see my recipe I made with Okra.

Resources:
http://www.nutrition-and-you.com/okra.html

http://nutritiondata.self.com/facts/vegetables-and-vegetable-products/2498/2

Closer Look: Kefir

Closer Look: Kefir

Today I’m taking a closer look at Kefir. When you have to eliminate foods from your diet like I have had to do over the last few years, you have to add new foods back into your diet or you tend to eat the same things over and over again. One of the new foods that I have more recently discovered is Kefir.

What is Kefir?
According to Dr. Mercola, “Kefir is an ancient, cultured enzyme-rich food full of friendly microorganisms that balance your ‘inner ecosystem’ and strengthen immunity.” Think of Kefir as a yogurt you drink. Kefir itself is a grain that is gluten free and is used to culture milk to turn it into a type of yogurt that has become known as Kefir. So, when people refer to Kefir most of the time they’re referring to the cultured milk product not the actual grain.

Why eat Kefir?
Kefir is full of good bacteria, vitamins, minerals, and proteins. Ancient cultures from all over the world have used yogurt type foods to cure all sorts of ailments from gastrointestinal problems, to skin irritations, to sinus and breathing issues. Modern medicine has tried all kinds of foreign substances to heal these health issues and they are now resorting back to this ancient wisdom of health and healing. You’ve seen the evidence of this on tv even; you know Activia yogurt and Align probiotic supplements. Kefir is a traditionally consumed in Russia and the Middle East.

Basically good bacteria (pre and probiotics) help to maintain your intestinal balance. The good bacteria fight off the bad, disease causing bacteria, as well as unhealthy yeasts that can over run your body. Cultured foods found in people’s diets all over the world provide these good bacterias that keep your gut healthy and therefore keep your immune system in top working condition. These cultured foods include natto, kimchee, miso, tempeh, pickles, olives, sauerkraut, yogurt, and kefir. I can’t say I know what all of these are, so that’s why we’re starting with kefir.

Why you should eat Kefir if you’ve taken rounds of antibiotics for other health issues?
Kefir is a natural source of good bacterias that are beneficial to your immune system function. If you’ve suffered from any illness that has resulted in you having to take many antibiotics Kefir would be a great food for you to incorporate into your diet. Antibiotics do help to treat various sicknesses like sinus infections, tonsil infections, and a variety of other infections, but they also wipe out your body’s natural good bacterias as well. This lack of good bacterias can make you very susceptible to another infection of the same or a different kind or can lead to a variety of stomach or intestinal issues.

After antibiotics always follow with a protocol of probiotics for a few months to build your good bacterias back up. Try Kefir to assist with this.

Why try Kefir rather than yogurt?
Kefir contains many more strands of beneficial bacteria than yogurt does. It also contains many beneficial yeasts as well.

For more detailed information check out this resource: http://www.kefir.net/kefiryogurt.htm

What if I can’t eat dairy, can I still eat Kefir?
Kefir is generally cultured cow, sheep, or goat’s milk. If you are lactose intolerant you may still be able to eat Kefir as the good bacteria in it consume most of the lactose. If you’re like me and you cannot tolerate other parts of dairy like the casein, then try coconut milk Kefir.

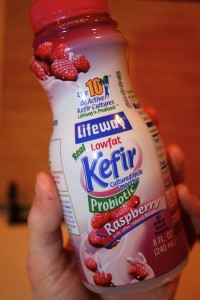
I know you can make your own, but I haven’t gotten that adventurous yet. I found this cultured coconut milk drink (pictured above) (So Delicious brand’s Cultured Coconut Milk) at Whole Foods. Its a little different from traditional Kefir in that this particular one uses inulin from chicory root to ferment it, but its the same idea.

How to eat Kefir?
Drink it straight. Pour it over berries or granola. Blend it with fruit to make a smoothie.

Where do I buy Kefir?
Health food stores and Whole Foods are great places to start looking. But, I’ve also found the regular Kefir (cow’s milk) at grocery stores that carry a variety of cultural foods.

You can also make your own Kefir, which is probably very cost efficient and also ensures that you’ll get the highest potency of the good bacterias. I have to admit that I haven’t tried this yet, but definitely plan on it in the future. If you want to try making your own you can buy the Kefir grains onlne from a variety of sources and most of them show you exactly how to do it.

Here are some resources to get you started:
http://www.kefir.net/sources.htm

http://rawglow.com/blog/2009/08/15/your-guide-to-making-raw-coconut-kefir/

http://www.thenourishinggourmet.com/2009/03/coconut-kefirs-health-benefits.html

Other Resources:
http://articles.mercola.com/sites/articles/archive/2009/12/08/Top-12-Foods-for-Healthy-Immune-Response.aspx

http://www.celiac.com/gluten-free/topic/3238-kefir/

Buttery Shrimp & Radish Pasta

Buttery Shrimp & Radish Pasta

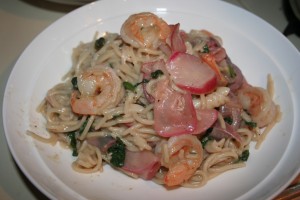
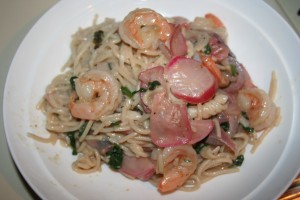
As promised here is one of my new favorite recipes that uses radishes. Its a delicious flavor combination that swirls together the flavors from the buttery shrimp, the spicy radishes, and a touch of garlic to create this dish. This pasta dish really hit the spot for me. I love pasta dishes but can only eat it when I make it, as gluten free and dairy free recipes in restaurants is still a challenge. So this one is a nice change to my staple pasta with pasta sauce.

This recipe is a great choice for someone who isn’t sure if they like radishes or not, as cooking them mellows out their flavor a bit.

Ingredients:
Coarse salt and ground pepper to taste
3/4 pound Gluten Free linguine or other long pasta
1/4 cup unsalted butter (if you can’t eat butter you could use margarine or just olive oil)
2 cloves minced garlic
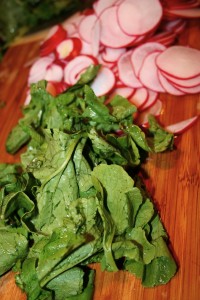
1 large bunch radishes, thinly sliced (I used a mandalin) with greens rinsed well and roughly chopped
1/2 red onion, sliced
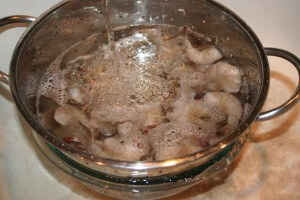
1 pound frozen large shrimp, peeled, deveined, and thawed

Directions:
1. Cook pasta in a large pot of boiling salt water; drain and set aside, reserving 1 cup of pasta water. Add 2 tablespoons butter to the pasta and toss until it melts; keep pasta warm.


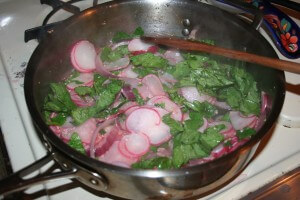
2. Meanwhile in a large skillet melt 1 tablespoon butter over medium high heat. Add garlic, onions and radishes and cook, stirring occasionally until radishes are crisp-tender, 3 minutes.
3. Add radish greens and cook until wilted, seasoning with salt and pepper. Then add to pasta and stir to combine.


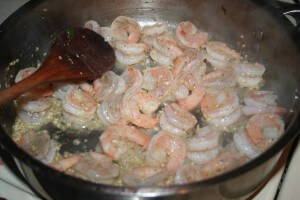
4. In the same skillet you used to cook the veggies, melt 1 tablespoon butter. Add the shrimp, seasoning with salt and pepper. Cook, stirring occasionally, until the shrimp are opaque throughout, about 4 minutes. (They will curl up and turn a slightly orange color when cooked through).
5. Add shrimp to pasta and toss, adding enough pasta water to create a light sauce that coats pasta. Serve and enjoy!
I suggest to make this recipe make sure to cut up all the veggies first and to peel, devein and thaw the shrimp before you begin cooking. I added onion to the original recipe to add extra flavor.

*Recipe serves 4 people
*Recipe source Everyday Food: A Martha Stewart Magazine, April 2011 Issue