Simple Citrus Salmon

Simple Citrus Salmon

I love the fresh flavors of summer…Less prep, lots of fresh produce, and lighter meals, which means more time for fun in the sun! This Citrus Salmon recipe is one of my favorite ways to prepare not only salmon, but it works really well for a variety of white fish (like perch) as well. Its super simple and really delicious.

Just a few fresh ingredients and you’re on your way to a delicious meal that tastes like it was a ton of work. Enjoy!

Ingredients:
2 salmon fillets (or other fish fillets, perch worked especially well with this recipe too)
Kosher salt and pepper to taste
Extra virgin olive oil (to drizzle)
1 orange sliced (you can also try this one with grapefruit as well)
Fresh rosemary sprigs (dried rosemary works fine as well)

Directions:
1. Preheat oven to 400 degrees. Dry fish fillets with paper towel and sprinkle both sides with salt and pepper.
2. Drizzle a little olive oil in the bottom of a rimmed baking sheet. Arrange half the orange slices on the bottom of the pan. Sprinkle dried rosemary on top of oranges or place a few sprigs of fresh rosemary.

3. Place salmon fillets on top of orange slices. Sprinkle with more rosemary or place more rosemary sprigs on top of salmon.
4. Drizzle with a little more olive oil. Arrange remaining orange slices on top of fish fillets.

5. Bake in the oven for 20 to 25 minutes or until the fish fillets are light and flaky.
6. Serve with baked sweet potatoes and a fresh salad and enjoy!

*Serves 2 people. I plan one fish fillets per person. Low in calories and full of flavor. Talk about an orange meal!

Southern Chicken Saute with Corn Grits

Southern Chicken Saute with Corn Grits

Last week we harvested our first batch of radishes from our garden. We got so excited we cut them up before I had a chance to take any photos. I like to use all parts of the vegetable that are eatable, so that meant using the radish greens too. I had a dish all picked out to cook using these greens. It was one of those nights where I knew I had certain ingredients on hand (andouille sausage this night in particular) and was excited to cook with it. And I went to prepare what I had planned and the andouille sausage was spoiled…blahh! I hate wasting.

Disappointed, I knew I still needed to make something for dinner. Using the ingredients I had at home, I created this recipe and it turned out really tasty. So, I thought I’d share it with you. It was the perfect Southern comfort food, a little spicy, full of flavor, and its served with buttery corn grits. It looks like a lot of ingredients, but I had most of this hanging around my fridge or pantry, so I encourage you to be inspired and substitute as you see fit. Hope you’ll enjoy this one!

Ingredients:
3 to 4 boneless, skinless chicken thighs
1 medium onion, diced
1/2 green pepper, diced
3 cups greens, chopped (Choose one: radish greens, spinach, kale, mustard greens, collard greens)
1 tablespoon olive oil
1 teaspoon garlic, minced
2 large tomatoes, diced (could use can tomatoes if you choose)
1/2 cup tomato sauce
1/2 teaspoon red pepper flakes
1 teaspoon season salt
1/2 teaspoon hot sauce
2 bay leaves
3/4 cup chicken broth
1/4 cup flour (gluten free in my case)
salt and pepper to taste
Corn grits (prepared according to package)

Directions:
1. Salt and pepper chicken thighs.
2. Heat oil in large skillet and sear both sides of the chicken thighs. Set chicken aside after both sides are slightly browned and chicken is not cooked fully through.
3. Saute onions, garlic, and green pepper in the same pan over medium heat until slightly transparent.
4. Stir in tomatoes, tomato sauce, red pepper flakes, season salt, bay leaves, hot sauce and chicken broth into pan.
5. Bring down to a simmer. Add chicken back into pan. Cover and cook on simmer for 40 minutes or until chicken is cooked through. Stir occasionally and flip chicken halfway through.
6. Stir in greens. Then stir in the flour until everything is combined.
7. Serve over hot, buttery corn grits and enjoy!

*Recipe Source: Madison’s original recipe
*Serves 4

Re-purpose It: Garden Stakes

Re-purpose It: Garden Stakes

This year has been a perfect growing season in the Chicagoland area, hot sunny days and plenty of rain. My garden is growing nicely. My hubby and I decided to plant such a variety of produce in our garden and I’m always loosing track of what’s planted where. So, I decided I needed garden stakes to mark each item. You know me…I never really think, “oh I’ll just go buy that.” I’m such a do-it-yourselfer, I always seem to think “how can I make it.”

I stopped by the thrift store and found tons of dinner knives (odds and ends from many different sets) and bought a hand full. I broke out my acrylic paints and painted away. To prevent the paint from peeling off of the metal I double coating each knife with water based polycrylic.

I love this Re-purpose It project because it gives these old unwanted items a new life! Talk about ‘Going Green,’ I think Re-purposing old items is the ultimate way to ‘Go Green.’ The various shapes and details on each knife really makes for such a wonderful variety.

Dinner knives work perfectly for these Garden Stakes because the knife end holds really well into the ground. Hope you feel inspired today!

Andouille & Shrimp Jambalaya

Andouille & Shrimp Jambalaya

As promised here is how I used okra in my cooking. I made this very tasty Jambalaya. This version of this famous Cajun dish combines the spicy flavors of the andouille sausage and cayenne pepper, but is balanced perfectly for your palette with the flavors of the shrimp, okra, tomatoes and rice.

I especially love this one because its a one-pot meal that serves 4 to 6 people. If you’re like me and you have less people to serve, you can still make the full batch and enjoy the rest for tasty leftovers. It looks like a lot of ingredients, but most are canned goods or common items in your spice rack, so don’t be intimidated. This is truly allergen-free comfort food!

*If you’re not a fan of shrimp you can substitute them for 4-6 bone-in chicken thighs. Check out the note at the bottom of the recipe to see how to make this substitution.

Ingredients:
1 tablespoon olive oil
1 large onion, diced
2 cloves garlic, minced
6 ounces gluten free Andouille Sausage, sliced (I used Trader Joe’s Chicken Andouille Sausages)
1 cup uncooked long grain rice, rinsed
2 cups gluten free chicken broth
1 (14.5 oz) can chopped tomatoes in juice
1/4 cup tomato sauce
1 pound raw shrimp, peeled and de-veined
1/4 teaspoon cayenne pepper, to taste
1/2 teaspoon dried oregano
1/2 teaspoon dried thyme
1/4 teaspoon pepper
1/2 cup fresh parsley, chopped
1 cup chopped okra

Directions:
1. Saute okra with a little oil in a large sauce pan, stirring frequently until slightly cooked. Set aside.
2. In the same pan heat olive oil. Add onions and sausage and saute for 5 minutes, stirring often and adding more oil if needed. Add uncooked rice and cook for 2 minutes.
3. Add chicken broth, tomatoes with liquid and tomato sauce and cook over medium heat until mixture begins to boil. Reduce to simmer; cover and cook for 20 to 25 minutes.
4. Add shrimp, spices and cook for 5 minutes more. Stir in cooked okra. Taste and adjust seasonings. Garnish with parsley and serve!

*To make this recipe with bone-in chicken thighs instead of shrimp, simply follow the recipe directions up to step 3 then when the temperature is reduced to a simmer place chicken pieces on top of rice mixture. Then cover and simmer mixture for 25 minutes and continue the remaining steps of the recipe.

*Recipe Source: Living Without: Gluten-Free, Dairy-Free Recipes, Naturally Sweetened, February/ March 2011, Article: One-Pot Meals, by Sueson Vess

Closer Look: Okra

Closer Look: Okra

Today I’m taking a Closer Look at Okra…not Oprah…Okra. You know its that thing they deep fry down South! If you’re not from the South you may never have really tasted or even seen Okra. My Southern mother has always talked about how she loves fried Okra, but I had never really tasted it or cooked with it for myself.

I can’t say I ever really even thought about using Okra in my cooking, until I ran across a recipe a couple weeks ago that called for it. Being the adventurous foodie that I am, I thought “yes, a new food to try.” I didn’t even know if I would be able to find it at my local supermarket, but sure enough it was there and on sale…even better! So, let’s take a Closer Look at this Southern favorite.

What is Okra?
Okra is a plant (crop) grown in tropical, warm climates. In fact, its a staple vegetable in hot, tropical regions. The edible part of the plant is the “fibrous fruit” or pod that shoots off the plants’ stalks. Inside each pod lies tons of small white seeds…don’t worry the seeds are really soft and edible. When you cut into each pod you’ll notice there’s a thick liquid that surrounds the seeds. Cook it and you’ll never notice that texture of the liquid or the seeds.

The pods are harvested off the plant before they’re fully matured and are eaten as a vegetable, most often cooked somehow in the preparation.

How to select the best Okra?
Look for small fresh, crisp, green pods that are free of mold and large spots. Once you get the pods home, store in the fridge and prepare while they’re still fresh.

What are the health benefits of Okra?
Okra is high in fiber, which is perfect for keeping your weight down and your digestion working properly. The combo of the fiber and thick liquid contained in the pods assist your body’s natural peristalsis, moving food through your intestines, preventing constipation.

These pods are loaded with anti-oxidants and vitamins A, K, C and folate. Okra is a great source of minerals as well, including iron, calcium, manganese, phosphorous, potassium and magnesium. Okra’s glycemic load is low (its low in carbs), meaning it won’t spike your blood sugar.

How do you prepare Okra?
Start by thoroughly washing the pods with cold water. For most preparation methods you’ll need to cut away the crown and tips and cut the pods into small sections. You can then batter and deep fry if you so choose. But, there are much healthier ways to prepare it like pan frying it with other veggies. Or try boiling it or adding it to stews. You can also pickle whole Okra pods. Can’t say I’ve ever had it pickled, but I’ve heard its delicious.

Stay tuned this week to see my recipe I made with Okra.

Resources:
http://www.nutrition-and-you.com/okra.html

http://nutritiondata.self.com/facts/vegetables-and-vegetable-products/2498/2

Start Gardening Part 3

Start Gardening Part 3

With warm sunshine and lots of rain, my garden is growing very nicely. The seeds have sprung into sprouts that have pushed their little heads through the soil and are now reaching for the warm Spring sun. The lettuce, cabbage, broccoli, spinach, peas, radishes and kale are loving the cooler days. And as the sun starts to warm the rich soil in the next week, it’ll soon be time to plant the tomatoes, squash, and cucumbers outside.

So, how do you prepare your seedlings you planted in containers indoors for planting in your garden outside?

Once the seedlings begin to lose their first leaves, grow their true leaves and are gaining height quickly you know they are almost ready to be planted outdoors.

Next, its time to move the seedlings in their containers outdoors. They should be placed somewhere outdoors where they’ll get some sunlight but not a full days’ worth of hot sun. Make sure to keep them well watered and watch how low the temperatures fall at night. If the temps are dropping low bring them indoors. They should stay in their containers outdoors for about a week in order to be properly acclimated.

Once your seedlings begin to sprout in your garden, what’s the next step?

If you’re like me, when you read a seed packet and it says to plant the seeds however many inches apart, you think, “but if I plant more that’s even better.” Sorry to say like I found out, wrong…The seedlings won’t continue to grow to maturity unless they have enough room, sunlight, and water. And if they’re planted too close together they rob each other of all three.

So, once your seedlings begin to sprout through the soil, you have to cut some of the seedlings back so the remaining ones will continue to grow larger. Cut them down at the soil level, leaving enough seedlings properly spaced according to the specific seedling packet.

Once you’ve cut down all those little seedlings that weren’t spaced far enough apart, don’t throw them out.
Did you know you can eat the spinach, lettuce, and radish seedlings? I added the seedlings to a some store bought lettuce and had my first taste of my garden produce…even as small as it was.

Make sure to watch your garden plot to see if any little critters have been enjoying your garden space. I found that a few neighborhood deer just loved tromping through my little garden plot, so some fencing was in order.

Enjoy your yard this growing season by joining me and growing your own food!

Mac & Cheese with Sausage

Mac & Cheese with Sausage

After a little bloggin’ break last week, I’m back and diving right in to a new tasty recipe!

So, I’ve been dairy free and egg free for almost 2 and a half years and gluten free for almost a year and a half now. I follow this diet pretty stringently, as I feel so much better when I eat this way. People always ask me “how do you do it?” and say “I could never do that.” My response: By the grace of God I am able to follow this diet and eat an abundant variety of foods even on this strict diet. And if you felt as bad as I did 2 years ago, you would be able to do it too.

Despite my new outlook on food and disciplined eating habits, the one thing I have been craving for 2 and half years is….duh, duh, duh…drumroll…….MAC & CHEESE! Yes, I am dairy free and have a serious obsessive love for cheese….terrible, I know. And yes, even after 2 and a half years of not partaking, this wonderful food has left a great impression I don’t think I’ll ever stop craving.

Long story short, I’ve gone to the health food store a few times, paid 6 bucks for a block of “cheese” (rice cheese, veggie cheese, soy cheese) that says “It Melts” on the package. Sure enough I get it home and it doesn’t melt and tastes like salty rubber…yum. So, I pretty much gave up on using cheese substitutes…until…(heavenly sound) ahhhhh…I found this cheese substitute.

Daiya cheese has been a new found love of my palette. It tastes really good, replicates cheese really well, and it actually melts without a rubbery texture. This one is also casein free. I tried one cheese substitute that was really good, but still had casein (another protein found in dairy that people who are lactose intolerant can often still tolerate) which made me sick. I buy Daiya cheese at Whole Foods and can now make Mac & Cheese. So, here’s the Mac & Cheese with Sausage I made.

Ingredients:
3 cups (12 ounces) gluten free elbow pasta or other short pasta
3-4 Italian sausages (casings removed) or about 1 pound ground Italian sausage (mild or hot)
1 1/2 cups frozen corn
1 cup gluten free chicken stock
2 1/2 cups shredded cheese (dairy free cheese)
*Note: if you’re using real cheese, I recommend you use half Velveeta and half shredded cheese.

Directions:
1. Lightly oil a deep oven proof baking dish.
2. Cook pasta in salted water until al dente. Drain and transfer to prepared baking dish.
3. While pasta is cooking, saute sausage until brown. Add corn, stirring to combine.
4. Using a wooden spoon, gently fold meat mixture into pasta.
5. Heat chicken stock in saucepan until hot but not boiling. Remove from heat add 2 cups cheese. Stir until smooth and pour over pasta. Gently toss to coat.
6. Top mixture with remaining cheese. Cover dish with wet paper towel and microwave on medium high for 5 minutes or until bubbly. Enjoy!

I served my Mac & Cheese with Sausage as the main coarse with a veggie side of steamed broccoli. Craving satisfied…although I’m craving it now just writing about it!

*Recipe Source: Living Without: The Magazine for People with Allergies and Food Sensitivities. Feb/ March 2011 edition. Article by Beth Hillson

Closer Look: Kefir

Closer Look: Kefir

Today I’m taking a closer look at Kefir. When you have to eliminate foods from your diet like I have had to do over the last few years, you have to add new foods back into your diet or you tend to eat the same things over and over again. One of the new foods that I have more recently discovered is Kefir.

What is Kefir?
According to Dr. Mercola, “Kefir is an ancient, cultured enzyme-rich food full of friendly microorganisms that balance your ‘inner ecosystem’ and strengthen immunity.” Think of Kefir as a yogurt you drink. Kefir itself is a grain that is gluten free and is used to culture milk to turn it into a type of yogurt that has become known as Kefir. So, when people refer to Kefir most of the time they’re referring to the cultured milk product not the actual grain.

Why eat Kefir?
Kefir is full of good bacteria, vitamins, minerals, and proteins. Ancient cultures from all over the world have used yogurt type foods to cure all sorts of ailments from gastrointestinal problems, to skin irritations, to sinus and breathing issues. Modern medicine has tried all kinds of foreign substances to heal these health issues and they are now resorting back to this ancient wisdom of health and healing. You’ve seen the evidence of this on tv even; you know Activia yogurt and Align probiotic supplements. Kefir is a traditionally consumed in Russia and the Middle East.

Basically good bacteria (pre and probiotics) help to maintain your intestinal balance. The good bacteria fight off the bad, disease causing bacteria, as well as unhealthy yeasts that can over run your body. Cultured foods found in people’s diets all over the world provide these good bacterias that keep your gut healthy and therefore keep your immune system in top working condition. These cultured foods include natto, kimchee, miso, tempeh, pickles, olives, sauerkraut, yogurt, and kefir. I can’t say I know what all of these are, so that’s why we’re starting with kefir.

Why you should eat Kefir if you’ve taken rounds of antibiotics for other health issues?
Kefir is a natural source of good bacterias that are beneficial to your immune system function. If you’ve suffered from any illness that has resulted in you having to take many antibiotics Kefir would be a great food for you to incorporate into your diet. Antibiotics do help to treat various sicknesses like sinus infections, tonsil infections, and a variety of other infections, but they also wipe out your body’s natural good bacterias as well. This lack of good bacterias can make you very susceptible to another infection of the same or a different kind or can lead to a variety of stomach or intestinal issues.

After antibiotics always follow with a protocol of probiotics for a few months to build your good bacterias back up. Try Kefir to assist with this.

Why try Kefir rather than yogurt?
Kefir contains many more strands of beneficial bacteria than yogurt does. It also contains many beneficial yeasts as well.

For more detailed information check out this resource: http://www.kefir.net/kefiryogurt.htm

What if I can’t eat dairy, can I still eat Kefir?
Kefir is generally cultured cow, sheep, or goat’s milk. If you are lactose intolerant you may still be able to eat Kefir as the good bacteria in it consume most of the lactose. If you’re like me and you cannot tolerate other parts of dairy like the casein, then try coconut milk Kefir.

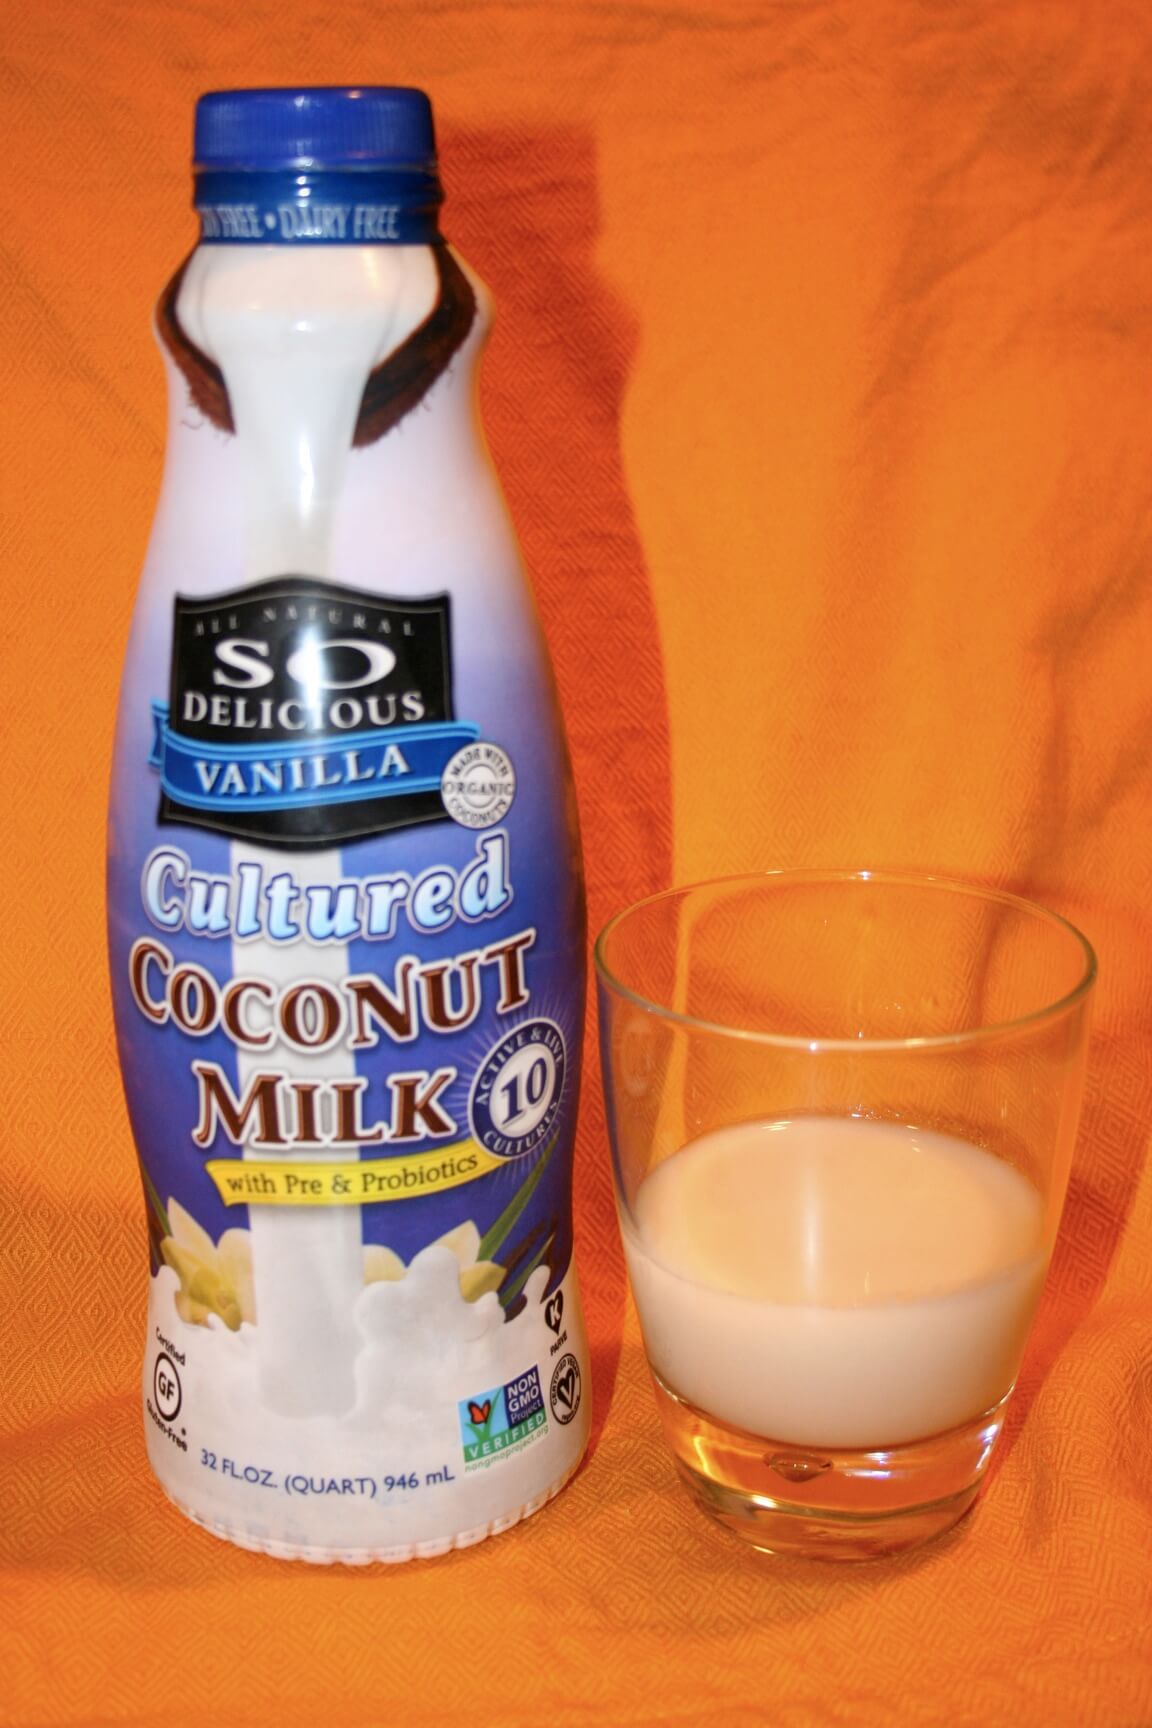
I know you can make your own, but I haven’t gotten that adventurous yet. I found this cultured coconut milk drink (pictured above) (So Delicious brand’s Cultured Coconut Milk) at Whole Foods. Its a little different from traditional Kefir in that this particular one uses inulin from chicory root to ferment it, but its the same idea.

How to eat Kefir?
Drink it straight. Pour it over berries or granola. Blend it with fruit to make a smoothie.

Where do I buy Kefir?
Health food stores and Whole Foods are great places to start looking. But, I’ve also found the regular Kefir (cow’s milk) at grocery stores that carry a variety of cultural foods.

You can also make your own Kefir, which is probably very cost efficient and also ensures that you’ll get the highest potency of the good bacterias. I have to admit that I haven’t tried this yet, but definitely plan on it in the future. If you want to try making your own you can buy the Kefir grains onlne from a variety of sources and most of them show you exactly how to do it.

Here are some resources to get you started:
http://www.kefir.net/sources.htm

http://rawglow.com/blog/2009/08/15/your-guide-to-making-raw-coconut-kefir/

http://www.thenourishinggourmet.com/2009/03/coconut-kefirs-health-benefits.html

Other Resources:
http://articles.mercola.com/sites/articles/archive/2009/12/08/Top-12-Foods-for-Healthy-Immune-Response.aspx

http://www.celiac.com/gluten-free/topic/3238-kefir/

Apple Barbecue Pulled Pork

Apple Barbecue Pulled Pork

The weather is getting warmer, the days are longer, people are out mowing their lawns and to me this all means its time for summer food. You know BBQ, grilling, corn on the cob, raw veggies, fresh fruit, and pulled pork. Pulled pork has a fondness in my heart that reminds of the Indiana State Fair, BBQ joints down south, and lots of summer time fun.

This recipe for pulled pork is one that my hubby created. Our dream is to someday have a meat smoker and be able to make it in there someday. But, until then this slow cooker pulled pork recipe fits our busy lifestyle and satisfies the taste buds.

There are a couple ways you can go about making this recipe. One is super simple and only takes like 5 minutes of prep time. The other is a little more involved and is a great make-it- yourself BBQ sauce, but the flavor is worth the time investment. Pick one and enjoy!

Ingredients for Apple BBQ Pulled Pork:
4 to 6 boneless pork chops
1 recipe Homemade Apple BBQ Sauce (or for the easy way use store bought BBQ sauce and one diced apple)

Homemade Apple BBQ Sauce Ingredients:
1 tablespoon butter
1 large sweet onion finely chopped
1 tablespoon red chili paste
1 1/2 cups ketchup
3 tablespoons molasses
3 tablespoons brown sugar
2 tablespoons yellow mustard
1 tablespoon Worcestershire sauce
1 lemon, juiced
1 clove minced garlic
1 tablespoon black pepper
1 jalapeno pepper finely chopped (seeds removed)
1 large honey crisp (or similar apple), peeled, cored and diced

Directions for Homemade Apple BBQ Sauce:
Combine all ingredients in a large pot. Bring to a boil then simmer for 20 minutes.

Directions:
1. Add pork chops to slow cooker. Cover with Homemade Apple BBQ Sauce or with store bought BBQ sauce and one diced apple.
2. Cook on low for 5 to 6 hours. Flip pork every hour if you can. If you’ll be unable to attend the pork for more than 5 hours, set the slow cooker’s timer to 5 hours and then it will keep it on warm until you get home.
3. Shred meat with two forks and mix with sauce to reincorporate.
4. Serve pulled pork on buns or without if you can’t eat the bread. I love to serve this recipe with homemade cole slaw (that recipe to come at a later date).

Asian Citrus Salmon

Asian Citrus Salmon

I thought I’d post this recipe today that I created myself. Its really simple, quick to make, and very flavorful. I love salmon and I’m always trying new ways to prepare it. For this recipe I just pulled together ingredients I had in my fridge and pantry at the time.

I really enjoy preparing salmon as it already has such a nice flavor, its kind of hard to mess it up. Hope this one hits your taste buds just right! This recipe serves 2 people.

Ingredients:
1 teaspoon rice vinegar
1 orange, juiced
1 teaspoon gluten free soy sauce
1 teaspoon sesame seeds
1/2 teaspoon garlic, minced
1 tablespoon ginger, minced
1/4 cup cilantro, chopped
2 salmon fillets (about 5 oz. each)
1 tablespoon olive oil

Directions:
1. Combine orange juice, rice vinegar, soy sauce, sesame seeds, garlic and ginger in a small bowl.
2. Heat oil in skillet over medium heat. Add salmon fillets and pour 3/4 the sauce over the fillets.
3. Cook a couple minutes until the bottom half of the salmon begins to brown. Then flip fillets and finish cooking through until flaky.
4. Serve salmon fillets with sauce over chopped cilantro. Enjoy!