Roasted Acorn Squash

Roasted Acorn Squash

An Update:
I know its been a while, so thanks to all you faithful ones who keep checking back to see what’s new. Fall is flying by for me…just got back from a sweet road trip to Dallas for a friend’s wedding. Long drive, but saw lots of friends and family, which totally made it worth it!

I’m working on getting some handmade items up on etsy right now. They’ll hopefully be debuting within the next couple weeks, just in time for the holidays. That’s all I’ll say for now, but I’ll be dropping plenty of photos and links here on the blog soon so stay tuned!

That’s an update about me, so let’s get to it. As promised here is another type of squash and a tasty way to prepare it:

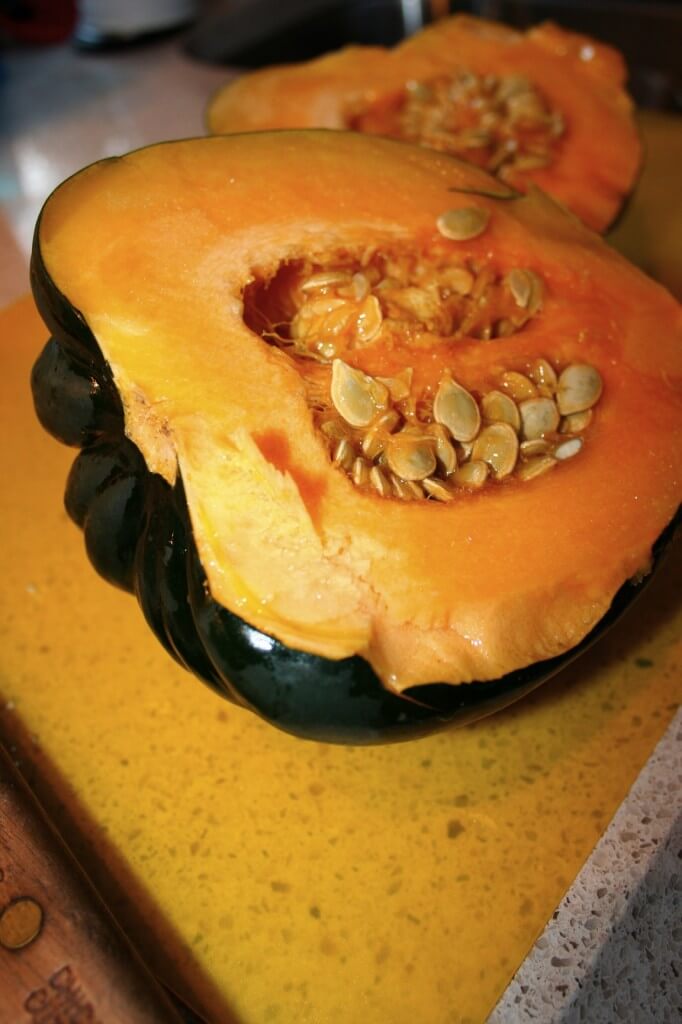
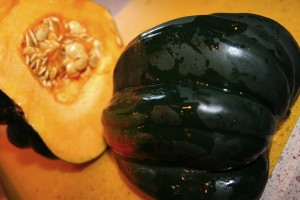
Acorn squash is in season and really abundant in your local grocery this time of year. This means you can generally get it pretty cheap. I love these tasty little guys because they are super easy to prepare, they taste like Fall, are a great alternative starch to potatoes, and they have a pretty long countertop lifetime (meaning you can buy one and leave it on your counter for a decent amount of time before it spoils).

So, how do I prepare this Fall starch? Here we go…(major precursor to a super simple recipe)
This recipe is super Kid-Friendly. Its a sweet way to prepare this squash…My advice is to make sure that your kids see you add the brown sugar, maple syrup, or honey and maybe they’ll be more inclined to dig in rather than frowning at a new veggie!

Ingredients:
1 medium sized acorn squash
1 to 2 tablespoons butter
1 1/2 teaspoons cinnamon
2 tablespoons brown sugar, or maple syrup, or honey (take your pick)
salt and pepper to taste

Directions:
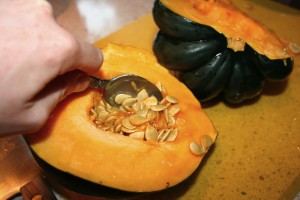
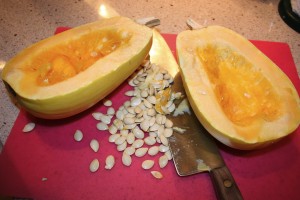
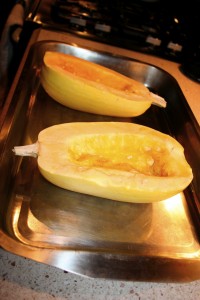
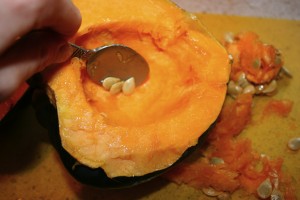
1. Preheat oven to 400 degrees. Oh so careful cut the squash in half length wise (from top to bottom). This is a really hard squash so watch your fingers and use a large, sharp knife. Scoop out the center portion of the seeds and gooey stuff.
*Side Note: You can save the seeds and prepare the just like pumpkin seeds in the oven and they make a great snack.

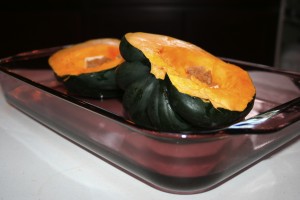
2. Place both halves of squash in a rimmed casserole dish with the dark skin side down, so it makes 2 little bowls. Fill the bottom on the baking dish with about a half inch of water.

3. In each half of the squash bowls place 3/4 to 1 tablespoon of butter, 3/4 teaspoon cinnamon, 1 tablespoon of whatever sweet you’ve chosen and a dash of salt and pepper.
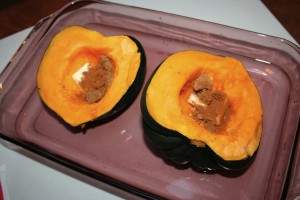
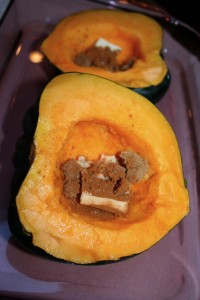
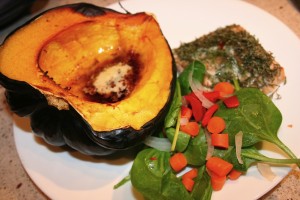
4. Bake in the oven for 1 hour to 1 hour and 15 minutes or until the orange inside of the squash is very tender. If all the water in the bottom of the dish evaporates make sure to add more. Remove from the oven carefully as to not slosh the hot water.

6. You can serve the squash at this point and let each person combine the squash with the butter, sweet, and spices or you can use a fork and combine the orange part of the squash with the tasty stuff before you serve. Just a side note, don’t eat the green skin. Enjoy!

*For picky eaters I recommend mixing the squash and the tasty stuff before you serve and if necessary throw in a little more sweet and cinnamon.

*Recipe serves: 2 to 4 people depending on if you want to serve a squash bowl to each person and how large the squash itself is.

*Recipe Source: Madison Sommerfield
Baked Spaghetti Squash Casserole

Baked Spaghetti Squash Casserole


Fall is really setting in and squash of all sorts are filling the produce isles of supermarkets everywhere. I always love to see the crazy varieties that abound, but often wonder how to prepare them. Maybe you’ve thought the same thing. That’s why, in addition to my typical cool weather recipes, I’m cooking with squash in a variety of ways throughout the season. Hope you’ll continue to tag along for the journey.

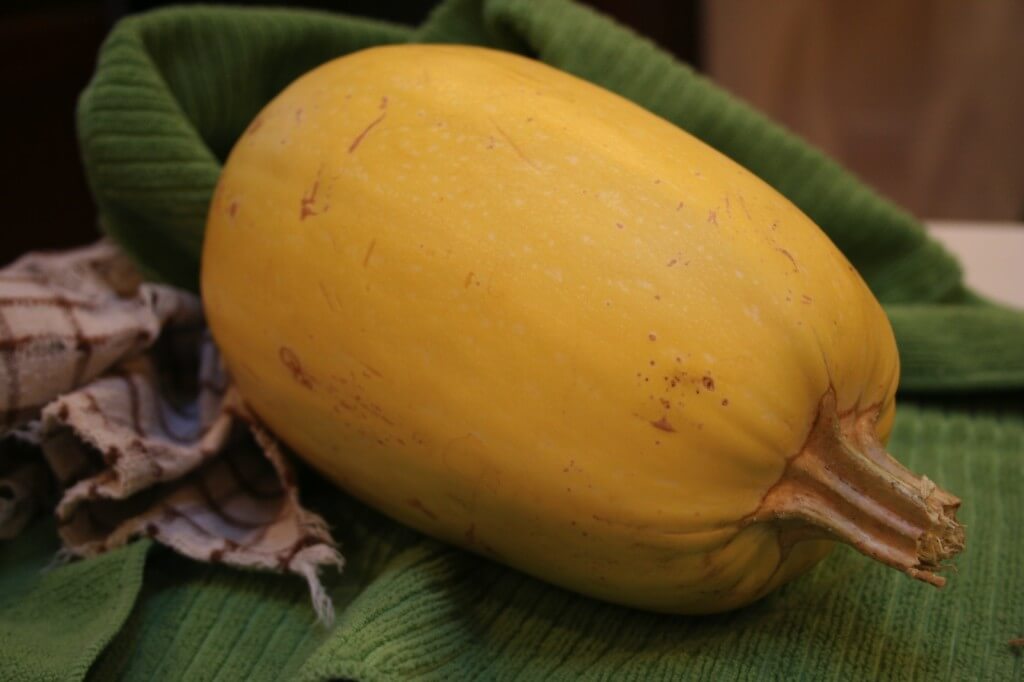
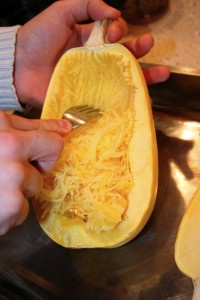
I’m starting out the squash adventure with Spaghetti Squash. When pulled apart with a fork the interior of this buttery beauty looks much like spaghetti noodles, hence the name. And the squash “noodles” can be used in place of regular spaghetti noodles in a variety of dishes. The benefits of using squash instead of pasta noodles include: lower in calories, gluten free, and the additional nutrients from the vegetable.

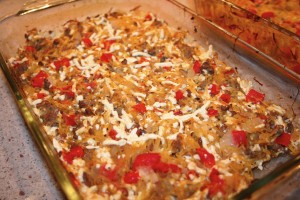
I’m starting out with Baked Spaghetti Squash Casserole with beef and vegetables. I was seriously impressed with this recipe. Its really tasty and even if you don’t like the taste of squash I think you’ll enjoy this one because it the dish really melds into its own flavor.

Ingredients:
1 spaghetti squash, cut in half and seeds removed
1 pound ground beef
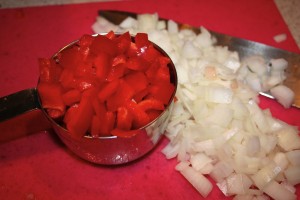
1/2 cup red pepper, diced (I used 1 cup red pepper total and no green pepper)
1/2 cup green pepper, diced
1/4 cup onion, diced (I used more like 1/2 cup)
1 clove garlic, diced
1 (14.5 oz.) can Italian-style diced tomatoes
1/2 teaspoon dried oregano
1/2 teaspoon dried basil
1/4 teaspoon salt
1/4 teaspoon pepper
2 1/4 cup shredded cheese (I used Daiya Rice Cheese substitute)


Directions:
1. Preheat oven to 375 degrees.
2. Place squash on baking sheet and bake for 40 minutes or until tender. Then cool and pulp with a fork.

3. Reduce oven temperature to 350 degrees.
4. In pan over medium heat cook beef is browned. Then drain and mix in peppers, onion and garlic. Continue to cook and stir until vegetables are tender.


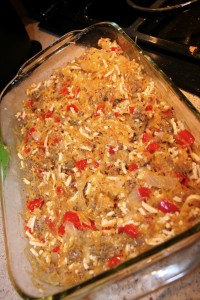
5. Mix the shredded squash and tomatoes into the skillet and season with salt, pepper, oregano, and basil. Cook and stir until heated through. Remove from the heat and mix in 2 cups cheese until melted. Pour mixture into prepared casserole dish.


6. Bake 25 minutes in preheated oven. Sprinkle with remaining cheese and continue to bake until cheese is melted. Serve and enjoy!


* This recipe serves 2 to 4 people.
* Recipe Source: All Recipes http://allrecipes.com/recipe/baked-spaghetti-squash-with-beef-and-veggies/detail.aspx
* Additional Ideas: Add Italian Sausage instead of ground beef for even more flavor. Use whatever veggies you like to include, like leftover veggies in the fridge. (For instance try mushrooms and spinach).


Easy Freezing

Easy Freezing

Generally I just cook for two people, Matt and myself. So, I often end up with more meat than we need for one meal. And after our successful gardening season I’ve ended up with more cousa squash than I know what to do with. All this to say freezing has become essential.

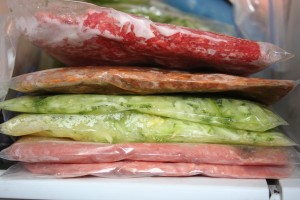
I got really tired of how long it took to thaw big clumps of frozen meat and it always get so disorganized in the freezer. So, here is a little tip for Easy Freezing.

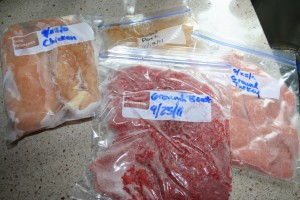
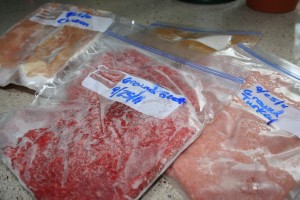
Start off by dividing the meat into portions that you’d make for one meal. If you cook for just yourself then divide out the meat into single portions. If you cook for four people then divide the meat out for four portions.

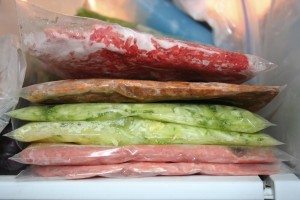
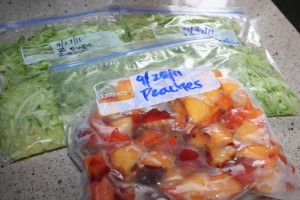
With a permanent marker write out what you’re storing and the date onto a freezer bag. Place the meat into the bag and flatten with the palm of your hand until the meat is as flat as you can get it. Seal the bag getting all the air out that you can.

Store the bags flat in the freezer.

Storing meat this way, not only keeps your freezer organized, but it also cuts down the amount of time it takes to thaw it. It also thaws much more evenly when stored this way. This method works best for ground turkey, ground beef, ground chicken or flattened steaks or chicken breasts.

This method works really well for shredded zucchini, left over chopped fruit or other veggies. It also works really well for leftover soups, stews, chili, and pasta. Freeze individual portions and thaw the day before for lunch.

I hope this helpful tip will help you not only stay organized, but also save you time and keep you from wasting leftovers.

Buttery Dill Salmon

Buttery Dill Salmon

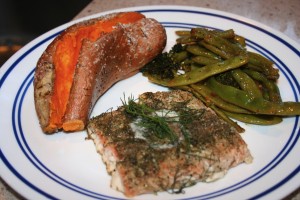
Summer has come to a close, but that doesn’t mean you can’t still enjoy fresh food. I had some leftover fresh dill and thought I shouldn’t let it go to waste. It has such a fresh flavor and it compliments fish so well. So, I found this recipe for Buttery Dill Salmon. Its very easy to make and tastes delicious. I hope you’ll enjoy it as much as I did.

Ingredients:
2 salmon steaks
1/4 teaspoon salt
1/2 teaspoon black pepper
1 teaspoon onion powder
2 tablespoons Fresh dill (you could also use 1 tablespoon dried dill instead)
2 tablespoons butter
1 tablespoon olive oil

Directions:
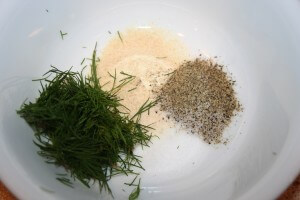
1. Preheat oven to 400 degrees. Combine spices in a bowl.
2. Dry Salmon fillets with paper towel.
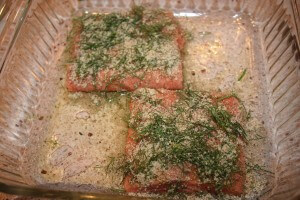
3. Drizzle olive oil in the bottom of a square baking dish. Lay fish fillets in dish.
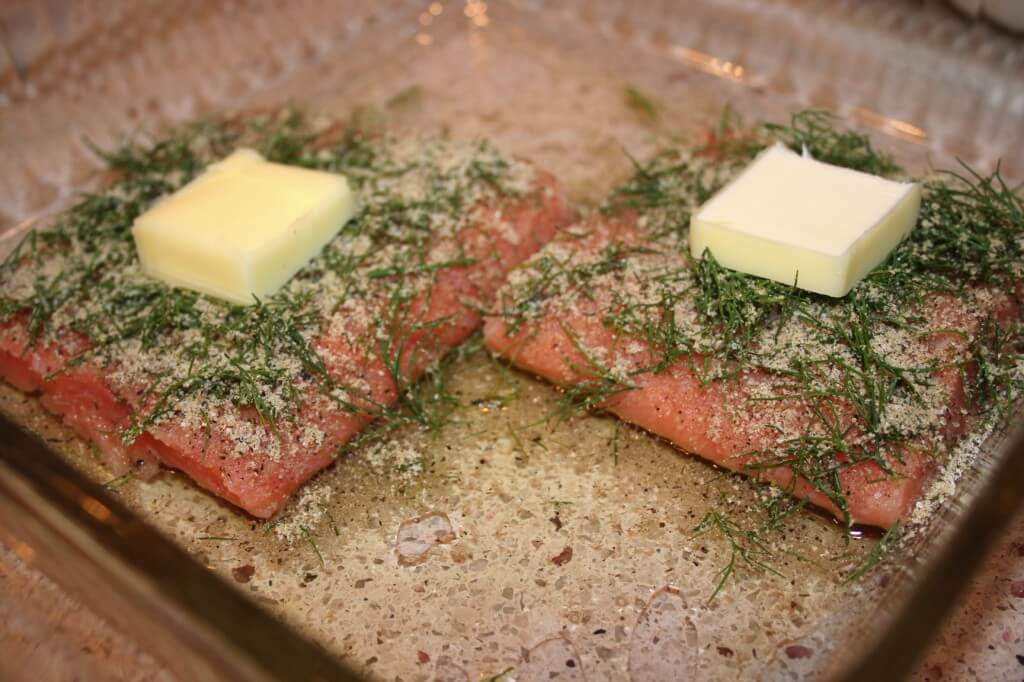
4. Sprinkle spice mixture over fish. Place 1 pat of butter on top of each fillet.
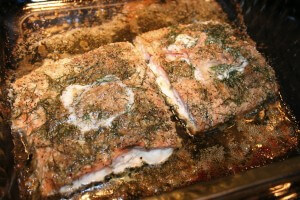
5. Bake for 20 to 25 minutes. Fish is finished cooking when flaky. Serve and enjoy!

* Serve the salmon with a baked sweet potato and freshly cooked green beans.
* Recipe serves 2 people
* Recipe Source: Based on http://allrecipes.com/recipe/salmon-with-dill/detail.aspx

Simple Greek Salad

Simple Greek Salad


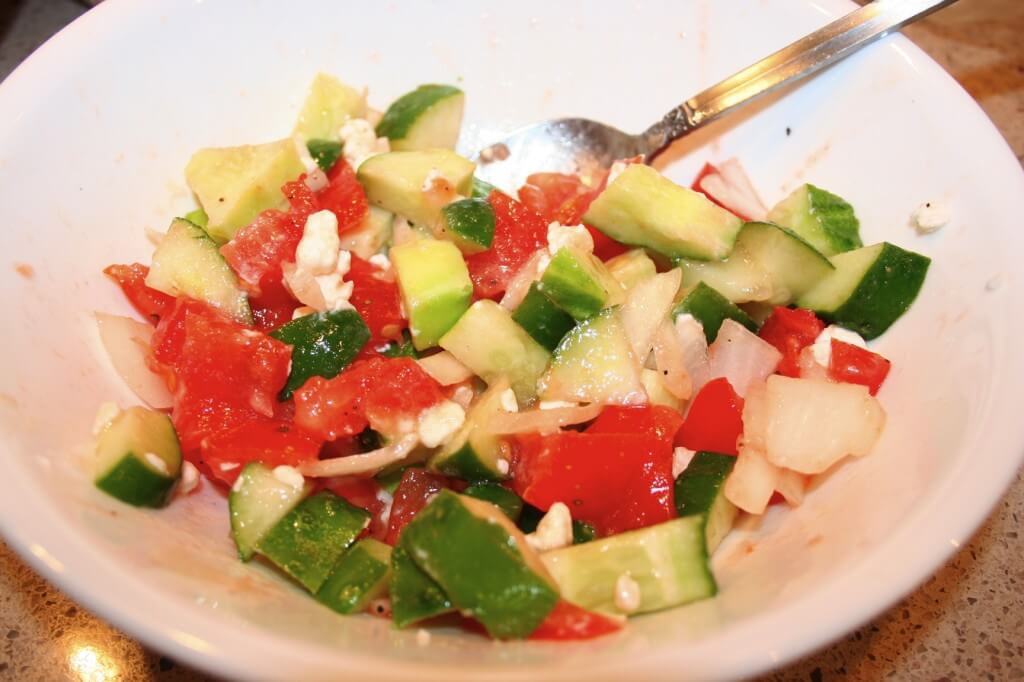
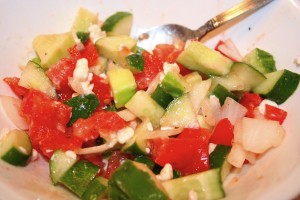
The cooler weather blowing in over the last has been a reminder that summer is soon coming to an end. So, I say to soak it up while you can. I’m savoring the flavors of summer from the garden with this recipe. I hope you’ll make it for yourself and enjoy it!

This Greek Salad makes a great salad to go with any meal or is a great mini lunch on its own. I’ll give you general ratios on the quantities here, so make as much or little as you like and adjust the ingredients to taste.

Ingredients:
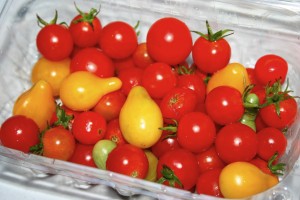
1 part chopped fresh tomatoes
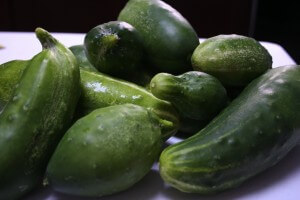
1 part chopped cucumbers
1/2 part sliced onions
Crumbled goat cheese or feta cheese to taste
Olive oil and vinegar salad dressing to taste (Make your own by mixing half olive oil and half red wine vinegar or use Newman’s Olive Oil and Vinegar Dressing)
Salt and Pepper to taste

*Extra Taste: Add sliced kalamata olives for an extra punch of flavor

Directions:
1) Combine tomatoes, cucumbers, and onions in a bowl.
2) Pour dressing over the top and combine. Season with salt and pepper to taste.
3) Top with the crumbled cheese and stir to combine. Serve and enjoy!

*Recipe Source: Madison Sommerfield
Inhabit Photos

Inhabit Photos

As promised, here are some photos from, Inhabit, the plays I worked on doing set design. The scenes were set in an office building/warehouse, so my big challenge was to transform the spaces in just one night (I had lots of great help). Nothing was bought…everything was bought, borrowed, or temporarily stolen from cast or crew member’s homes.

I love before & after photos because they truly show transformation. So, here are the photos! There are a few scenes left out…taking photos during the craziness of the event was a challenge.

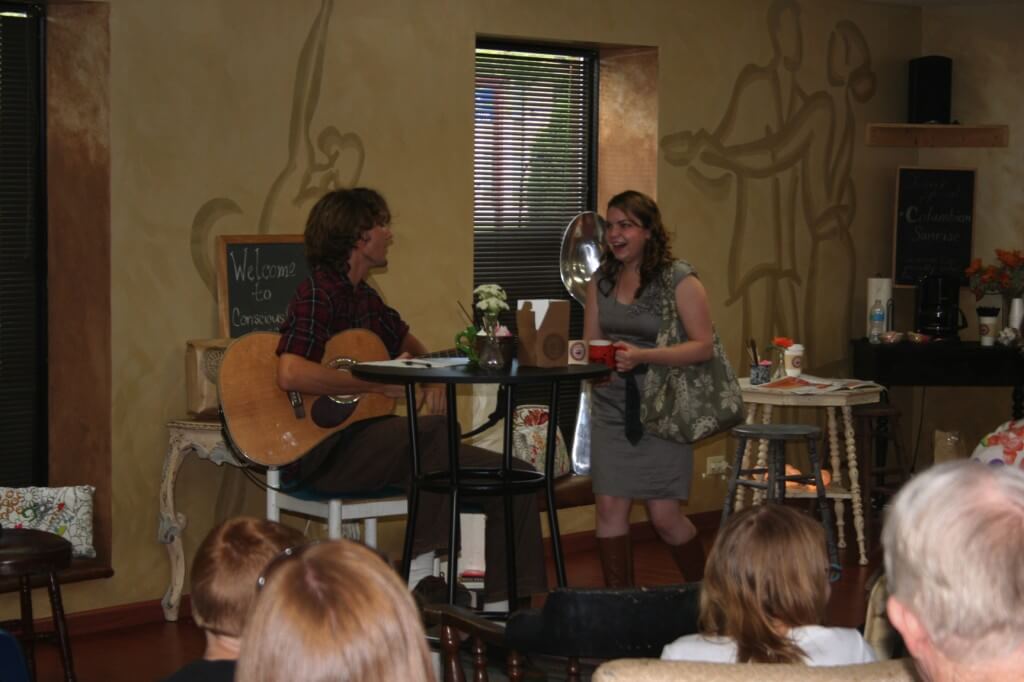
Before: The room used is a Dance Studio

After: Independently owned, artsy coffee shop…think about hippies and the Portland scene

After: Coffee Shop Scene, Audience seated in a chairs of all shapes and sizes to add to eclectic feel of the scene


After: Coffee Shop Scene

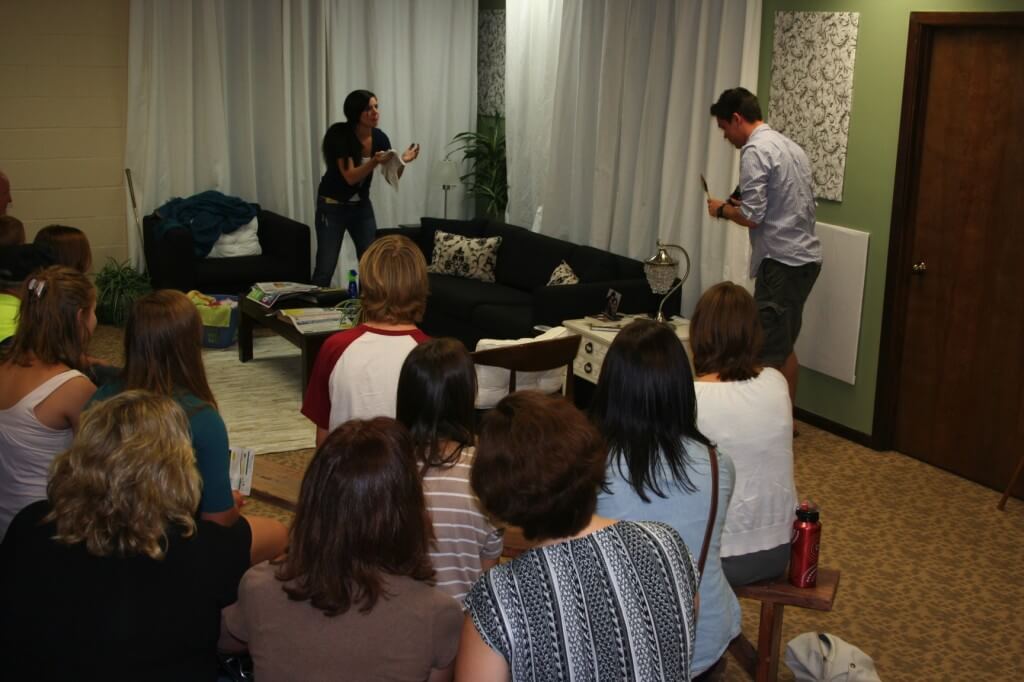
Before: The room used is an Office Lobby

After: Living Room in the home of a young couple

After: Living Room Scene entitled “In the Ductwork”

After: The big challenge in this scene was covering the large posters on the walls and hanging the curtains without hanging anything in the walls. Thanks to Rachel Rack, a lot of fishing line, and a drop ceiling…mission accomplished.

Before: The room used is a Conference Room

After: This scene takes place in a Bedroom. Scene called “I Can’t Remember It Right Now”

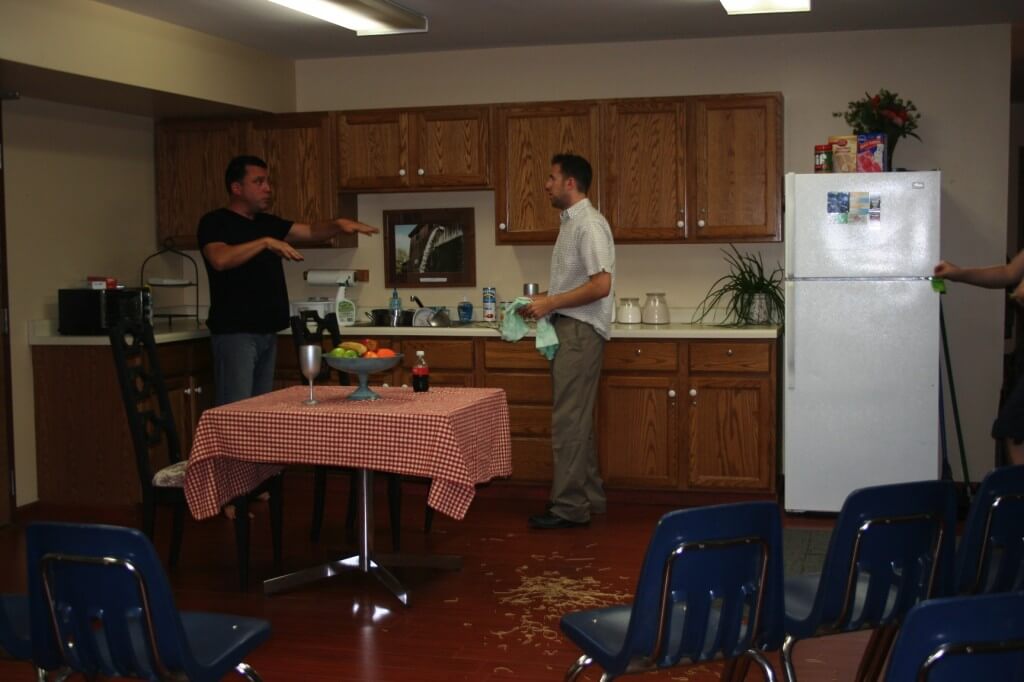
Before: The room used is an Office Kitchen

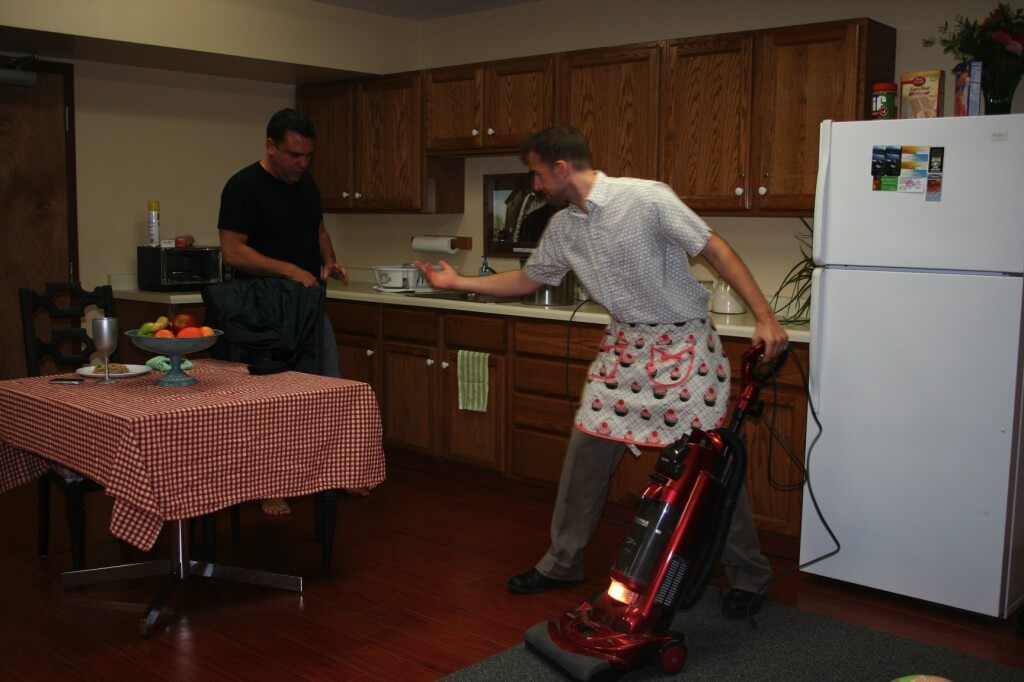
After: Kitchen in an apartment, scene from “The Odd Couple”

After: “Odd Couple” Kitchen Scene…and yep that’s my hubby Matt playing Felix Unger…My personal favorite scene but I guess you could call me biased.

One Dish Fridge Roundup

One Dish Fridge Roundup

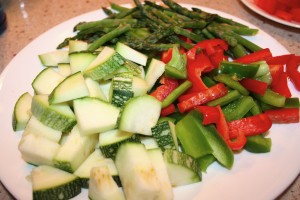
There is such a huge variety of vegetables that are abundant this time of year in gardens, farmer’s markets, and supermarkets. And if you’re like me, maybe you get a little excited and buy more vegetables than you can use for your meal. I recently ended up with more squash, asparagus, and green and red peppers than I needed for my meal. With these leftovers I wondered what I could make.

Growing up, Thursdays were always left-overs-for-dinner days at my house, which mostly meant find anything in the fridge to eat for dinner so nothing goes to waste. Well, here’s a new version of left overs that’s more appropriate for summer. This one uses all your left over vegetable odds and ends. So here’s how I came up with this dish:

1) My first requirement when creating a meal out of these left over veggies was that I wanted the dish to display the great taste of summer that is all these fresh veggies, but I wanted them to blend to create a new unified flavor all their own.

2) My second requirement was to keep the amount of dishes I used to a minimum (no more time doing the dishes than absolutely necessary.)

3) The third requirement for this dish was that it had to fit my restricted diet (gluten free, egg free, dairy free.)

That’s why this One Dish Fridge Roundup is the perfect summer dish. Hope you enjoy the fresh tastes of summer in one dish! I’m going to show you how I made mine but the whole point is to use what you have. So, if you have green beans rather than peppers use those and if you have salmon rather than chicken use that. Enjoy!

Ingredients:
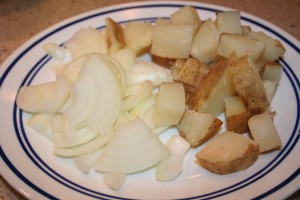
1 potato (cooked just about 2 minutes in the microwave then cubed)
1/2 an onion, sliced
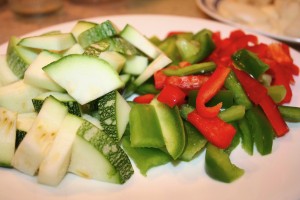
1/2 cup zucchini, chopped
1/2 cup peppers, roughly chopped
1/2 cup asparagus, chopped
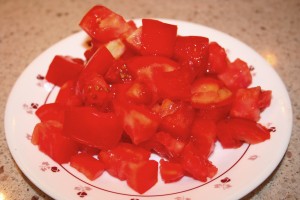
1 cup tomatoes, chopped
1 chicken breast, pounded thin and cubed
1 teaspoon garlic, minced
Olive oil
Aunt Cora’s Seasoning or season salt to taste
Lemon pepper to taste

Directions:
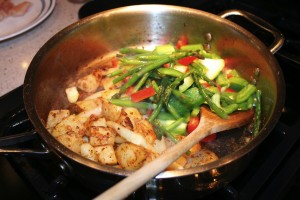
1. Saute onion and potato in about 1 tablespoon olive oil in a large fry pan until onion is transparent and potato begins to soften, adding more oil if needed. Season to taste.


2. Add asparagus and peppers and stir adding just a little water to deglaze the pan. Cook for 1 to 2 minutes. Add garlic and season.

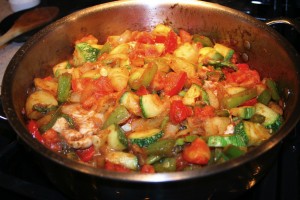
4. Add chicken and season. Cover and cook until chicken is cooked through, stirring occasionally. Serve and enjoy!

*Recipe serves: 4 people
*Recipe source: Madison Sommerfield

Zucchini Bread

Zucchini Bread

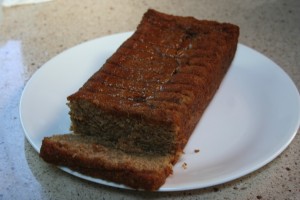
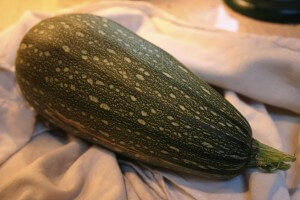
We’ve been harvesting lots more zucchinis from our garden, so I’ve been experimenting with more ways to use this lovely squash that’s in such abundance right now.

These are actually cousa squash that we’re harvesting and cooking. They’re a type of middle eastern zucchini that are nuttier in flavor, which adds a really nice flavorful kick to this delicious Zucchini Bread recipe. It makes a really tasty breakfast, snack, or dessert so I hope you enjoy this one!

Ingredients:
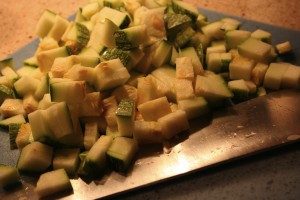
2 cups shredded zucchini or cousa squash (leaving the skin on leaves lots of nutrients in your bread)
1/2 cup water
3 eggs worth of gluten free egg replacer
2 cups sugar
1 cup oil
3 cups all purpose gluten free flour blend
1/2 tablespoon baking powder
1 teaspoon salt
1 teaspoon baking soda
3 teaspoons cinnamon
3 teaspoons vanilla
2 1/4 teaspoon xanthum gum

Directions:
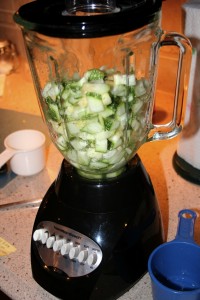
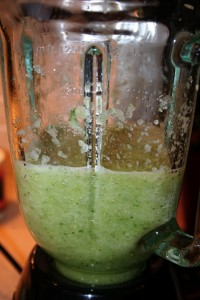
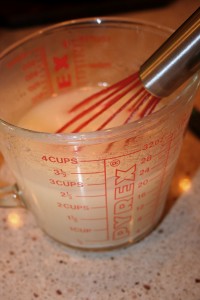
1. Preheat oven to 350 degrees. In a blender combine shredded zucchini and water until pureed into a fine pulp.

2. In a separate container combine egg replacer (as prepared on package instructions), sugar, and oil.

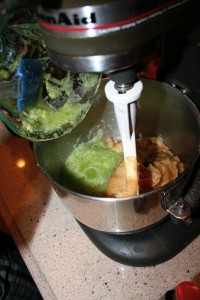
3. Pour mixture into mixing bowl and gradually blend in flour, baking powder, salt, baking soda, cinnamon, vanilla, and xanthum gum. Blend with mixer until combined.
4. Add zucchini mixture into the bowl and blend to combine.

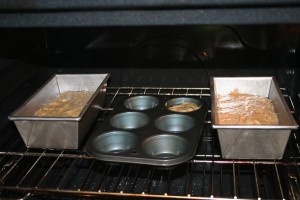
5. Grease 2 loaf size baking pans with cooking spray and pour mixture equally divided into pans. Make sure the pans are not filled more than 3/4 of the way full.
*If you have remaining batter you can pour it into pre-prepared muffin pans, but you’ll have to cook them in much less time than the bread.

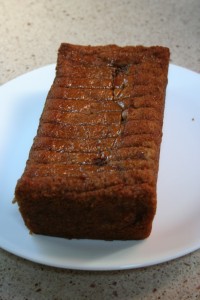
6. Bake bread for 1 hour. Remove and allow them to cool before cutting. Refrigerate once bread has cooled. Enjoy!

*You can also chop the zucchini rather than shredding, but just make sure it comes out to 2 cups total. I’ve found with this gluten free and egg free bread, blending the zucchini into a puree helps it hold together better.

*The addition of the xanthum gum to the recipe helps the bread to hold together as well too.

*Recipe Source: Tammy Peterkort

Inhabit: Scenes in a Warehouse

Inhabit: Scenes in a Warehouse

I’ve been really busy lately working on a new project…always got my hands in a new project I suppose. I’m the set designer for Inhabit: Scenes in a Warehouse this year.

What is Inhabit?
Inhabit is an annual show that is a series of short plays performed in nontraditional spaces. This year the plays are going to be performed in the Christian Youth Theater warehouse and office spaces. Musicians will perform and lead the audience through the various spaces from one scene to the next. The plays will be followed by an art show, where local artists will be showing and selling their work.

Inhabit was started by actor/director, Kellee Stall as a way to “provide a safe place for artists to tell a story with excellence and to validate the artists through compensation.” And mission accomplished that’s just what has happened with Inhabit. Actors, designers, musicians, and artists all get to create together to make something wonderful to share with others and actually get compensated to do it. As any artist knows, we use our skill often for free so to be compensated is an amazing aspect of the project.

How am I Involved?
My job as the set designer is to transform an office lobby into a living room, a dance studio into a coffee shop, a conference room into a bedroom, an office kitchen into an apartment kitchen, a warehouse into a garage sale, and a truck port into a park. Needless to say I’ve got my work cut out for me. I’ve had some great help along the way from Kellee Stall and Rachel Rack as this is my first time to do set design. These women are guiding me along through all the crazy amounts of details.

Also, I should mention my hubby is one of the actors this year, so its fun to be working on a project together.

How Can You See the Show this Year?
It’s a one day only show. Limited seating available. This Saturday, August 27th. Shows at 1pm, 4pm, and 7pm. Ticket reservations required by calling 847-447-6696 or emailing Inhabit2011@gmail.com. Tickets $5 each. Address: 755 Industrial Blvd, Cary, IL 60013.

Check out Inhabit’s Facebook page here: #/event.php?eid=117849454975104

Inhabit was just featured today in the Northwest Herald’s Sidetracks section’s front page. Check out the article here: http://www.nwherald.com/2011/08/24/musicians-actors-inhabit-cary-warehouse-for-unique-event/amt2mmv/

I’ll be sure to share photos of the set soon after the show!

Stuffed Cousa Squash

Stuffed Cousa Squash

Been a crazy week…took a little impromtu road trip to St. Louis, spent time with college friends, and had a lot of fun! I just love summer and what’s summer without random road trips here and there?

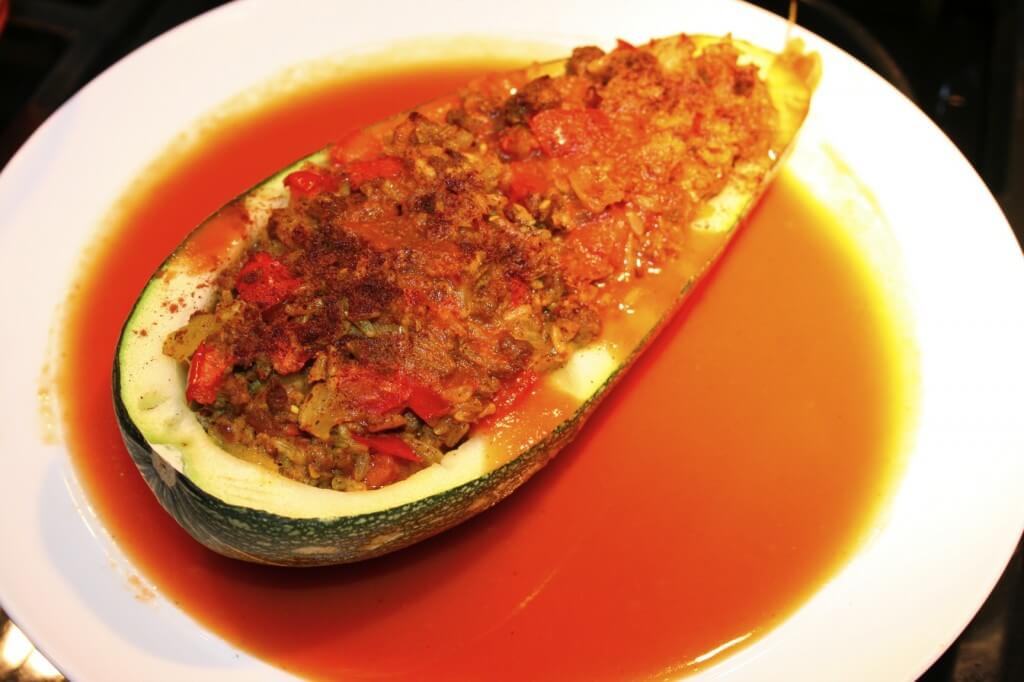
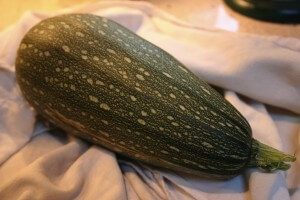
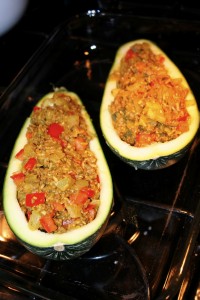
Anyway, as promised last week here’s your first way to use zucchinis and in particularly here Cousa Squash. Just in case you forgot, Cousa Squash are middle eastern zucchinis that are a little larger and taste a little nuttier than your regular zucchinis. In this stuffed squash recipe I used Cousa Squash, but you could easily replace it with large regular zucchinis.

This recipe really incorporates middle eastern flavors into a full meal within these squash. Its saucy, hearty, and yet uses great fresh summer ingredients. I hope you enjoy this one!

Ingredients:
1 large Zucchini (I used Cousa Squash)
1 small onion, chopped
1 roma tomato, chopped
1 tablespoon minced garlic
1/4 pound ground beef, or lamb, or turkey (I used ground beef)
4 tablespoons tomato paste
32 oz. vegetable broth
1/3 cup brown rice, precooked
3/4 teaspoon cinnamon
3/4 teaspoon tumeric
1 tablespoon olive oil
salt and pepper to taste

Directions:
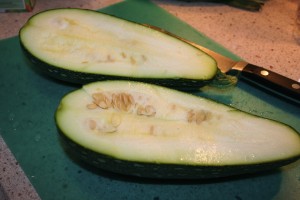
1. Preheat oven to 375 degrees. First cut the squash in half lengthwise.


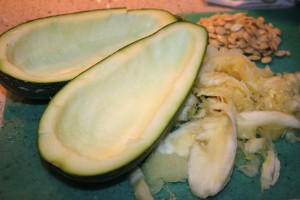
2. Then with a spoon, scoop out to pulp and seeds. Separate the seeds from the pulp. Reserve the pulp.


3. In a large frying pan heat the olive oil and saute the ground beef, onion, and garlic until the meat is cooked through. Drain the fat from the meat. Add the squash pulp and saute until soft, breaking up large pieces as you cook.
4. Season the meat and squash mixture with salt and pepper to taste. Then add the tumeric and cinnamon.

5. Add rice and tomato to the rest of the dish and stir to combine.


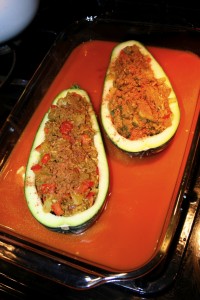
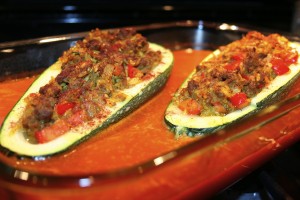
6. Stuff each squash half with the rice/beef/vegetable mixture. Reserve the fry pan. Place the halves in a 9X13 (oven safe) casserole dish. Top each squash off with cinnamon sprinkled on top.


7. In the reserved fry pan add the broth and tomato paste over low heat and stir carefully to combine.


8. Carefully remove the soup mixture from the heat and pour into the squash dish.

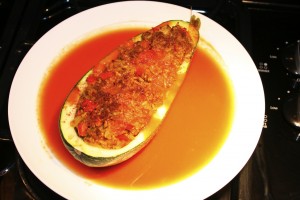
9. Bake for 20 minutes. Then cover with foil and bake for another 10 minutes. If you like the squash to be a little softer bake for another 5 minutes. Serve the stuffed squash with the broth mixture drizzled over each half and the plenty more to surrounding each half. Enjoy!

*Recipe Serves: 2 hungry people
*Recipe Source: Madison Sommerfield
*Recipe Inspirations: http://cucinapanzano.blogspot.com/2009/07/summer-squashcousa.html
http://www.myfreshlevant.com/2009/06/quinoa-stuffed-cousa-squash.html