Category Archives: Healthy Living

Skittles Birthday Cake

Skittles Birthday Cake

This month we celebrated Matt’s Birthday and every year I try to surprise him with some sort of creative gift or party. Since he is extremely supportive of my restricted diet and eats and cooks with me according to my diet even though he doesn’t have to, I decided to make him a “real” cake…no gluten free flours, egg replacers, or milk substitutes here…just a tried and true, every kid approved ‘funfetti’ cake with buttercream frosting.

You have to know that I generally get pretty cranky making food I can’t even lick the bowl while making, but for Matt’s birthday surprise I totally set that aside and nibbled my dark chocolate bar while making this treat for him.

That’s right, I don’t advocate heavily processed food filled with additives, preservatives, food colorings, and loads of sugar, but every supportive spouse, friend, or child of a person with food allergies totally deserves a birthday splurge.

I’m totally a chocolate girl all the way. If its sweet and doesn’t have chocolate what’s the point? But, Matt is totally a Twizzler, Starburst, Skittles kind of sweet tooth…sour, sweet and fruity flavors. So instead of decorating his birthday cake with sprinkles, to make this ‘funfetti’ cake extra special I decorated it with one of his favs…Skittles!

Not only did Matt love it, but so did the rest of his fam we celebrated with! The Skittles Birthday Cake was a huge success!

If you have a restricted diet and you have supportive loved ones don’t forget to show your appreciation for them by making a special treat for them every now and then. They’ll be so glad you did.

* FYI- I just found out Starbursts are gluten free. So, you restricted diet candy lovers rejoice!

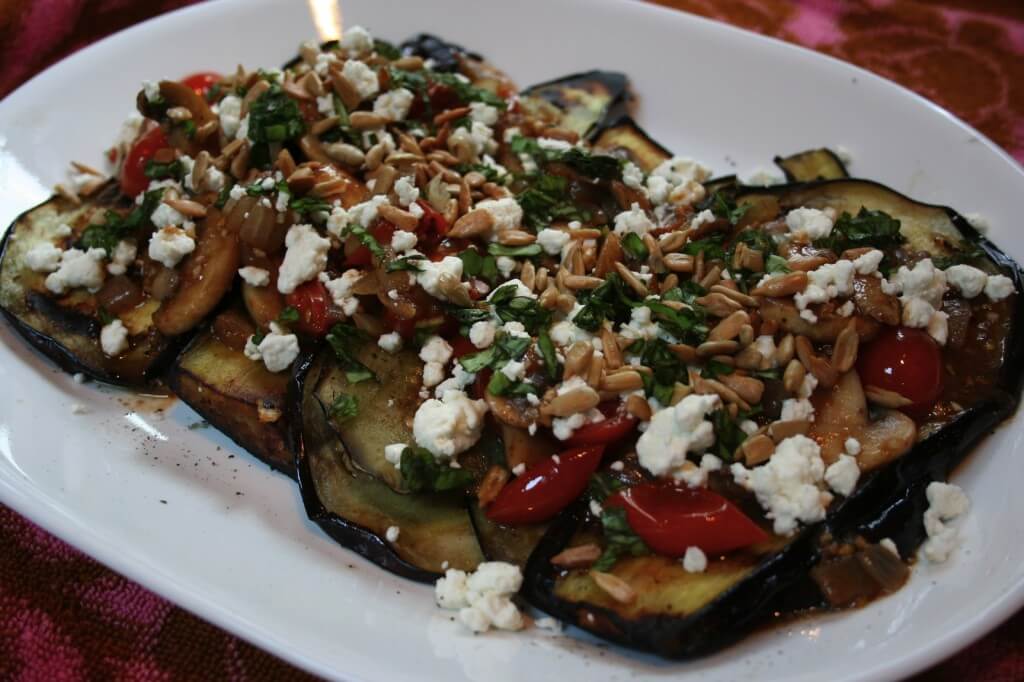
Grilled Eggplant with Balsamic & Goat Cheese Goodness

Grilled Eggplant with Balsamic & Goat Cheese Goodness

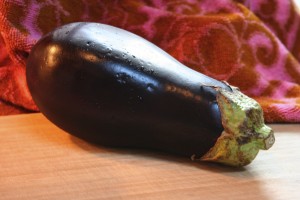
Again last week I was checking out my local produce market and found Eggplant for sale for $0.59/ pound. “Wow huge deal,” I thought. But then I remembered, “I’ve never liked Eggplant anyway I’ve had it prepared. Its always been soggy and tasteless.” But, I’m like my mother in the way that I can hardly resist passing up a bargain, so the challenge was on!

My Challenge: To prepare eggplant in such a way that Matt and I would love it so much we’d just be waiting for it to go on sale again.

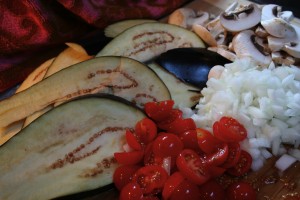
All I could think when I decided to purchase this cute little, purple squash-like veggie was that I’ve seen it in a variety of dishes people generally like, such as eggplant parmesan. There has to be a way to prepare it that enhances it’s natural God given goodness. I bought it with no idea how I was going to cook it, but picked up a few other veggies like cherry tomatoes, button mushrooms, and onions that were on sale as well…again, I’m a bargain shopper even when it comes to healthy food.

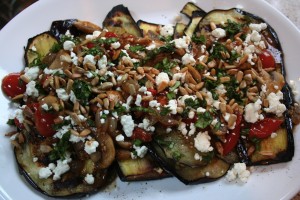
I pulled together a few ingredients and I’m happy to share that this Grilled Eggplant with Balsamic & Goat Cheese turned out so tasty! It’s my own recipe and I’m excited to share it with you. I hope this will encourage you to give Eggplant another try if you’ve never liked it in the past. And if you love it already, then here’s a new way to prepare it. Here’s to healthy cooking on a budget…Cheers!

*Goat Cheese is dairy, but many people such as myself that cannot tolerate dairy from a cow can tolerate a limited amount of dairy from goats or sheep. Its just a little different protein, possibly easier to digest. You should always check with your doctor if you have food allergies and are not sure about adding a new food into your diet.

Ingredients:
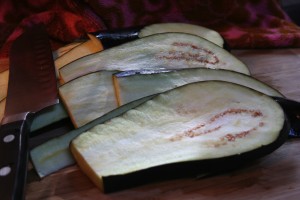
1 small eggplant, sliced lengthwise (about 1/4″ thick)
2 1/2 cups mushrooms, sliced
1 cup onion, diced
1 cup cherry tomatoes, sliced
1 teaspoon garlic, minced
1 tablespoon butter
4 tablespoons extra virgin olive oil
1 teaspoon fresh basil, chopped
1/2 cup sunflower seeds, unsalted
1/8 cup balsamic vinegar
1/4 cup to 1/2 cup crumbled goat cheese
salt and pepper to taste

Directions:
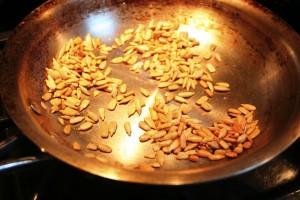
1. Saute sunflower seeds in a dry pan over low heat, stirring constantly, until slightly toasted. Set aside.

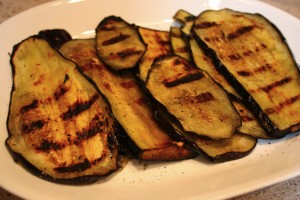
2. Preheat grill. Brush eggplant slices with olive oil on both sides, reserving 1 tablespoon. Cook eggplant on grill 2 to 4 minutes per side. Plate on serving platter.


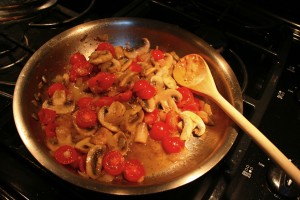
3. In a fry pan heat 1 tablespoon olive oil on medium high heat. Saute mushrooms, onions, garlic and tomatoes until onions are translucent. Stir in butter and salt and pepper to taste.
4. Remove pan from heat and swirl in balsamic vinegar.
5. Pour veggie mixture over platted Eggplant. Crumble goat cheese, basil and sunflower seeds over top. Serve and enjoy!

*Why use sunflower seeds? I call them the poor woman’s pine nuts. Normally for a dish like this I’d use pine nuts toasted over top, but they are pretty pricey. I’ve found sunflower seeds add the same crunch and flavor for a whole lot less.

*Recipe Source: Madison Sommerfield
*Recipe Serves: 4 people

Nutritional Type: Eat Right for Your Body Type

Nutritional Type: Eat Right for Your Body Type

If you’re ready to shed a few extra pounds or just want to feel more energized you’ve got to check out Nutritional Typing. I’m really not a big believer in diets to solve weight issues. And if you struggle with lack of energy and fatigue coffee and energy drinks throughout your day are not the answer.

First things first…Why not diets for weight loss?
“Diets” (in the sense of a weight loss plan) tend to be generalized plans. These plans generally cut something out, like calories, fat, carbs, sugar, meat, grains, etc. From my personal experience, my own research, and stories from others I really believe that everyone does not benefit from the same dietary plan.

One person may lose 60 pounds on the ‘Atkins Diet‘ which cuts carbs but still allows higher fat foods, while another person may lose 60 pounds from a diet that is lower in fat but allows carbs. Reverse the 2 people’s dietary plans and they may lose no weight at all. If you happen to find the right diet for you, you may be able to shed the initial pounds you want to lose, but keeping off the pounds may be a huge challenge.

My solution: to the challenge of finding the right dietary plan and sticking to it is to find your Nutritional Type.
Nutritional Typing focuses on how your body reacts to the foods you eat. Some people may be very energized after eating a large plate of pasta, while another person may be ready for a nap after that same meal. Nutritional Typing can help match you up with the foods that will contribute to a healthy weight and the maximum energy for your body. Nutritional Typing is meant to be a way of eating. It doesn’t deprive you of any one food, but helps you to focus your eating on the foods that give you the most energy and help your metabolism kick in.

What about the Energy Issue?
Nutritional Typing can help you get the maximum amount of energy from your food. The general American diet is saturated with sugar, carbs, and sodium. And unfortunately for the majority of the population these don’t contribute to lasting energy.

How to find out your Nutritional Type
There are 2 sources that I think are pretty accurate Nutritional Typing tests:

Dr. Mercola’s Nuritional Typing Test is the first. This test is a series of questions you answer and as a result you are matched up with a Nutritional Type. There are 3 Nutritional Types that you could be according to this test: Carbohydrate Type, Protein Type, or Carb and Protein Combo Type. This test also hooks you up with meal plans to help you eat according to your type. Its a free test, you just create a log in. Check out this link: http://nutritionaltyping.mercola.com/login.aspx?ReturnUrl=%2fPreTestx.aspx

The other Nutritional Typing Test is a general informational video from The Today Show that has you look at where you gain weight and helps match you to the foods that will keep you lean and full of energy. Check out the video:

Grilled Portabella Mushrooms

Grilled Portabella Mushrooms

Third day without electricity and I’m ready for it to turn on anytime now. Over 800,000 people without power after the storm on Monday. Apparently there are only 150,000 people left without power today and I’m one of them. Oh well, can’t complain too much…life without electricity has been surprisingly peaceful. Needless to say, I’m seeking refuge again in the coffee shop.

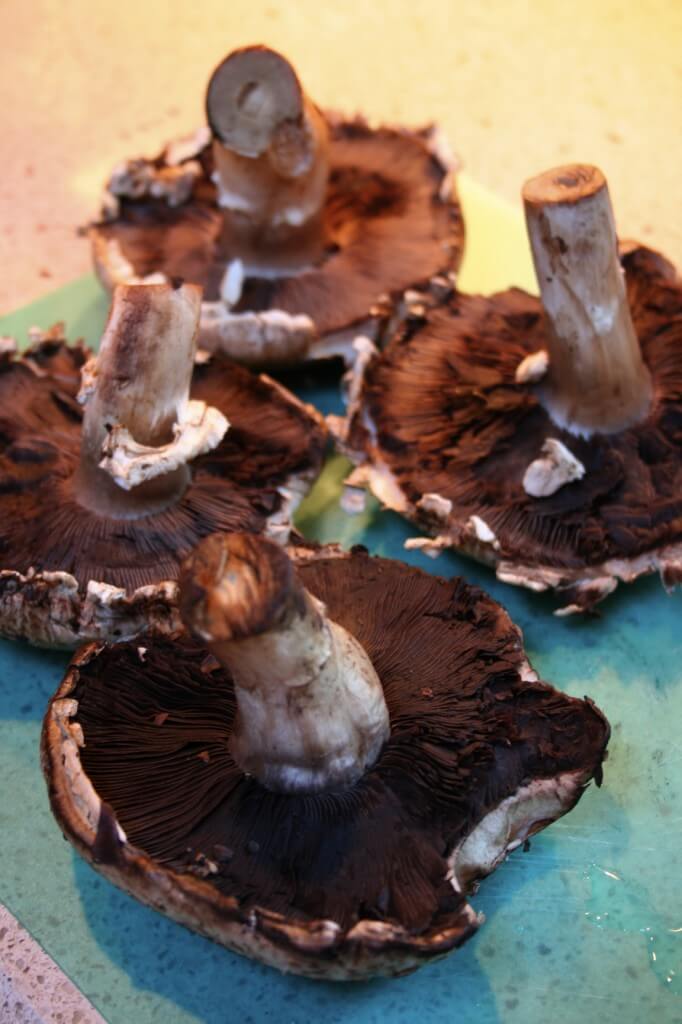
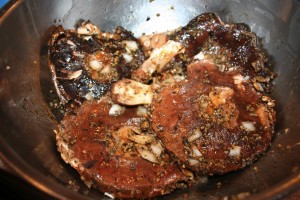
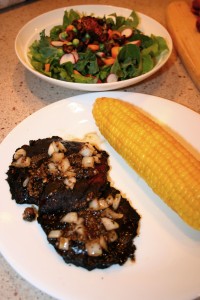
Last week I was perusing through the supermarket and saw Portabella Mushrooms on a major sale. Admittedly, I have to say I’ve never tried them, but I’ve always heard good things from other people. So I decided to give them a shot and I really enjoyed them. Check out how I prepared them and enjoy them for yourself.

I suggest marinating Portabella Mushrooms, as they take on the flavor of whatever you cook them in. They make a really great vegetarian and vegan meal, so give them a try!

Ingredients:
4 medium sized portabella mushrooms
1/4 cup olive oil
4 tablespoons balsamic vinegar
4 cloves minced garlic
1 tablespoon dried basil
4 tablespoons onion, chopped

Directions:
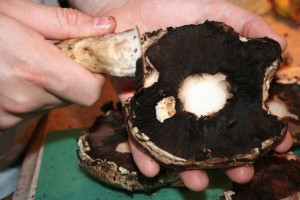
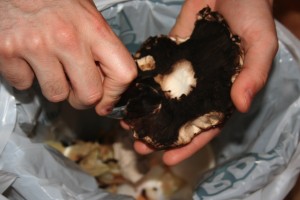
1. Clean mushrooms by removing dirt from outer part of mushroom cap, breaking off the stems (reserve), and scrapping off the underside (black part) of the mushroom. Set aside.


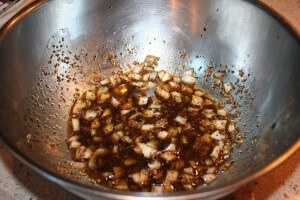
2. With a whisk combine remaining ingredients in a medium sized mixing bowl.


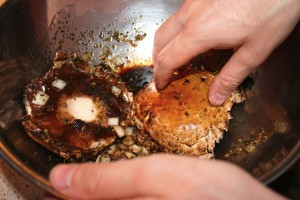
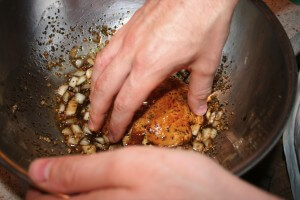
3. Coat mushroom caps and stems in marinade and soak in marinade for up to 1 hour (not in refrigerator).


4. Heat grill to medium heat and grill mushrooms and stems over hot coals for 10 minutes. If using gas grill be careful not to burn.


5. Serve Portabella’s with remaining marinade poured over top. Serve the stems cut into small pieces in a tossed salad as they tend to be tougher. Enjoy!

*Recipe Serves: 2 people
*Recipe Source: Madison Sommerfield

Start Gardening: Part 4

Start Gardening: Part 4

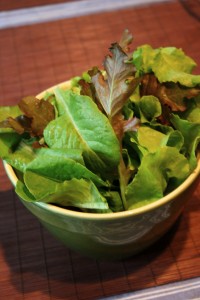
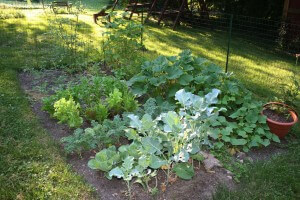
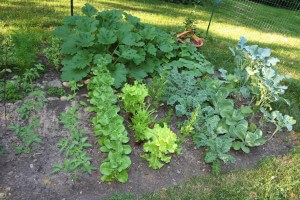
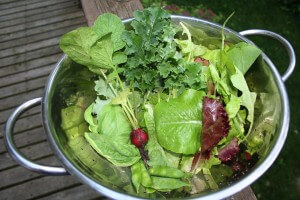
Its been a while since you’ve seen my garden plot and wow has it grown! We’ve harvested tons of lettuce (loose leaf, bibb, and spinach) and have made tons of garden fresh salads.

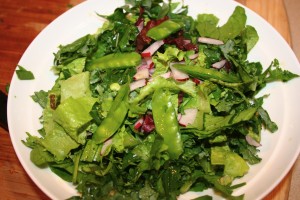
The great part about lettuce is that it continues to produce more delicious leaves after you pick them. We haven’t replanted the lettuce at all and yet we’re still getting more and more! I have to admit that I’m not much of a salad girl, but when it comes to garden fresh, I love it. Check out these tasty salads.

I’ve also started to pick kale and cabbage leaves and chop them in with my other varieties of lettuce for my salads. They’re both kind of bitter, but mixed in with the other varieties they add a great melody of flavors and tons of extra vitamins and minerals.

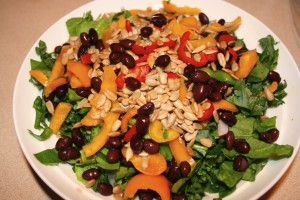
To turn this garden salad into a heartier dinner salad I added black beans, sunflower seeds, and sliced yellow and red peppers. With a simple olive oil and balsamic vinegar dressing (1:1 ratio of each) it brings the flavors all together.

This is our second planting of radishes and they are a great addition to salads and a really spicy snack with hummus.

We’ve also recently harvested some small carrots. I must admit I was really a skeptic when it came to the carrots. I really didn’t think they would grow but much to my surprise, they proved me wrong.

My proud gardening hubby, very pleased with his harvest.

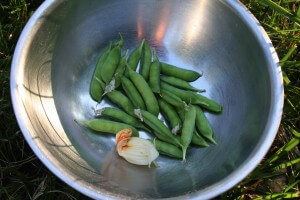
We’ve also picked a small bunch of really sweet peas and a few squash blossoms (post to come on how to eat these).

We haven’t really done anything special to get our garden growing along…just plenty of sunny days (provided by the Lord), water, and lots of love. Squash and tomatoes to come soon!
Grilled Peaches Dessert

Grilled Peaches Dessert

Many apologies to all my faithful readers for the lapse in posts, but sometimes life just gets a bit nutty. Its been a little while since my last post, but I’m back and starting off with a really tasty summer desert.

To me summer means hot, sunny days and an abundance of inexpensive fresh fruits and vegetables right at my fingertips. So, I say this time of year forgo frozen or canned produce in exchange for the fresh ripe cornucopia of options available. Right now the fruit that I’m loving here in the Midwest are peaches and blueberries. So, here’s a really simple way to pull them together into one really delicious dessert.

The base of this recipe is grilled peaches. That’s right…its fruit on the grill. Just trust me on this one and give it a shot. Heating the fruit pulls so much of the fruits’ natural sugars right to forefront of its taste, giving it an extra dose of sweetness. So here you go!

Ingredients:
4 peaches, cut in half and pit removed
Flavorless cooking oil (I used vegetable oil)
Blueberries
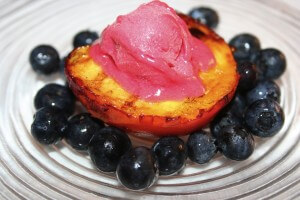
Your favorite flavor of sorbet (I used raspberry sorbet) (*Just FYI, sorbet does not contain dairy, but sherbet does)

Directions:

1. Preheat grill to a fairly low temperature.
2. In a large bowl toss peach halves with just enough cooking oil to lightly coat them.
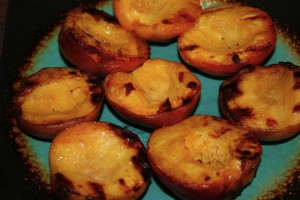
3. Place peach halves face down on the grill, not directly over the flame. Grill them for just a couple minutes until the peaches have nice grill marks and are slightly cooked.
4. Serve grilled peach halves with a tiny scoop of sorbet in the center and blueberries scattered around the plate. Enjoy this refreshing taste of summer!

*Recipe Source: Madison Sommerfield
*Recipe Serves: 4 – 5 people

Simple Citrus Salmon

Simple Citrus Salmon

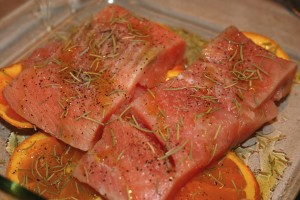
I love the fresh flavors of summer…Less prep, lots of fresh produce, and lighter meals, which means more time for fun in the sun! This Citrus Salmon recipe is one of my favorite ways to prepare not only salmon, but it works really well for a variety of white fish (like perch) as well. Its super simple and really delicious.

Just a few fresh ingredients and you’re on your way to a delicious meal that tastes like it was a ton of work. Enjoy!

Ingredients:
2 salmon fillets (or other fish fillets, perch worked especially well with this recipe too)
Kosher salt and pepper to taste
Extra virgin olive oil (to drizzle)
1 orange sliced (you can also try this one with grapefruit as well)
Fresh rosemary sprigs (dried rosemary works fine as well)

Directions:
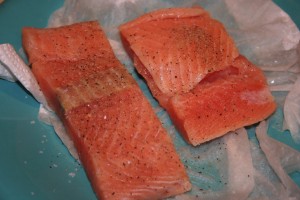
1. Preheat oven to 400 degrees. Dry fish fillets with paper towel and sprinkle both sides with salt and pepper.
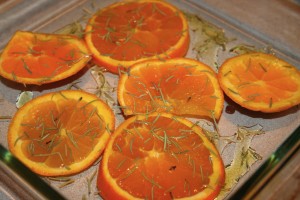
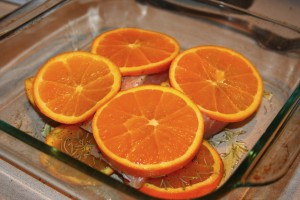
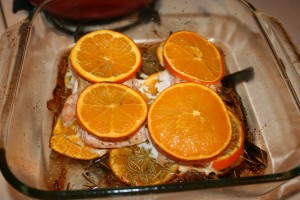
2. Drizzle a little olive oil in the bottom of a rimmed baking sheet. Arrange half the orange slices on the bottom of the pan. Sprinkle dried rosemary on top of oranges or place a few sprigs of fresh rosemary.

3. Place salmon fillets on top of orange slices. Sprinkle with more rosemary or place more rosemary sprigs on top of salmon.
4. Drizzle with a little more olive oil. Arrange remaining orange slices on top of fish fillets.

5. Bake in the oven for 20 to 25 minutes or until the fish fillets are light and flaky.
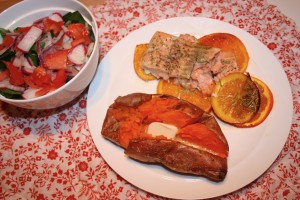
6. Serve with baked sweet potatoes and a fresh salad and enjoy!

*Serves 2 people. I plan one fish fillets per person. Low in calories and full of flavor. Talk about an orange meal!

Southern Chicken Saute with Corn Grits

Southern Chicken Saute with Corn Grits

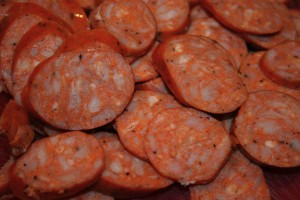
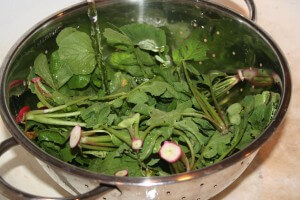
Last week we harvested our first batch of radishes from our garden. We got so excited we cut them up before I had a chance to take any photos. I like to use all parts of the vegetable that are eatable, so that meant using the radish greens too. I had a dish all picked out to cook using these greens. It was one of those nights where I knew I had certain ingredients on hand (andouille sausage this night in particular) and was excited to cook with it. And I went to prepare what I had planned and the andouille sausage was spoiled…blahh! I hate wasting.

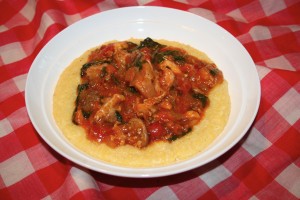
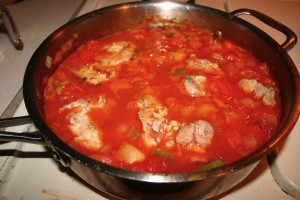
Disappointed, I knew I still needed to make something for dinner. Using the ingredients I had at home, I created this recipe and it turned out really tasty. So, I thought I’d share it with you. It was the perfect Southern comfort food, a little spicy, full of flavor, and its served with buttery corn grits. It looks like a lot of ingredients, but I had most of this hanging around my fridge or pantry, so I encourage you to be inspired and substitute as you see fit. Hope you’ll enjoy this one!

Ingredients:
3 to 4 boneless, skinless chicken thighs
1 medium onion, diced
1/2 green pepper, diced
3 cups greens, chopped (Choose one: radish greens, spinach, kale, mustard greens, collard greens)
1 tablespoon olive oil
1 teaspoon garlic, minced
2 large tomatoes, diced (could use can tomatoes if you choose)
1/2 cup tomato sauce
1/2 teaspoon red pepper flakes
1 teaspoon season salt
1/2 teaspoon hot sauce
2 bay leaves
3/4 cup chicken broth
1/4 cup flour (gluten free in my case)
salt and pepper to taste
Corn grits (prepared according to package)

Directions:
1. Salt and pepper chicken thighs.
2. Heat oil in large skillet and sear both sides of the chicken thighs. Set chicken aside after both sides are slightly browned and chicken is not cooked fully through.
3. Saute onions, garlic, and green pepper in the same pan over medium heat until slightly transparent.
4. Stir in tomatoes, tomato sauce, red pepper flakes, season salt, bay leaves, hot sauce and chicken broth into pan.
5. Bring down to a simmer. Add chicken back into pan. Cover and cook on simmer for 40 minutes or until chicken is cooked through. Stir occasionally and flip chicken halfway through.
6. Stir in greens. Then stir in the flour until everything is combined.
7. Serve over hot, buttery corn grits and enjoy!

*Recipe Source: Madison’s original recipe
*Serves 4

Andouille & Shrimp Jambalaya

Andouille & Shrimp Jambalaya

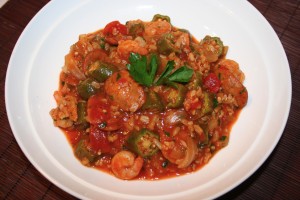
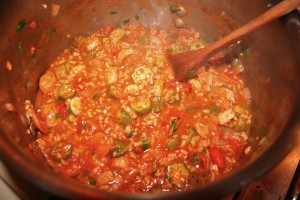
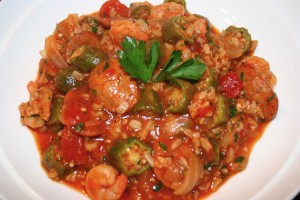
As promised here is how I used okra in my cooking. I made this very tasty Jambalaya. This version of this famous Cajun dish combines the spicy flavors of the andouille sausage and cayenne pepper, but is balanced perfectly for your palette with the flavors of the shrimp, okra, tomatoes and rice.

I especially love this one because its a one-pot meal that serves 4 to 6 people. If you’re like me and you have less people to serve, you can still make the full batch and enjoy the rest for tasty leftovers. It looks like a lot of ingredients, but most are canned goods or common items in your spice rack, so don’t be intimidated. This is truly allergen-free comfort food!

*If you’re not a fan of shrimp you can substitute them for 4-6 bone-in chicken thighs. Check out the note at the bottom of the recipe to see how to make this substitution.

Ingredients:
1 tablespoon olive oil
1 large onion, diced
2 cloves garlic, minced
6 ounces gluten free Andouille Sausage, sliced (I used Trader Joe’s Chicken Andouille Sausages)
1 cup uncooked long grain rice, rinsed
2 cups gluten free chicken broth
1 (14.5 oz) can chopped tomatoes in juice
1/4 cup tomato sauce
1 pound raw shrimp, peeled and de-veined
1/4 teaspoon cayenne pepper, to taste
1/2 teaspoon dried oregano
1/2 teaspoon dried thyme
1/4 teaspoon pepper
1/2 cup fresh parsley, chopped
1 cup chopped okra

Directions:
1. Saute okra with a little oil in a large sauce pan, stirring frequently until slightly cooked. Set aside.
2. In the same pan heat olive oil. Add onions and sausage and saute for 5 minutes, stirring often and adding more oil if needed. Add uncooked rice and cook for 2 minutes.
3. Add chicken broth, tomatoes with liquid and tomato sauce and cook over medium heat until mixture begins to boil. Reduce to simmer; cover and cook for 20 to 25 minutes.
4. Add shrimp, spices and cook for 5 minutes more. Stir in cooked okra. Taste and adjust seasonings. Garnish with parsley and serve!

*To make this recipe with bone-in chicken thighs instead of shrimp, simply follow the recipe directions up to step 3 then when the temperature is reduced to a simmer place chicken pieces on top of rice mixture. Then cover and simmer mixture for 25 minutes and continue the remaining steps of the recipe.

*Recipe Source: Living Without: Gluten-Free, Dairy-Free Recipes, Naturally Sweetened, February/ March 2011, Article: One-Pot Meals, by Sueson Vess

Closer Look: Okra

Closer Look: Okra

Today I’m taking a Closer Look at Okra…not Oprah…Okra. You know its that thing they deep fry down South! If you’re not from the South you may never have really tasted or even seen Okra. My Southern mother has always talked about how she loves fried Okra, but I had never really tasted it or cooked with it for myself.

I can’t say I ever really even thought about using Okra in my cooking, until I ran across a recipe a couple weeks ago that called for it. Being the adventurous foodie that I am, I thought “yes, a new food to try.” I didn’t even know if I would be able to find it at my local supermarket, but sure enough it was there and on sale…even better! So, let’s take a Closer Look at this Southern favorite.

What is Okra?
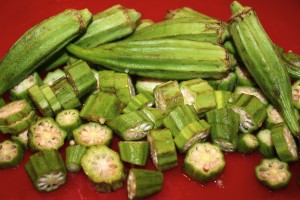
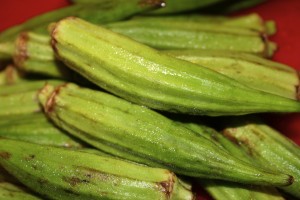
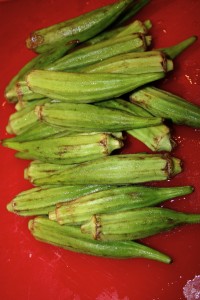
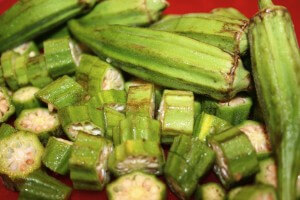
Okra is a plant (crop) grown in tropical, warm climates. In fact, its a staple vegetable in hot, tropical regions. The edible part of the plant is the “fibrous fruit” or pod that shoots off the plants’ stalks. Inside each pod lies tons of small white seeds…don’t worry the seeds are really soft and edible. When you cut into each pod you’ll notice there’s a thick liquid that surrounds the seeds. Cook it and you’ll never notice that texture of the liquid or the seeds.

The pods are harvested off the plant before they’re fully matured and are eaten as a vegetable, most often cooked somehow in the preparation.

How to select the best Okra?
Look for small fresh, crisp, green pods that are free of mold and large spots. Once you get the pods home, store in the fridge and prepare while they’re still fresh.

What are the health benefits of Okra?
Okra is high in fiber, which is perfect for keeping your weight down and your digestion working properly. The combo of the fiber and thick liquid contained in the pods assist your body’s natural peristalsis, moving food through your intestines, preventing constipation.

These pods are loaded with anti-oxidants and vitamins A, K, C and folate. Okra is a great source of minerals as well, including iron, calcium, manganese, phosphorous, potassium and magnesium. Okra’s glycemic load is low (its low in carbs), meaning it won’t spike your blood sugar.

How do you prepare Okra?
Start by thoroughly washing the pods with cold water. For most preparation methods you’ll need to cut away the crown and tips and cut the pods into small sections. You can then batter and deep fry if you so choose. But, there are much healthier ways to prepare it like pan frying it with other veggies. Or try boiling it or adding it to stews. You can also pickle whole Okra pods. Can’t say I’ve ever had it pickled, but I’ve heard its delicious.

Stay tuned this week to see my recipe I made with Okra.

Resources:
http://www.nutrition-and-you.com/okra.html

http://nutritiondata.self.com/facts/vegetables-and-vegetable-products/2498/2