Category Archives: Miscellaneous

One Word Project: Self

One Word Project: Self

This wraps up our year of the One Word Project, film shooting based on a theme. Its been so exciting and challenging at times to shoot film again, but I remember every time I get a roll developed why I truly love film photography! There’s a rawness, clarity and richness that shines through each careful shot. When shooting film one is definitely more intentional with each shot. This has been a great push for me to continue to develop my skill and don’t worry, there will be more film shooting coming your way!

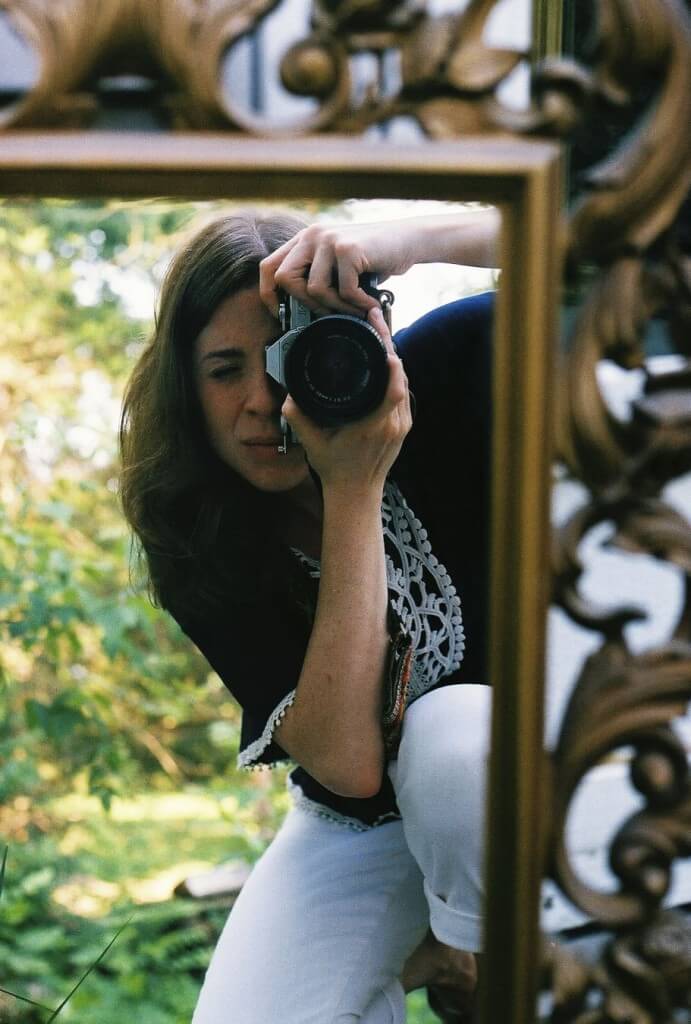
This One Word Project is titled “self.” Its been a while since I last posted, but its been a busy summer to say the least and I have to say this theme of “self” (that Shelly chose by the way) totally stumped me! All I could think was ‘how am I going to photograph myself? My camera doesn’t have a timer.” So I got creative.

I figured the best way to solve this creative dilemma was to use a mirror and I have a great antique one that worked perfect.

I think the ironic part about this shoot is that generally when photographing, I’m really careful about shooting mirrors, windows, etc to make sure you can’t see me in the reflection. In this shoot is was hard to make sure I was in the reflection.

Here’s a where’s waldo shot for you. Can you find me? Thanks for the challenge Shelly! Now everyone go check out Shelly’s version of “Self!” http://blog.shellygoodmanphotography.com/2013/08/11/one-word-project-self/


One Word Project: Rhythm

One Word Project: Rhythm

This One Word project film shoot was really fun because I actually shot my roll while in St. Louis visiting Shelly a couple weekends ago! Shelly Goodman, in case you forgot, is my college roommate and best bud, who also happens to be a sweet photographer who started this One Word Photography project that I jumped in on a year ago. So remember to check out her site for her version of the One Word Project as well. http://blog.shellygoodmanphotography.com/2013/05/12/one-word-project-rhythm/

The Word for this shoot was Rhythm, one of my favorite principles of design! While in St. Louis, Shelly takes us on awesome tours of pretty much anything we can find that we haven’t seen and happens to be free. She mentioned visiting this beautiful cathedral in St. Louis and the portion of my heart that beats a love of architecture and architecture history caused me to jump at the chance to visit a classically designed, grandios, and well appointed space on this side of the pond! So I grabbed my film camera and Shelly grabbed my iphone camera, Matt grabbed his iphone video camera and we had a great artistic afternoon adventure.

I have to say this lovely structure didn’t disappoint. Classically designed cathedrals also happen to be spaces filled with repeated elements creating a sense of beautiful Rhythm throughout the space. With my love for architectural photography and film this was the perfect opportunity.

From the exterior stone buttresses, to the interior marble columns, to the lifted arches, to the endless rows of pews, to the illuminated devotional candles, to the glimmering mosaic tiles Rhythm is an essential design element in these cathedrals. Rhythm guides your eye to the altar. It breaks down the massive space to a human scale. It layers the space both on a vertical and horizontal plane. Rhythm brings consistency and continuity from the exterior all the way inside.


Thanks Shelly for the great creative day and touring! Now go check out Shelly’s Rhythm photos http://blog.shellygoodmanphotography.com/2013/05/12/one-word-project-rhythm/

One Word Project: Uncharted

One Word Project: Uncharted

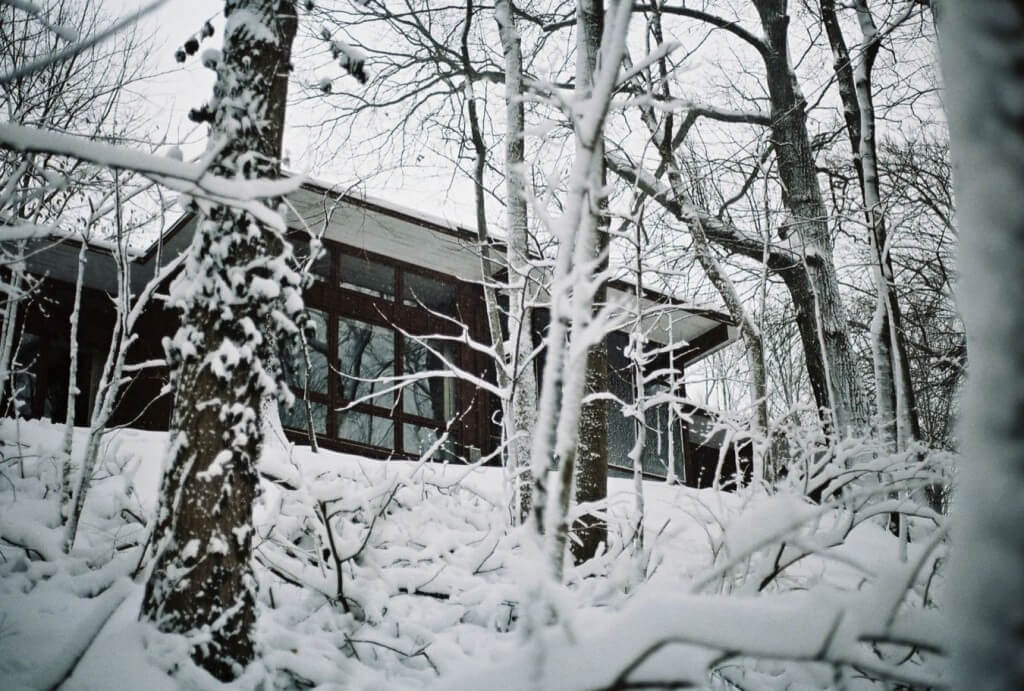
This word for the One Word Project is “Uncharted.” When I was back home in Indy over Christmas we had a huge snow storm roll through. My family lives in a beautifully wooded area, so snowy weather always makes for gorgeous scenes. As soon as the trees were covered we headed out to frolick in the snow and I grabbed my camera to capture the “Uncharted” winterwonderland.

Taking photos of snow can be really tricky because of the high contrast with the snow, so I used a gray card and I’m really happy with the results.

These photos look up the hill at the back of my parents’ house…Love it!

Now go check out Shelly’s version of “Uncharted” HERE

One-Word Project: Ordinary

One-Word Project: Ordinary

It’s been a while since I’ve blogged, but I’m back and kicking off this new blogging season with a monthly photography spot called the “One-Word Project.” I have a passion for photography that started when I was in high school, where I had a great opportunity to take several black and white film photography classes. Over the course of 4 years I got pretty good. I successfully used the film camera on fully manual settings and developed all my own photographs. I even won some portfolio competitions. Then the digital camera came into my life and I was more concerned with capturing the moment and just used fully automatic settings. But, my love for film has remained.

I’ve been wanting to relearn using my 35mm film camera, but just haven’t had the push to do it until now. My best buddy and roomie from college, Shelly Goodman, is a wonderful wedding photographer and came up with this wonderful idea to start the “One-Word Project.” The concept is to have one word a month that is left up to the photographer to interpret and post on their own blog. Each individual photographer sets their own rules. My rules are that my photographs for the “One-Word Project” will be taken on fully manual settings on my 35mm camera (and its completely old school, my parent’s from way back when). So follow along as I relearn my 35mm camera and recapture my love of film!

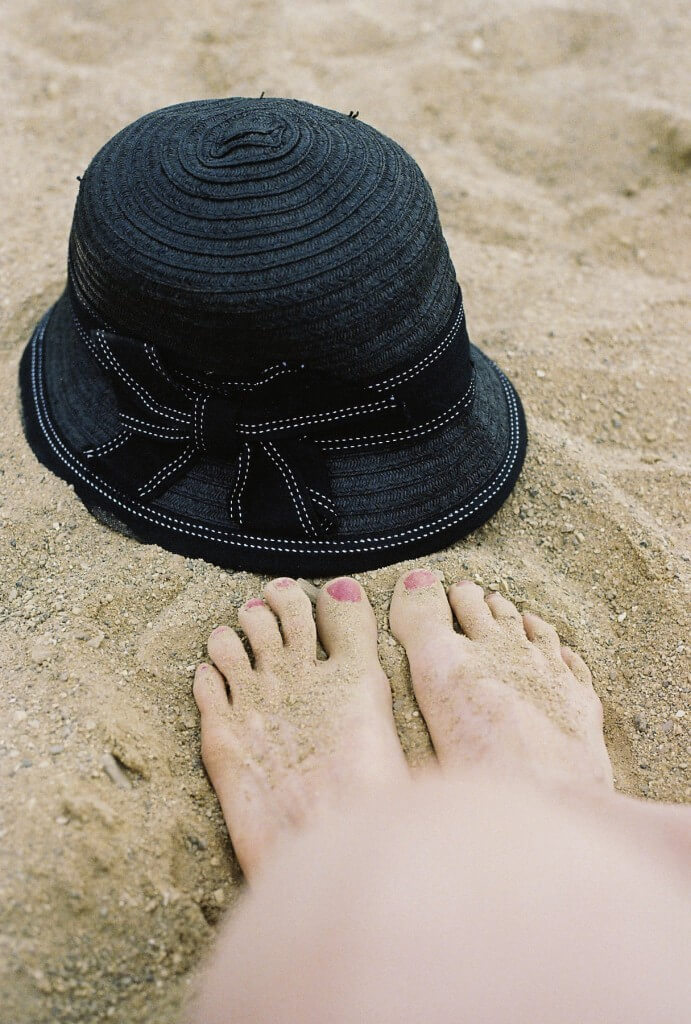
The word for July (yeah, we’re a little behind) is Ordinary. And in July what I think of as ordinary are lazy days on the beach. Whether its the ocean, a lake, a river bed, or an old quarry filled with water, in America days in July seem ordinarily filled with laying around on the beach on a weekend with friends or family vacations on a shore. Some of the best summer memories for lots of us are on a shore somewhere and what a blessing that these days are ordinary and common to us.

My photographic focus (even from the start) has always gravitated toward finding the beauty in the ordinary and everyday. Above I tried to capture the beauty and elegant contrast of a fun sun hat against the earthiness of the sand.

A lifeguard’s post is found at every beach and pool, but beauty is found when this ordinary structure is contrasted by an organically painted backdrop of small waves and spotty clouds.

This is my handsome hubby, Matt, posing for a photograph on the beach. As usual, he was a good sport as I was bugging him to let me take photographs of him while he was trying to enjoy his time. You can faintly see my reflection with my camera in his sunglasses…an ordinary sight that you’ll see once more in this post.

Once again, just an ordinary day at the beach with some friends (who shall remain nameless :) and I’m so thankful it’s an ordinary event to just hang out!

Ordinary was really the perfect word for me to jump on board with this project. Because regardless of straying from film for a while all my friends and family will tell you that any ordinary event I attend, I’m always peering one eye through a camera lense. So, now I dive back in and rediscover my photography roots: film!

A little background on the photographer who started this endeavor:
Shelly Goodman, like I said my best bud and college roomie, started this “One-Word Project” as a way to encourage herself and other photographers to just create for the sake of creating and developing skills. Shelly and I spent many late nights in the dorm painting, drawing, and designing as we were both design majors (Shelly: visual communications and my self: architecture). We went through design school together, critiquing each other’s work and encouraging each other to strive for excellence and throughout the years we’ve continued to spur each other on to create and design. Shelly is an amazing wedding photographer out of St. Louis and for this project specifically will be using medium format film. We hope you’ll follow us on this journey!

Please check out Shelly’s version of the One-Word Project…you’ll love her work! http://blog.shellygoodmanphotography.com/2012/08/19/one-word-project-ordinary/

Appetizing Appetizers 1: Bacon Wrapped Dates

Appetizing Appetizers 1: Bacon Wrapped Dates

Even though the holidays are over, there are opportunities coming up for parties and get-togethers to be had. Let’s see there’s the Super Bowl coming up in just over a week (shout out as its in my home town, Indianapolis, this year and I’m headed back home for the festivities!). Valentine’s Day, yep just around the corner. Then there’s the Oscars (just an excuse to hang out and see pretty dresses).

I have to say, in my experience going to parties is not much fun if you can’t eat the food along with everyone else. And let’s face it, even those of us with restricted diets get tired of fruit and veggie trays. That’s why I’ve decided to come up with some “Appetizing Appetizers” that you can bring along to your party…allergen friendly and they’re tasty for everyone to enjoy. They’re not perfectly healthy items, but every now and then you need to just indulge in what you can.

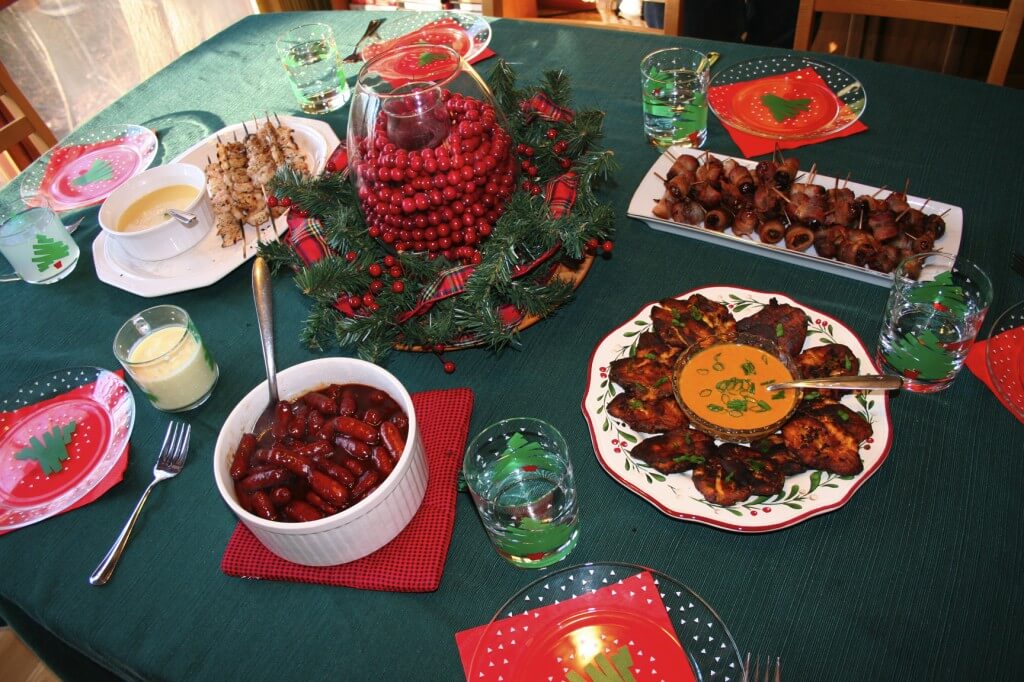
The next few posts will be a few “Appetizing Appetizers” that I had over Christmas (seen above) and that I really enjoyed!

This first one is Bacon Wrapped Dates. A little salty and a little sweet with a crunch on the inside. These are always a hit and disappear completely whenever I make them. Who doesn’t love bacon? These are the easiest things to make and will be the star appetizer with your crowd!

Ingredients:
1 package of bacon (I like applewood smoked bacon)
Pistachios, shelled
Dates, pitted (I like the Medjool dates, but sometimes they’re too large so you have to cut them in half)
Powdered sugar for garnish
Tooth picks

Directions:
1. Preheat the oven to 400 degrees. Line rimmed baking sheet with foil and place cooking rack on top.
2. Cut bacon into thirds.
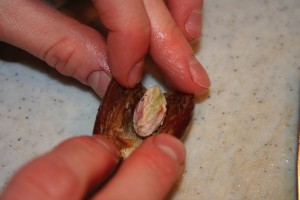
3. Stuff a pistachio nut inside all the dates.


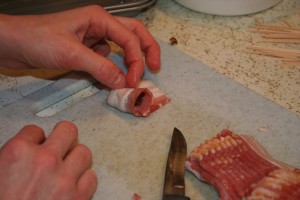
4. Roll a piece of bacon around all the dates.
5. Poke a tooth pick through each of the bacon and date rolls.
6. Place each roll on the baking rack in the baking sheet and bake for 20 to 25 minutes. Serve garnished with a dusting of powdered sugar while hot and enjoy!

*Recipes Serves: 4 to 6 people with plenty for everybody
*Recipe Source: Madison Sommerfield

Happy 1st Birthday Madindy!

Happy 1st Birthday Madindy!

I can hardly believe it, but I’m happy to announce that Madindy is celebrating its 1st Birthday today! That’s right, I started Madindy last January 1st, 2011. Hard to believe but true my friends…one year, 135 posts, lots of cooking, lots of crafting, lots of photography, lots of research, and God’s rich blessings has brought Madindy to where it is today.

If you follow Madindy or have enjoyed reading it at all this last year would you please consider clicking the “Like” and or the “Subscribe” button at the top of the page on the right hand side. The “Like” button is through Facebook and the “Subscribe” button will send you emails every time there is a new post on Madindy. This just let’s me know that you’re enjoying Madindy and support it. Also, passing your favorite posts onto friends and family that you think would enjoy or benefit from them is also greatly appreciated!

It’s been an busy year for me and Matt as we’ve been further discovering what the Lord has for our lives. From job loses, to new jobs, to moving, to traveling it’s not always been easy to keep up consistent posts, so I thank you for all who persistently follow Madindy. I want to thank all of you who follow, comment, post on facebook and twitter, and tell me how much you enjoy Madindy. You keep me inspired to keep writing, cooking, shooting photos, crafting, and researching. Thanks for all who branch out with me to try new foods, cook new recipes, and research healthy lifestyle habits…keep it up!

When I started Madindy last January I really didn’t know where it would go. I just new that I wanted an outlet for my interests (Healthy and Creative Living) and wanted to be able to help others enjoy Healthy and Creative Living as well. I didn’t know what I would really want to run with and what I would get tired of writing about.

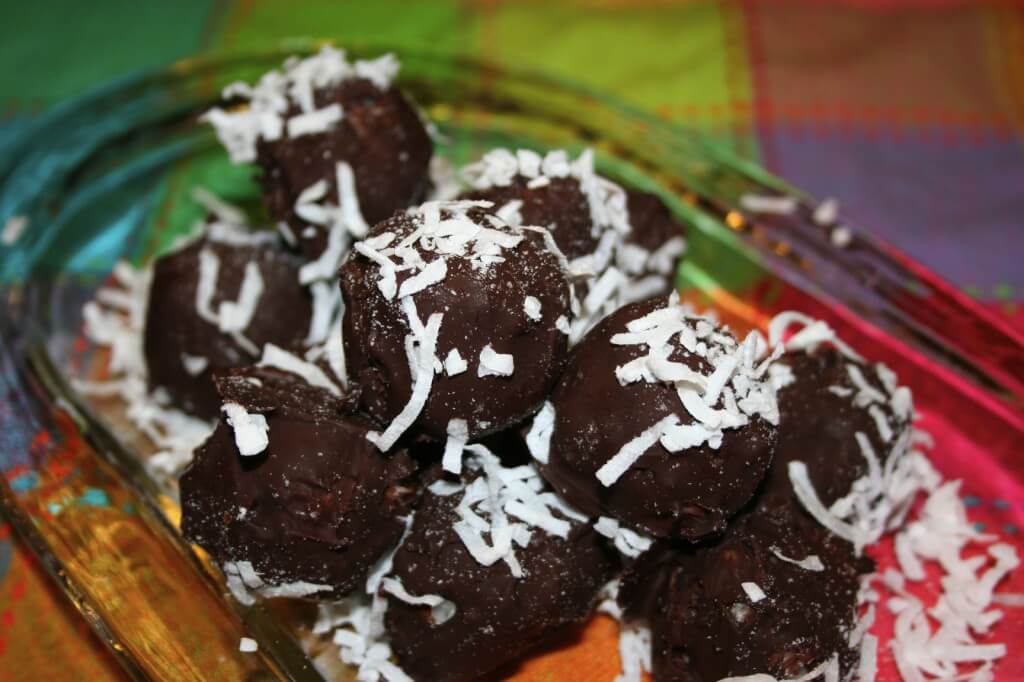
Honestly, when I started writing Madindy last year I didn’t enjoy cooking. It felt cumbersome and was something that I had to do because of my restricted diet (no gluten, no dairy, no eggs). I’ve always enjoyed eating healthy, but cooking was just not all that fun for me. But, I’m happy to say that over the coarse of the last year I’ve quickly developed a joy for cooking, which has reflected in the number of blog posts about recipes. From kale to quinoa to coconut bonbons (shown above) to soups to chili to slow cooker recipes, I’ve learned a lot cooking such a variety of recipes and I hope you’ve enjoyed the variety too.

As my life unfolds into new stages I suspect that Madindy will follow. But, I can assure you that I will continue to post Tips for Healthy and Creative Living. I hope that you will continue to follow me on this journey into 2012 and I pray God’s rich blessings on you this year! Happy New Year and Happy 1st Birthday Madindy!

Cranberry Cornbread Dressing Gluten Free Style

Cranberry Cornbread Dressing Gluten Free Style

For the last few years I’ve just forgone certain dishes at the holidays because of my diet. Not being able to eat gluten and eggs makes the traditional American holiday dishes generally a no- go. But as the years have gone by and I’ve become more adventurous and experienced in my allergen-free cooking, I’ve figured out ways to still be able to enjoy classic dishes for the holidays.

I’ve always enjoyed dressings and stuffings with my turkey or ham at Christmas and Thanksgiving, but being gluten free and egg free this was previously a no- go. I’m happy to report NOT ANYMORE!

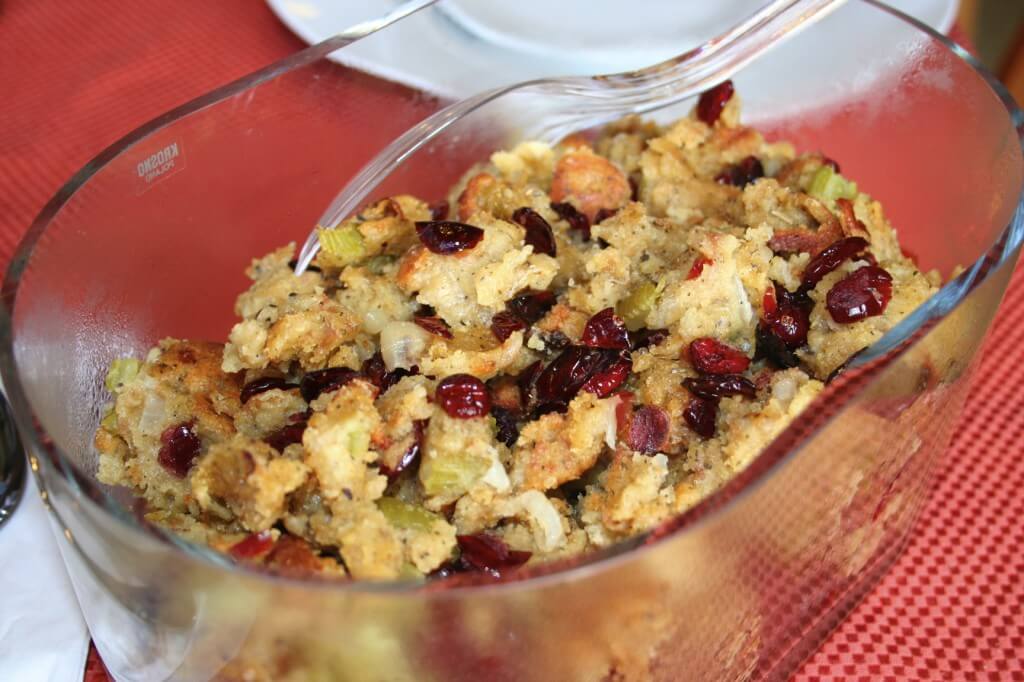
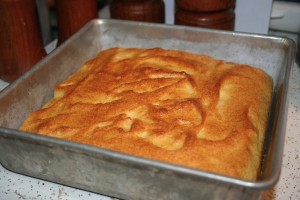
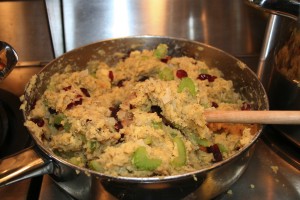
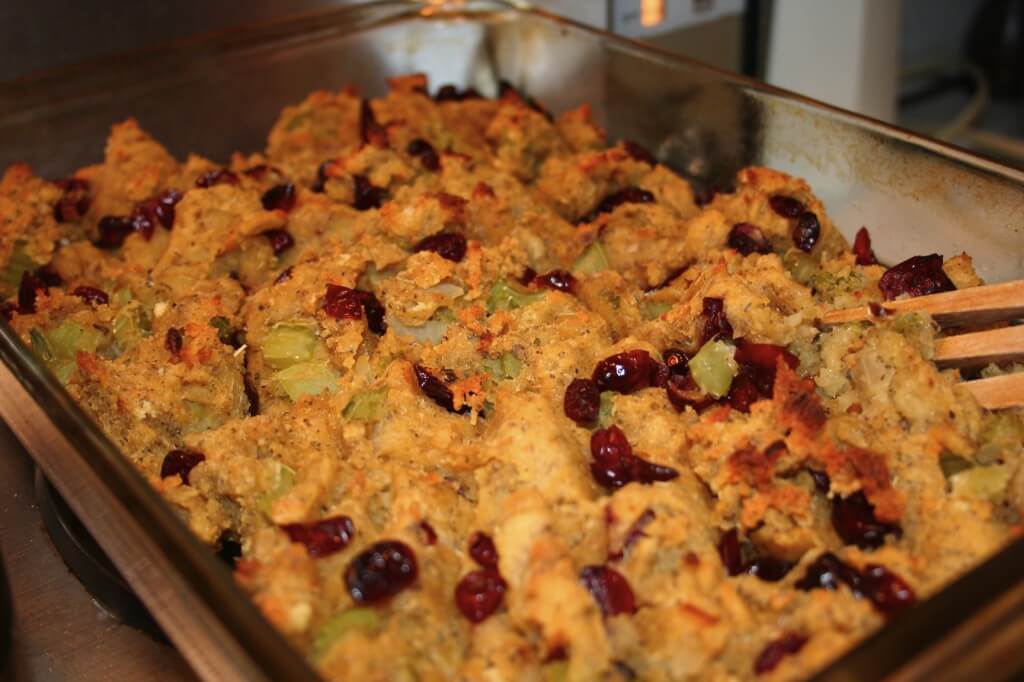
I’ve taken my grandparents’ traditional recipe for Cornbread Dressing, given them a twist and made them gluten free, dairy free and egg free. I made this one for Thanksgiving and it was a hit! It held its own as several people’s favorite, even compared to the normal dressing. Try it and enjoy! (This recipe is a lot of “to taste,” as was my grandparent’s original recipe, so have fun tasting!)

Ingredients:
1 Recipe Gluten Free (egg free, dairy free) Cornbread (I use Bob’s Redmill Gluten Free Cornbread and use Ener-G Egg Replacer)
1 tablespoon olive oil
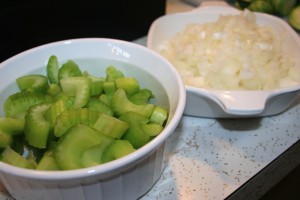
1 large size onion, diced
3 stalks celery, diced
1 tablespoon garlic, minced
Gluten Free Chicken Stock (eye ball the amount)
1/2 to 3/4 cups dried cranberries
2 eggs worth of Ener-G brand egg replacer
Sage, to taste
Salt and Pepper, to taste

Directions:
1. Preheat oven to 350 degrees. Prepare a 9 X13 oven safe pan with cooking spray.

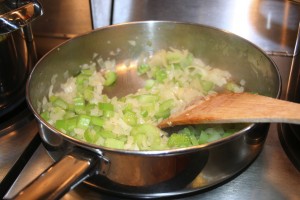
2. Saute onions, celery, and garlic in olive oil over medium heat until veggies are translucent.

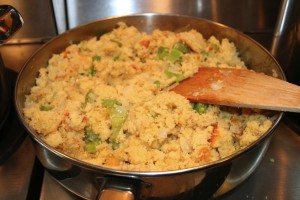
3. Crumble cornbread into pan. Add egg replacer, chicken broth (enough to combine and make it moist, plus a little extra), dried cranberries, sage and salt and pepper to taste and stir gently to combine.

4. Place mixture into baking dish and bake for approximately 45 minutes or until its hardened a little and browned on top. Serve and enjoy!

*Recipes Serves: 4 to 6 people
*Recipe Source: Madison Sommerfield, based on family recipe

Madindy on Etsy

Madindy on Etsy

At the end of this wonderful Thanksgiving Day I’m excited to announce that I’ve opened my Etsy Shop! Yeahhh! So excited, as I’ve been working on this for a while now. There are now a few items posted and it’s up an running, so very thankful for that.

Etsy.com is an online marketplace for handmade and vintage items. If you’re new to Etsy you’ve been missing out. It’s a great place for Christmas shopping.

My Etsy site is http://www.etsy.com/shop/madindy.

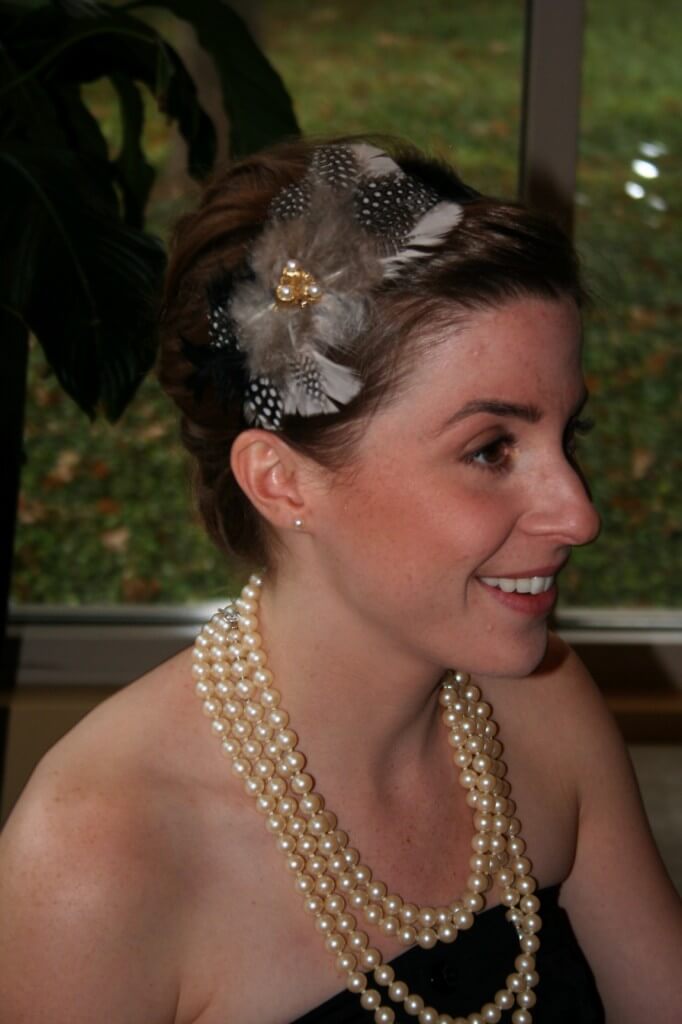
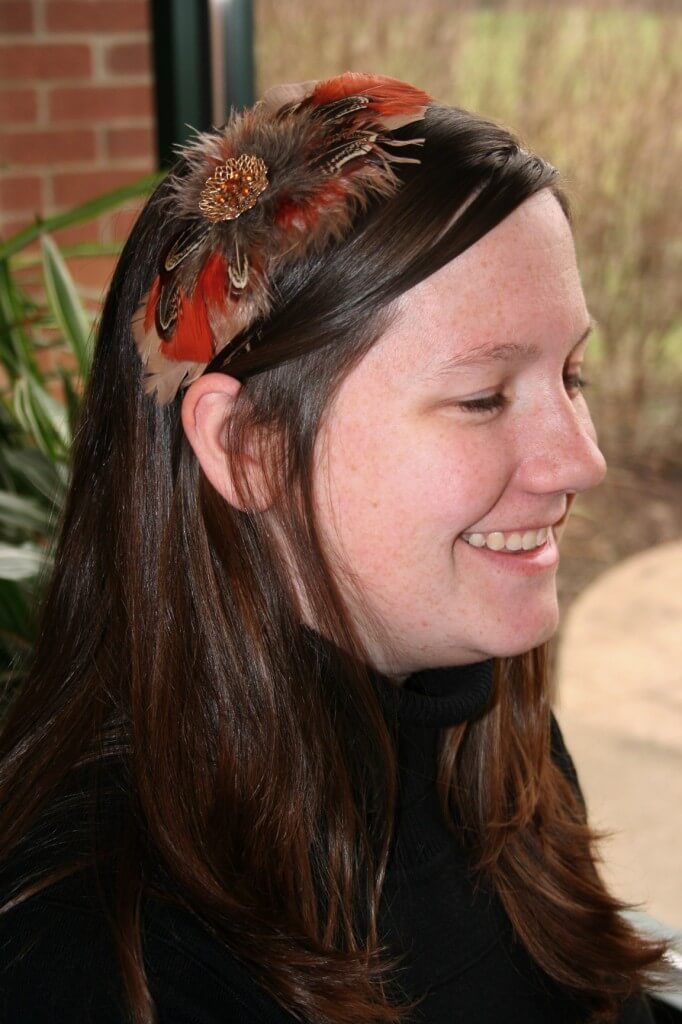
The first part of my Etsy shop that I’ve launched is handmade headbands with feathers and antique jewelry. I design and make each piece myself. Check out my Etsy site for the items still available for sale.

The headband above is still for sale on Etsy, along with others. And below are headbands that I’ve already sold to a boutique and individuals. These have sold like hotcakes, so check out the ones still available by clicking this link http://www.etsy.com/shop/madindy. They make great Christmas presents and are great to wear to parties this time of year!

*A special thanks to my lovely friends for being my models!

Roasted Acorn Squash

Roasted Acorn Squash

An Update:
I know its been a while, so thanks to all you faithful ones who keep checking back to see what’s new. Fall is flying by for me…just got back from a sweet road trip to Dallas for a friend’s wedding. Long drive, but saw lots of friends and family, which totally made it worth it!

I’m working on getting some handmade items up on etsy right now. They’ll hopefully be debuting within the next couple weeks, just in time for the holidays. That’s all I’ll say for now, but I’ll be dropping plenty of photos and links here on the blog soon so stay tuned!

That’s an update about me, so let’s get to it. As promised here is another type of squash and a tasty way to prepare it:
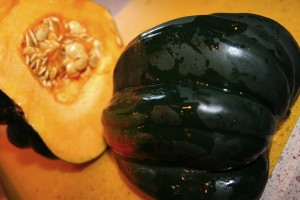
Acorn squash is in season and really abundant in your local grocery this time of year. This means you can generally get it pretty cheap. I love these tasty little guys because they are super easy to prepare, they taste like Fall, are a great alternative starch to potatoes, and they have a pretty long countertop lifetime (meaning you can buy one and leave it on your counter for a decent amount of time before it spoils).
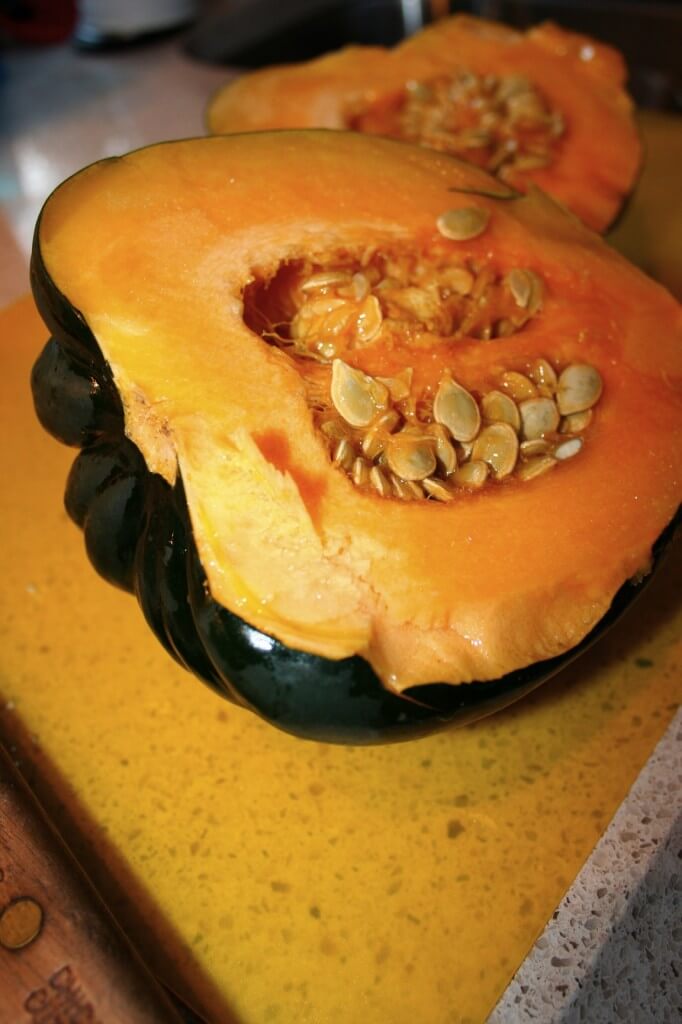
So, how do I prepare this Fall starch? Here we go…(major precursor to a super simple recipe)
This recipe is super Kid-Friendly. Its a sweet way to prepare this squash…My advice is to make sure that your kids see you add the brown sugar, maple syrup, or honey and maybe they’ll be more inclined to dig in rather than frowning at a new veggie!

Ingredients:
1 medium sized acorn squash
1 to 2 tablespoons butter
1 1/2 teaspoons cinnamon
2 tablespoons brown sugar, or maple syrup, or honey (take your pick)
salt and pepper to taste
Directions:
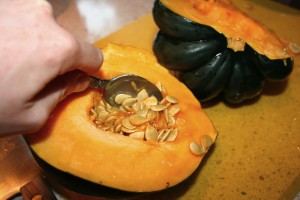
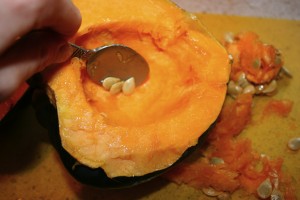
1. Preheat oven to 400 degrees. Oh so careful cut the squash in half length wise (from top to bottom). This is a really hard squash so watch your fingers and use a large, sharp knife. Scoop out the center portion of the seeds and gooey stuff.
*Side Note: You can save the seeds and prepare the just like pumpkin seeds in the oven and they make a great snack.

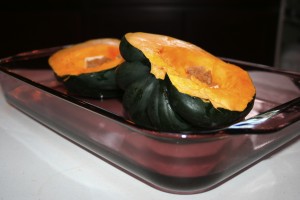
2. Place both halves of squash in a rimmed casserole dish with the dark skin side down, so it makes 2 little bowls. Fill the bottom on the baking dish with about a half inch of water.
3. In each half of the squash bowls place 3/4 to 1 tablespoon of butter, 3/4 teaspoon cinnamon, 1 tablespoon of whatever sweet you’ve chosen and a dash of salt and pepper.
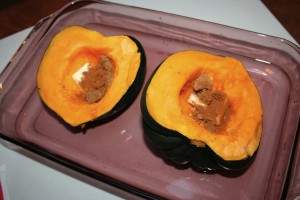
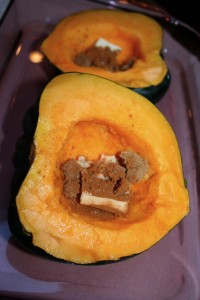
4. Bake in the oven for 1 hour to 1 hour and 15 minutes or until the orange inside of the squash is very tender. If all the water in the bottom of the dish evaporates make sure to add more. Remove from the oven carefully as to not slosh the hot water.
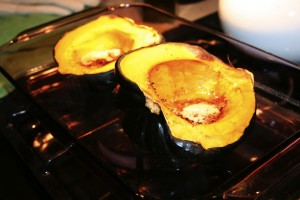
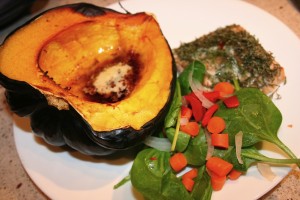
6. You can serve the squash at this point and let each person combine the squash with the butter, sweet, and spices or you can use a fork and combine the orange part of the squash with the tasty stuff before you serve. Just a side note, don’t eat the green skin. Enjoy!

*For picky eaters I recommend mixing the squash and the tasty stuff before you serve and if necessary throw in a little more sweet and cinnamon.

*Recipe serves: 2 to 4 people depending on if you want to serve a squash bowl to each person and how large the squash itself is.

*Recipe Source: Madison Sommerfield
Easy Freezing

Easy Freezing

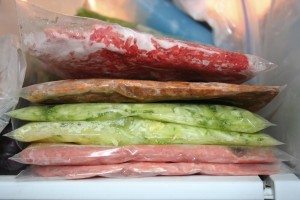
Generally I just cook for two people, Matt and myself. So, I often end up with more meat than we need for one meal. And after our successful gardening season I’ve ended up with more cousa squash than I know what to do with. All this to say freezing has become essential.
I got really tired of how long it took to thaw big clumps of frozen meat and it always get so disorganized in the freezer. So, here is a little tip for Easy Freezing.

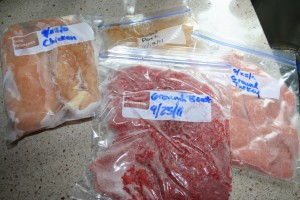
Start off by dividing the meat into portions that you’d make for one meal. If you cook for just yourself then divide out the meat into single portions. If you cook for four people then divide the meat out for four portions.

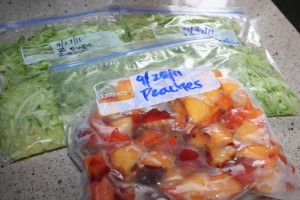
With a permanent marker write out what you’re storing and the date onto a freezer bag. Place the meat into the bag and flatten with the palm of your hand until the meat is as flat as you can get it. Seal the bag getting all the air out that you can.

Store the bags flat in the freezer.

Storing meat this way, not only keeps your freezer organized, but it also cuts down the amount of time it takes to thaw it. It also thaws much more evenly when stored this way. This method works best for ground turkey, ground beef, ground chicken or flattened steaks or chicken breasts.

This method works really well for shredded zucchini, left over chopped fruit or other veggies. It also works really well for leftover soups, stews, chili, and pasta. Freeze individual portions and thaw the day before for lunch.

I hope this helpful tip will help you not only stay organized, but also save you time and keep you from wasting leftovers.