Category Archives: Shabby to Chic

Madindy on Etsy

Madindy on Etsy

At the end of this wonderful Thanksgiving Day I’m excited to announce that I’ve opened my Etsy Shop! Yeahhh! So excited, as I’ve been working on this for a while now. There are now a few items posted and it’s up an running, so very thankful for that.

Etsy.com is an online marketplace for handmade and vintage items. If you’re new to Etsy you’ve been missing out. It’s a great place for Christmas shopping.

My Etsy site is http://www.etsy.com/shop/madindy.

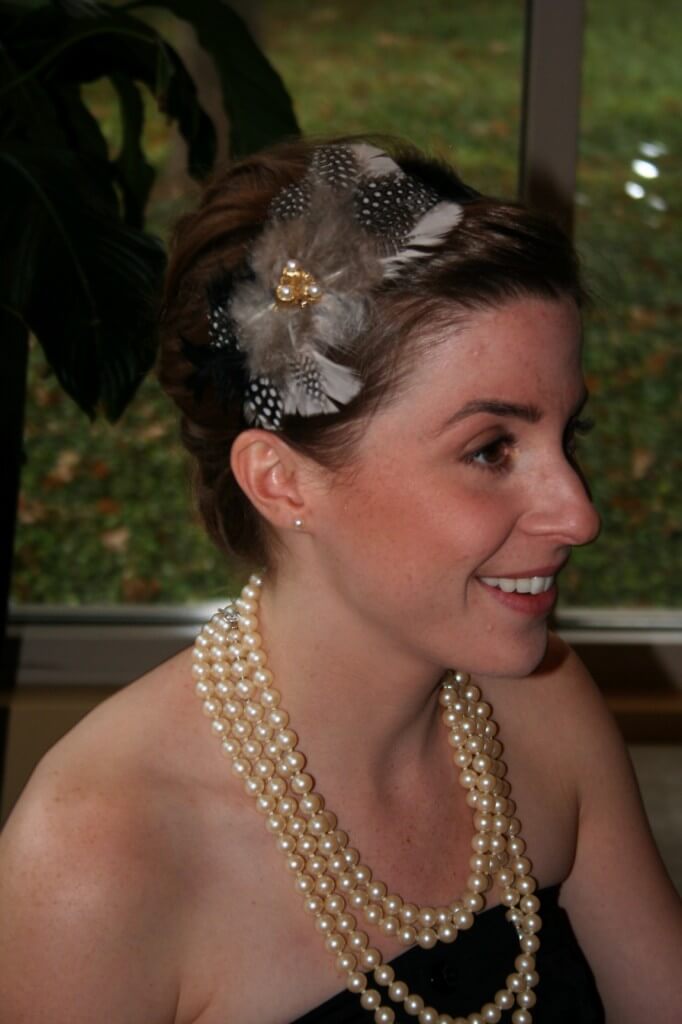
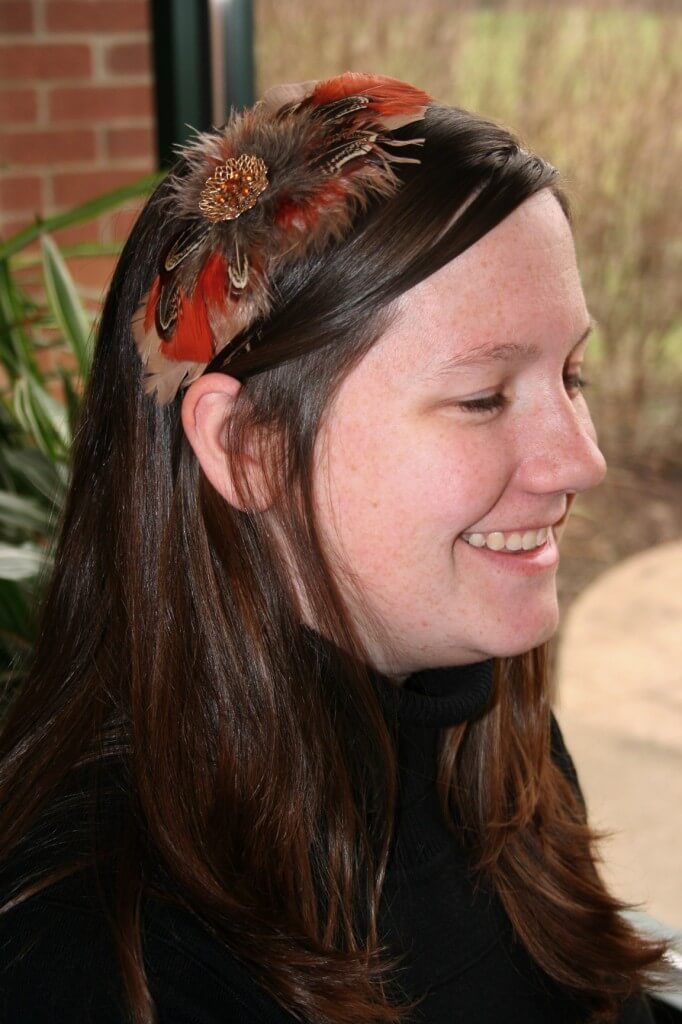
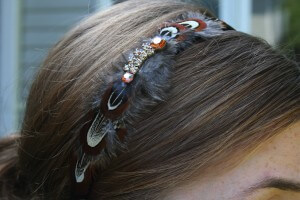
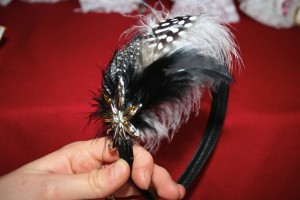
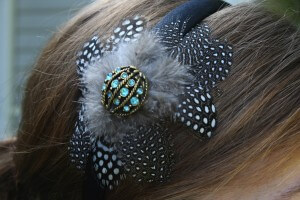
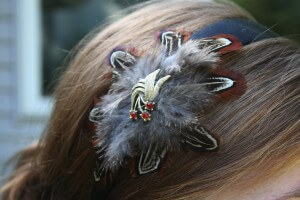
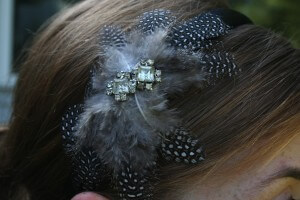
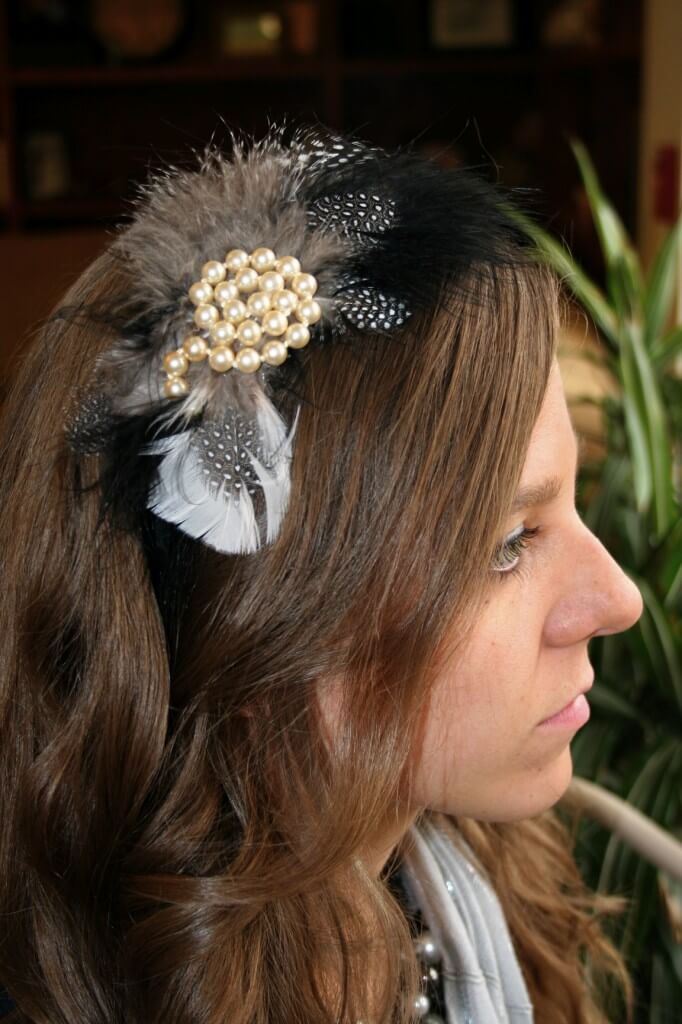
The first part of my Etsy shop that I’ve launched is handmade headbands with feathers and antique jewelry. I design and make each piece myself. Check out my Etsy site for the items still available for sale.

The headband above is still for sale on Etsy, along with others. And below are headbands that I’ve already sold to a boutique and individuals. These have sold like hotcakes, so check out the ones still available by clicking this link http://www.etsy.com/shop/madindy. They make great Christmas presents and are great to wear to parties this time of year!

*A special thanks to my lovely friends for being my models!

Re-purpose It: Garden Stakes

Re-purpose It: Garden Stakes

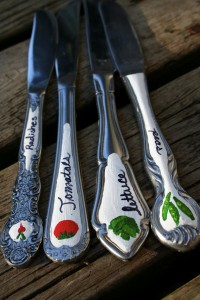
This year has been a perfect growing season in the Chicagoland area, hot sunny days and plenty of rain. My garden is growing nicely. My hubby and I decided to plant such a variety of produce in our garden and I’m always loosing track of what’s planted where. So, I decided I needed garden stakes to mark each item. You know me…I never really think, “oh I’ll just go buy that.” I’m such a do-it-yourselfer, I always seem to think “how can I make it.”

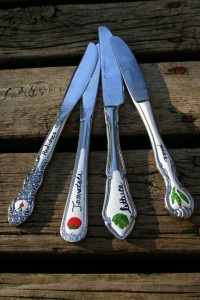
I stopped by the thrift store and found tons of dinner knives (odds and ends from many different sets) and bought a hand full. I broke out my acrylic paints and painted away. To prevent the paint from peeling off of the metal I double coating each knife with water based polycrylic.

I love this Re-purpose It project because it gives these old unwanted items a new life! Talk about ‘Going Green,’ I think Re-purposing old items is the ultimate way to ‘Go Green.’ The various shapes and details on each knife really makes for such a wonderful variety.

Dinner knives work perfectly for these Garden Stakes because the knife end holds really well into the ground. Hope you feel inspired today!

Fabulous Spaces: Shelly & Andy’s Urban Revival

Fabulous Spaces: Shelly & Andy’s Urban Revival

Today I’m featuring the home of some of my closest friends, Shelly and Andy. Shelly and I were room mates in college and are still best buds. Shelly and Andy have their own wedding photography business and Andy is an electrician, so needless to say they have a perfect balance of creativity and the know-how to really create a beautiful home. They’ve added their own personality and design style to their home while really respecting the historic nature of the space. They’ve done and are continuing to do a lot of work on their home themselves. With its southern urban charm Shelly and Andy’s home is a real beauty.

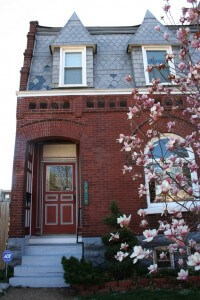
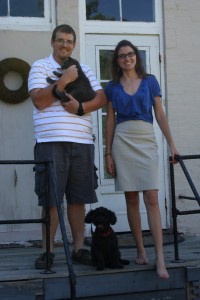
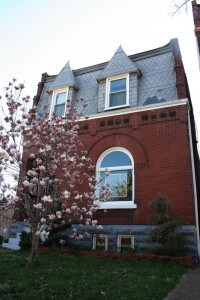
Meet Shelly & Andy with the rest of their family Colby (the little black poodle) and Norman (the adopted gray alley cat). They all currently reside in this mid 19th century row house in the area called South City in St. Louis. They moved into this historic beauty, built by a Civil War doctor, in this up and coming area of the city a couple years ago.

We’ll start with the exterior of their home. Upon approaching the front of their home this beautiful magnolia tree greets with a certain southern charm. These bright blossoms always remind me of the movie Steel Magnolias. I guess that’s why I always think southern charm when seeing them.

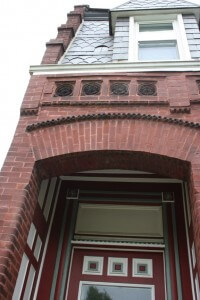
When walking to their front door the details of their home really start to make a bold impression. The brick archway opens to a covered entrance boldly displaying this is the entrance to the home.

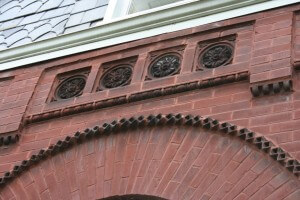
This brickwork is definitely from a time past. The design, care and attention given to these beautiful details is something very rarely seen in homes built today. The magic is really in the details in these historic homes.

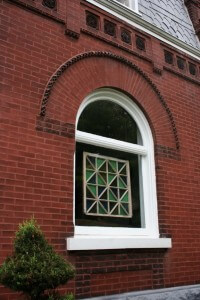
The doorway is not the only emphasis on the front elevation. This large window is built with a carefully crafted brick arch surround giving it both prominence and unity across the front of the home.

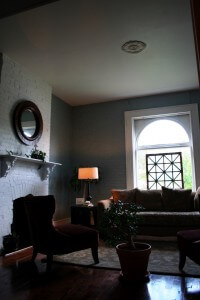
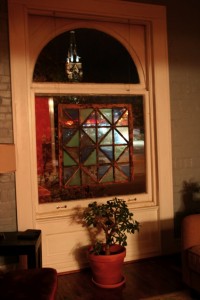
The simple stained glass piece hung in the window adds an updated touch of texture and color. It also provides some privacy for the living room from the street view without having to add draperies to the interior space.

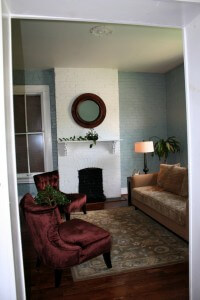
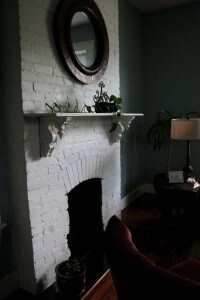
The tall ceilings are an added benefit of this 19th century home, making each room feel even larger. Traditional details like the casings and mantle stand in wonderful contrast to the updated furnishings with whimsical fabrics and a variety of textures.

The brick from the fireplace carries over to the the adjacent walls adding scale and texture to the great height of the walls.

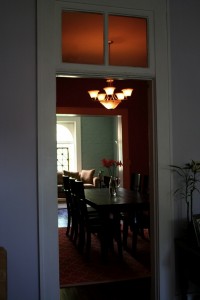
The transoms over the door ways are another element that helps to break down the scale of the tall ceilings and allow light to be borrowed from room to room.

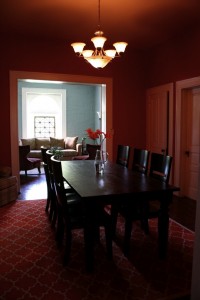
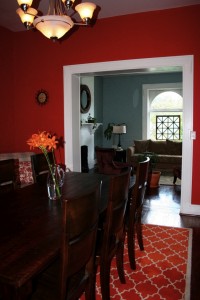
Shelly and Andy have added a little modern twist to the very traditional spaces in their home by selecting bold colors like these bright red walls in the dining room. The moroccan patterned rug and the rustic table and chairs with a more modern silhouette add a little cultural flair to the space.

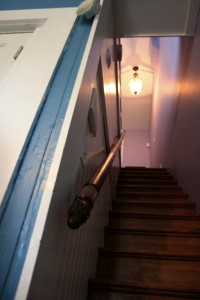
The stairway in Shelly and Andy’s home is off the kitchen and although its a steep flight, the stained wood stairs and rail stand in nice contrast to the white beadboard on the wall.

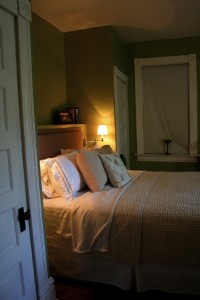
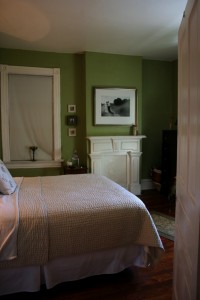
Shelly and Andy have pulled together their master bedroom with a serene Spring green color on the walls. With no room for end tables with lamps because of the symmetrically flanking closets, Andy wired some adjustable wall sconces. A great solution and the ability for them to adjust and move around makes for great reading lights. A team effort, Shelly and Andy made their upholstered headboard themselves as well.

They’ve pulled together the space by letting the green walls stand as the main color in the room and selecting all neutral colored bedding with varying textures that really make the space look warm and rich.

Although the fireplace in the bedroom is not functioning, it adds a nice focal point on the main wall seen when entering the bedroom. Above the mantle is a beautifully over sized print of Shelly and Andy’s wedding photo. I love the large scale of the print with an elegant matte and frame.

I hope this tour through Shelly and Andy’s Urban Revival inspires you to add your own personal style and taste to complement your home’s architecture. Thanks to Shelly and Andy for sharing their lovely home with us as well! Have a great weekend!

Clever Throw Pillows

Clever Throw Pillows

Over the last year I have continued to see and been enamored by throw pillows I’ve seen in home stores and magazines. Their beautifully patterned prints and various textured fabrics really make even the dullest of sofas really pop. I think of throw pillows like the special spice that really makes a recipe zing. They can just add so much.

My dilemma: I’m always attracted to the most expensive throw pillows. I like rich fabrics and expensive designer prints, but don’t have the budget to add them to my own living room.
I kept thinking “why don’t I just buy some fabric and make my own throw pillows?” I searched around online for fabrics that caught my attention, but again I seemed to like the fabrics that cost upwards of $40/ yard or even more. Again, out of my budget…I’m really frugal and sometimes just cheap.

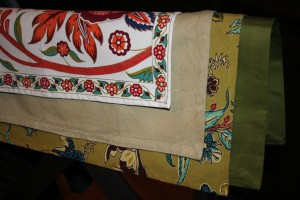
My solution: One day I was walking through World Market and saw they had a clearance section of cloth napkins and cloth placemats and the light bulb went off! I loved the fabrics and prints and they were already the size of throw pillows. There was a nice blend solids and prints that coordinated well. At $1 to $3 each I decided I had nothing to lose.
And my quest to turn these remnant cloth napkins and placemats into throw pillows began!

I wanted to make the throw pillow covers have a removable pillow insert so I could wash them. So, the only other thing I needed to buy was pillow stuffing and fabric for the insert pillows. I stopped by the craft store and a bag of pillow stuffing was anywhere from approximately $15 to $25. And I thought, yeah right…there has to be a cheaper way to make a pillow. And I found one. For $2 to $3 each I bought bed pillows from Walmart. Not only did I have my pillow stuffing, but also my cloth for the pillow inserts.

So, here’s how I made my throw pillows and how you can make yours as well!

In addition to the fabric (napkins or placemats) and cheap pillows to pull apart for the stuffing and fabric,
you’ll need a sewing machine, thread, pins, fabric scissors, and upholstery needle for your sewing machine (which I’d highly recommend using because when I used regular sized needles for my machine I broke 2 needles trying to make it work. Invest in the upholstery needles).
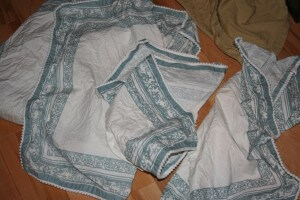
1. Wash the cloth napkins or cloth placemats first. This is really important as most of the fabrics will shrink a little and some more than others.

2. Find which fabric you want for the front of the pillow and which you want for the back. I suggest you use the napkin or placemat to its full size (don’t fold it down to fit the backing fabric). The backing fabric needs to be a little larger than the front fabric.

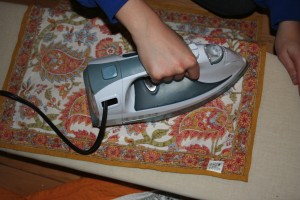
3. Iron both pieces of fabric (check the tags’ care directions first).
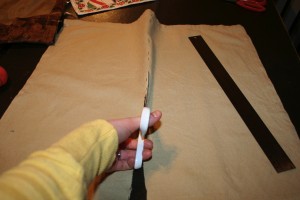
4. Using fabric scissors, cut the backing fabric in half where you want the opening for the pillow insert to be.
5. Pin back the un-hemmed edges you just cut and sew along those edges to finish them.
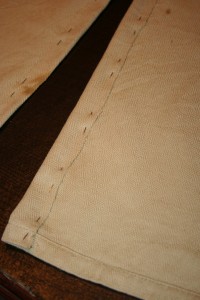
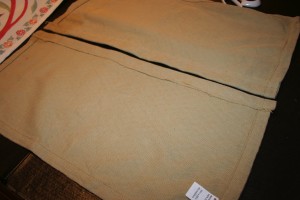
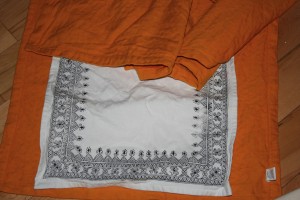
6. Line up outer edges of fabric, using the front fabric as a guide and starting in one corner. See photo below. Pin one of the short edges of the front and back face together, print sides out. And sew short sides of fabric together, on the inside of the fabrics edge.
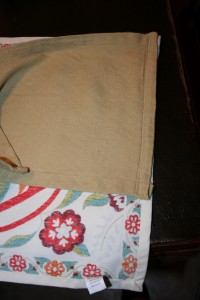
7. Pin the long side of both pieces of fabric together. Then fold under the backside fabric on the short end to align with the end of the front fabric, pulling taught, and pin along this edge. Sew along these edges on the inside of the finished edges of the fabrics. See photo below.
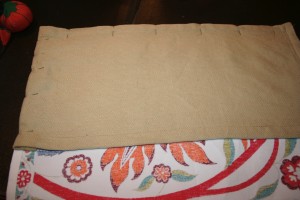
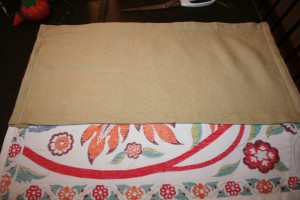
8. Repeat steps 6 and 7 with the other piece of backing fabric, overlapping the middle edges by at least 1 1/2″.
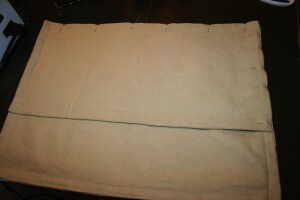
9. Create insert pillow by sewing two pieces of fabric together face sides in on three sides and half of the 4th side. Turn the fabric face side out. Stuff the pillow. The hand stitch the remaining opening.

10. Stuff the insert pillow into the pillow case and voila!
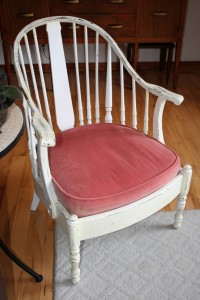
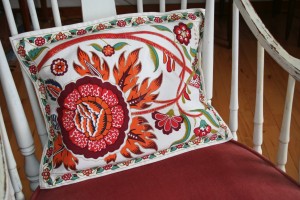
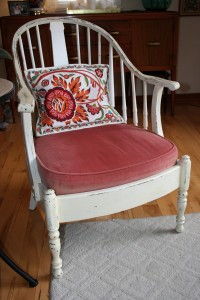
You’ve created a beautiful throw pillow that will turn a nice chair into a “Oh, what a cute chair”!
Re-purpose It: Blanket Basket

Re-purpose It: Blanket Basket

This is definitely a trash turned treasures idea.
My in-laws were throwing out this old house plant basket, so I decided to take it and find a use for it.

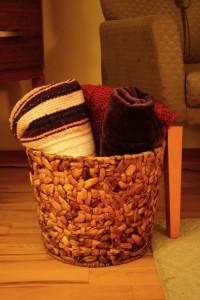
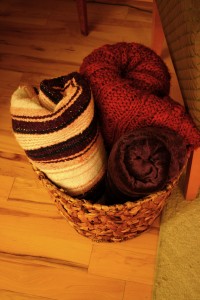
I like to have throw blankets in my living room to curl up with while watching a movie, but I was really tired of seeing them collect on my couch. So, I decided to roll up some throw blankets and store them in the old plant basket right in my living room. They’re contained in the pretty basket, but easily available right in my living room.

So, if your house plants have bit the dust this winter, don’t get rid of the pretty house plant basket. Just Re-purpose It!